LED strip lighting in kitchens: where to put it and how bright

Some links below are affiliate links: if you buy through them I may earn a small commission, at no extra cost to you. As an Amazon Associate I earn from qualifying purchases. How LightGuru makes money

Mike's quick answer
Start under the wall units: that's the strip that does real work, at 400–600 lumens per metre. Then add softer runs where you want a glow: plinths at 100–300 lumens per metre, open shelves, glass cabinets and the tops of wall units. Keep every strip the same colour temperature as your ceiling lights, fit them in profiles with diffusers, and put task and mood strips on separate switches.
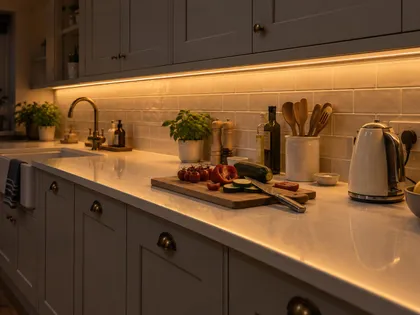
LED strip goes where other lights can’t: under wall units, along the plinths, inside cabinets, along shelves and on top of the units. You see a line of light and never the fitting, which is why it’s in almost every new kitchen.
It’s also easy to get wrong. Too bright and it glares, the wrong white and the kitchen looks cold or yellow, and a bare strip shows a row of dots instead of a smooth line. What decides whether it looks good is the job you give each run, how bright it is for that job, and how well it’s hidden.
Where it goes and how bright
One strip does real work: the one under the wall units, lighting the worktop. The rest are for mood, and they should be much dimmer than people expect.
| Lumens per metre | What it does | |
|---|---|---|
| Under wall units | 400–600 (up to 800) | Task light on the worktop |
| Plinths | 100–300 | Low glow, night light |
| Top of wall units | 300–500 | Soft light bounced off the ceiling |
| Open shelves | 300–500 | Lights the shelf and the worktop below |
| Glass-fronted cabinets | 200–400 | Shows off what is inside |
| Island overhang | 150–300 | Glow under the breakfast bar |
Under the wall units
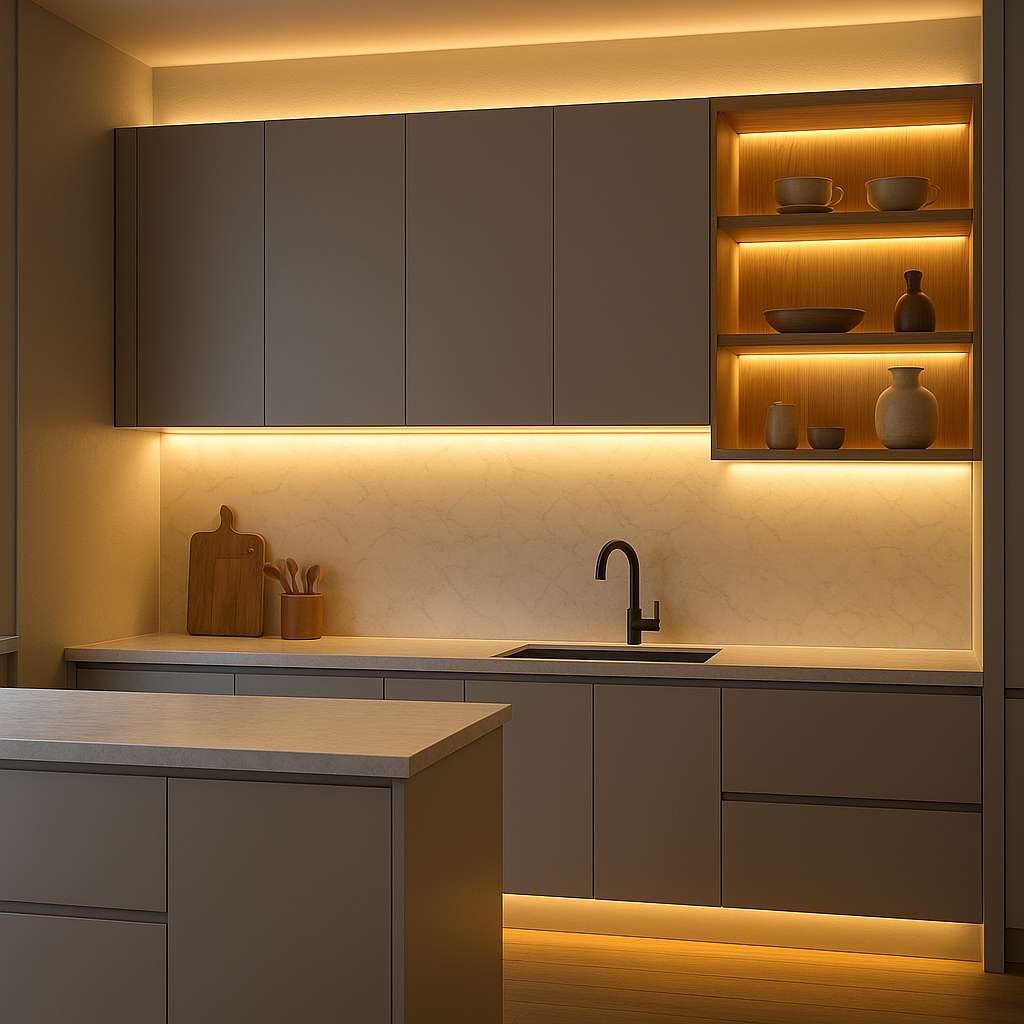
This is the strip to get right first. Ceiling lights sit behind you at the worktop, so your own shadow falls where you’re working. A strip under the wall units sits in front of you and lights the worktop with nothing in the way.
Fix it towards the front of the cabinet, about 5 to 7cm back from the front edge, not against the wall. Use 400 to 600 lumens per metre alongside downlights, up to about 800 if it’s the main worktop light or the worktops are dark, with CRI 90 or above so food looks the right colour. Fit it in an aluminium profile with an opal diffuser so you see a smooth line rather than dots reflected in the worktop. The full method, including strip versus pucks and linear bars, is in shadow-free under-cabinet lighting.
Plinth lighting
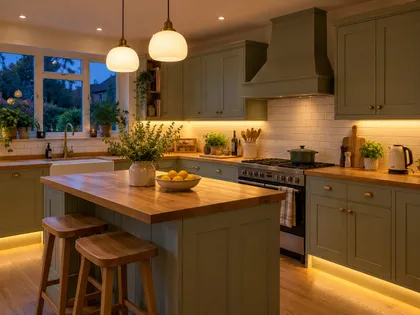
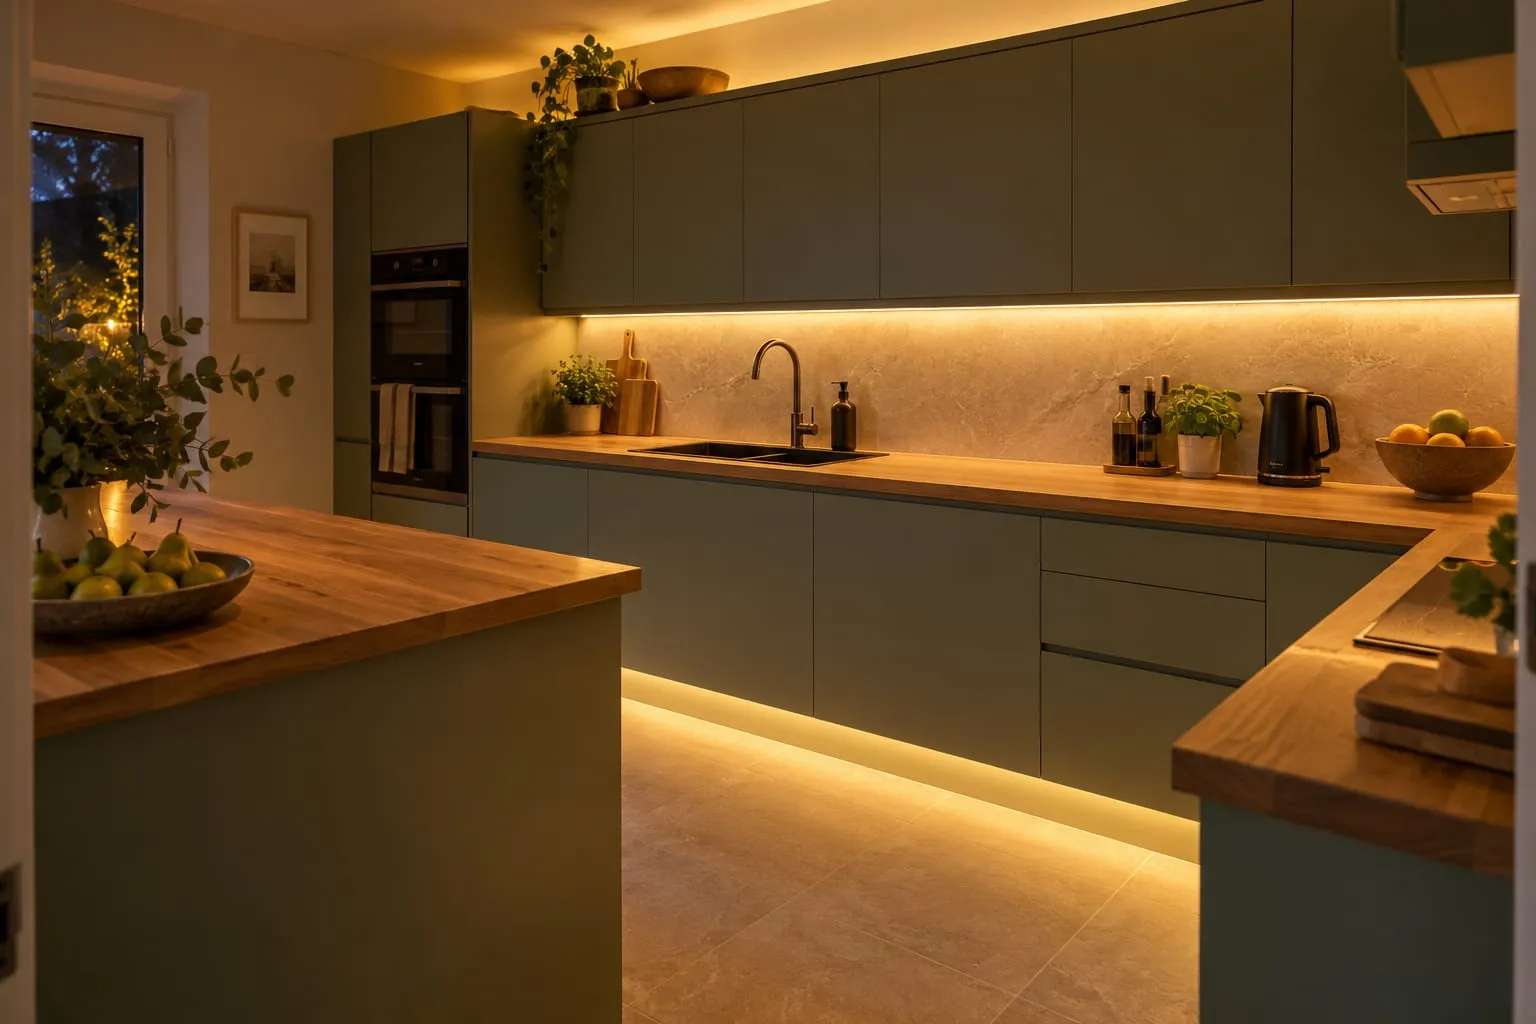
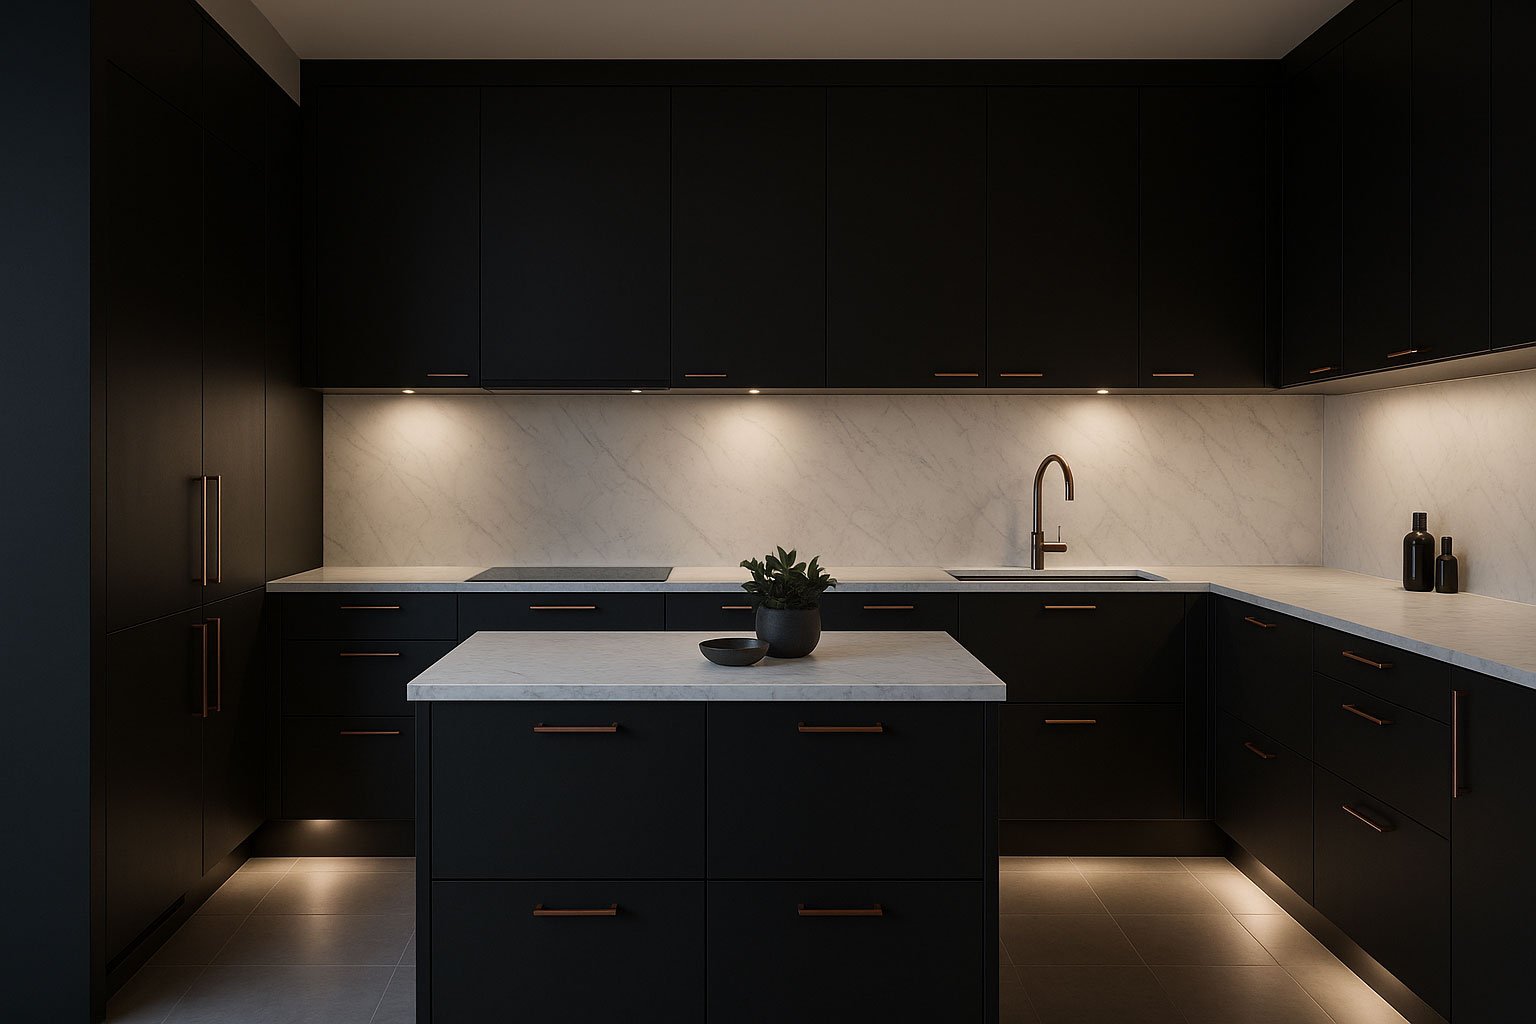
Plinth lighting is strip or small lights fitted at floor level, under the base units, so a soft line of light falls across the floor. It makes the units look as if they’re floating, gives you enough light to cross the kitchen at night without switching anything bright on, and turns the kitchen into a calmer space in the evening.
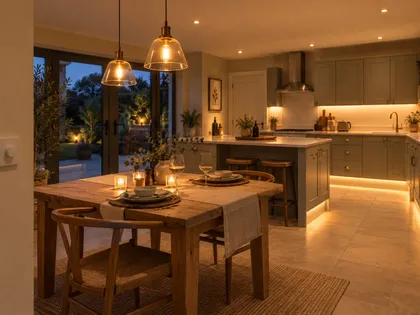
It suits modern, handleless and open-plan kitchens best, where the kitchen is on show from the sofa or dining table. In a traditional kitchen with a decorative plinth it can still work, but it’s less of a natural fit. It’s a mood layer, not a light to work by.

Strip or plinth spotlights
LED strip gives a continuous, even wash along the floor, and it’s what I’d choose in most kitchens. Use COB strip, which reads as one line, or ordinary strip in a deep profile with an opal diffuser.
Plinth spotlights are small round lights recessed into the face of the kickboard. They throw separate pools of light onto the floor, which looks more like a row of features than a floating unit. They’re easier to retrofit into an existing plinth and suit kitchens with lots of breaks in the run, but they need careful, even spacing or the pools look random.
Where to fit it
Fix the strip to the underside of the base units, just behind the top lip of the plinth, pointing down at the floor. Set it back far enough that you see the glow and never the strip when you’re standing. An angled profile on the top edge of the plinth board does the same job if there’s no room underneath.
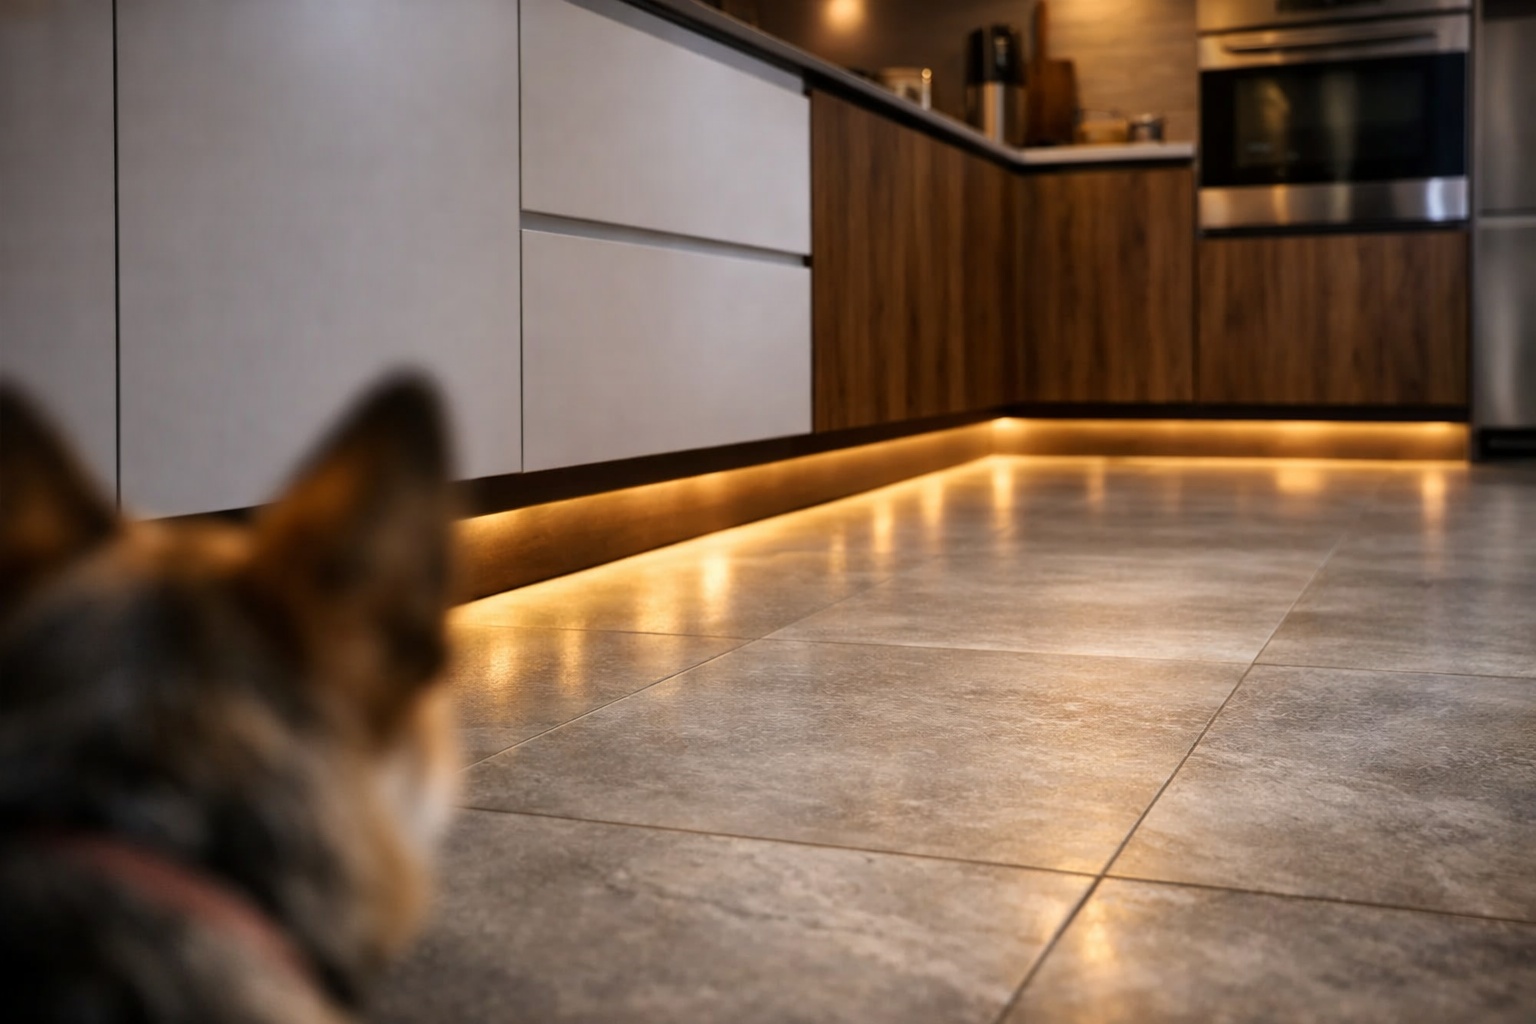
Watch the floor. Gloss tiles, polished concrete and shiny vinyl act like a mirror, and you’ll see every LED dot reflected unless you use COB strip or a deep profile with a milky diffuser. Matt floors are more forgiving. Run the light continuously round corners, as a gap at a corner shows up as a dark patch.
How bright, and what colour
Keep it low: about 100 to 300 lumens per metre, on a dimmer. Too bright and the plinth becomes the thing you notice, which spoils the effect. Use warm white, 2700K or 3000K, matched to the rest of the kitchen. Cool white at floor level looks clinical, and colour-changing strip rarely looks good in a kitchen for long.
Mops, spills and the driver
Plinths get splashed and mopped, so use IP65 strip or IP65-rated plinth lights there. Keep the driver off the floor, inside a cabinet or behind a section of plinth you can unclip, where it stays dry and you can reach it later.
Switching it on
Put plinth lighting on its own switch or dimmer so it can run on its own in the evening. A motion sensor is worth adding: walk in at night and the plinths come on at low level, then go off again a minute or two later. Smart controllers can switch it on at dusk and turn it down late at night; smart kitchen lighting scenes has ideas.
Adding it to an existing kitchen
It’s one of the easier upgrades, because most plinths simply unclip from the cabinet legs. The strip and profile fix to the underside of the units, and the plinth goes back. The question is power. A plug-in kit can run from a nearby socket; a neater hardwired job, from a switched spur or the lighting circuit, is for an electrician.
Islands and breakfast bars
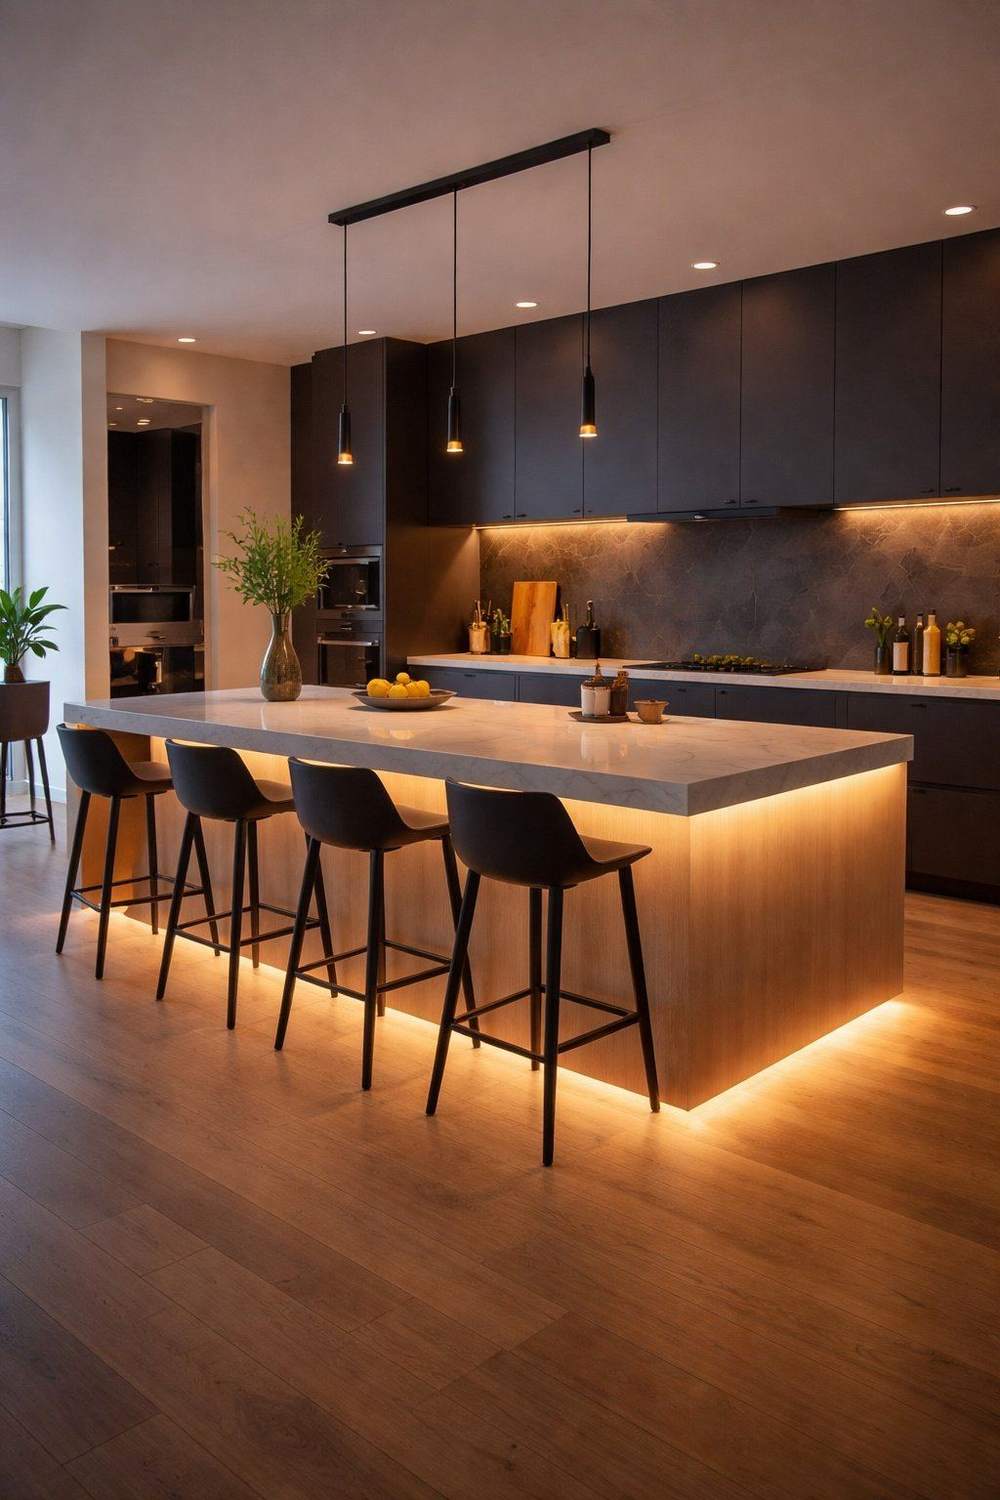
Plinth lighting round an island makes it look like it’s floating, and it works particularly well on handleless islands. If the island has a breakfast bar overhang, a strip tucked under the front edge of the worktop lights the panel below and gives a glow behind the stools. Keep it dim, around 150 to 300 lumens per metre, and set it back so it doesn’t shine in the eyes of anyone sitting there.
On top of the wall units
If there’s a gap between the top of the wall units and the ceiling, a strip on top bounces light off the ceiling and makes the room feel taller and softer. It needs a reasonable gap: with only a few centimetres you get a hard bright stripe rather than a wash. Fix it behind a small upstand or the cornice at the front edge so it can’t be seen from below, pointing up. Around 300 to 500 lumens per metre is enough, and a profile with a diffuser makes it easier to wipe, because the tops of wall units collect grease and dust.
Open shelves and glass cabinets
Strip under the front edge of an open shelf lights the shelf below and some of the worktop too, so it does a little task work as well as display. Use a slim profile set into or under the shelf so the strip can’t be seen. Routing a groove into the back of a chunky timber shelf gives a softer, backlit glow on the wall instead, which suits rustic shelving.
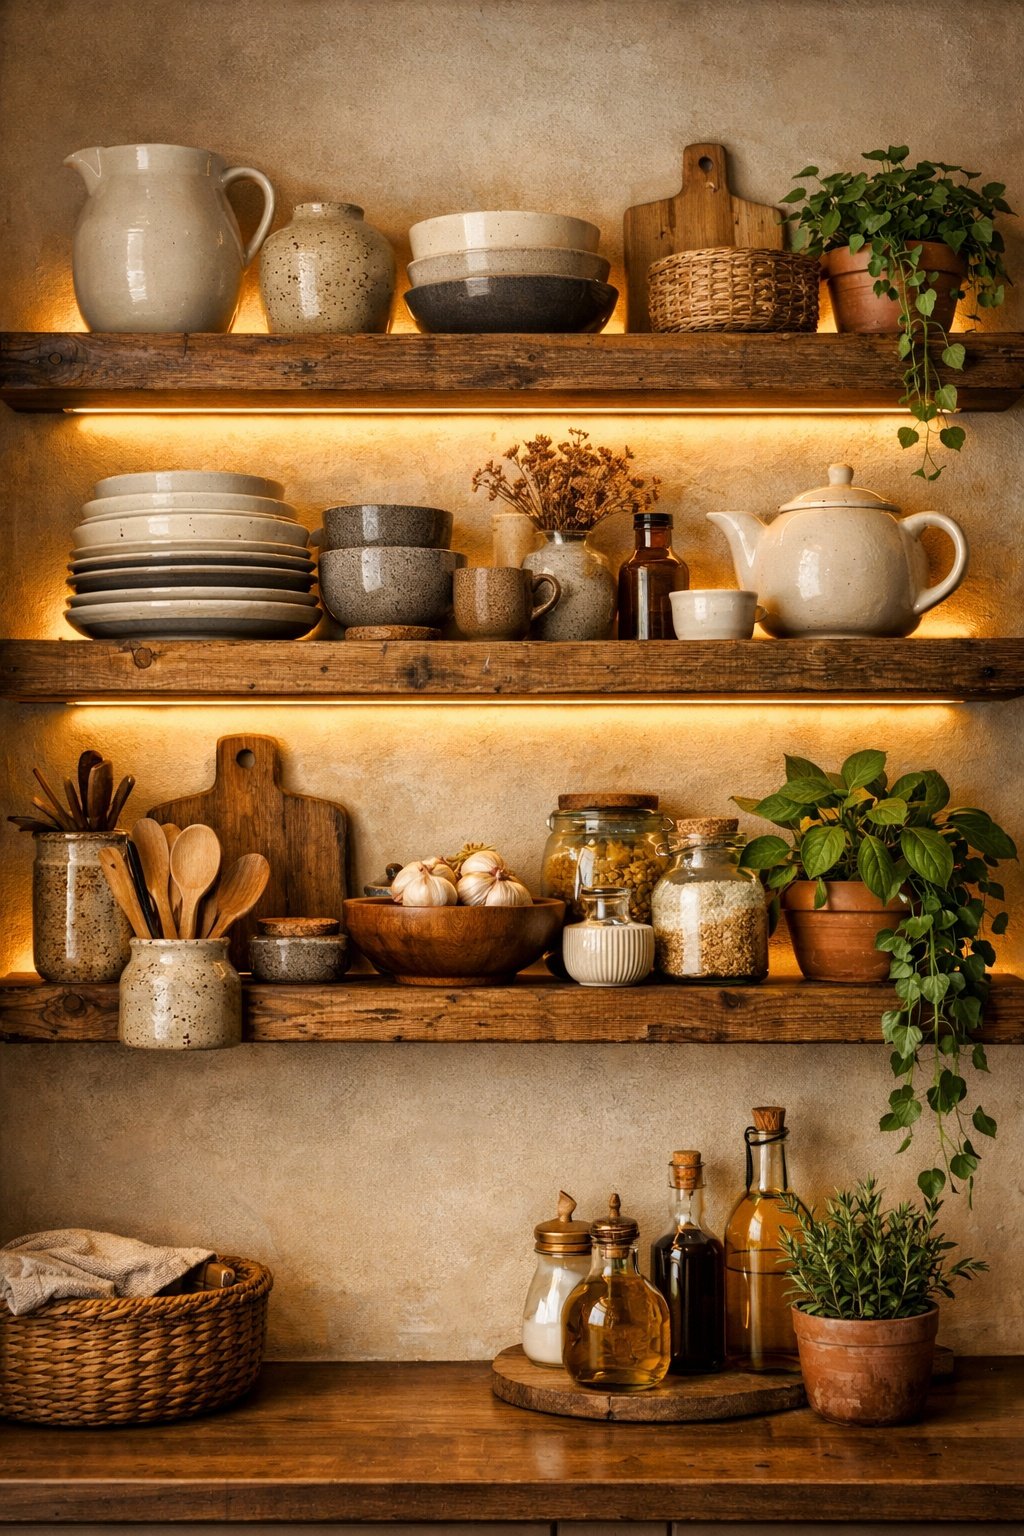
Inside glass-fronted cabinets, run strips vertically in the front corners, hidden by the frame, for even light over every shelf, or under each shelf to pick out what’s on it. Glass shelves let the light through to the shelves below. Keep it to 200 to 400 lumens per metre and on its own switch.
Choosing the strip
A few specs matter more than the rest. Brightness is lumens per metre, not watts. CRI should be 90 or above anywhere you look at food. Colour temperature should match your ceiling lights, usually 3000K; if your downlights are 4000K, match them at 4000K. The kitchen colour temperature guide explains the choice.
Strip comes in 12 V and 24 V. On runs over a few metres, 24 V holds its brightness to the far end better. Indoors away from water, ordinary IP20 strip is fine; use IP65 at floor level and close to the sink. Most strip can only be cut at marked points every few centimetres, so measure the run and check where the cuts fall before you buy.
Drivers, wiring and control
LED strip runs from a driver that turns mains into 12 V or 24 V. Size it with at least 20% to spare: 5m of strip at 10 W a metre is 50 W, so a 60 W driver. On long runs, feed the strip from both ends as well as using 24 V. If you want to dim it, the driver has to be dimmable and suit your dimmer, otherwise you’ll get flicker or buzz; fixing LED kitchen flicker goes through the usual causes.
Plug-in kits with an inline switch or a smart plug suit renters and quick upgrades. Hardwired strip controlled from a wall switch is neater, and it’s a job for an electrician, who’ll know whether the work needs notifying under Part P of the Building Regulations. Plan the switching before the kitchen goes in: task strips under the wall units on one switch or dimmer, and mood strips (plinths, cabinet tops, shelves) on another, so you can have one without the other.
Smart control can come from a smart driver or controller on the strip, a smart switch on the circuit, or a smart plug for plug-in kits. If you want app-controlled colour for cabinet tops or shelves, the Philips Hue Lightstrip Plus is the easy route, though it’s a mood light rather than a worktop light.
In a galley or small kitchen, strips under the wall units on both sides make the biggest difference; there’s more in galley and small kitchen lighting. With dark units, lean towards the top of each brightness range and keep everything diffused, so the light doesn’t show up as hard stripes against dark doors.
What I'd buy
Affiliate linksFAQs
Where should LED strips go in a kitchen?
Under the wall units first, for task light on the worktop. Then, if you want them, along the plinths, on top of the wall units, under open shelves and inside glass-fronted cabinets.
How bright should kitchen plinth lights be?
Around 100 to 300 lumens per metre, on a dimmer, in 2700K or 3000K. Plinth lighting should be a glow you notice in the evening, not a light to work by.
Can I add plinth lighting to an existing kitchen?
Usually, yes. Most plinths unclip, the strip fixes under the units, and the plinth goes back. Power comes from a plug-in kit or, more neatly, a hardwired supply fitted by an electrician.
Do LED strips need a diffuser?
Anywhere you can see the strip or its reflection, yes. A profile with an opal diffuser turns the dots into a smooth line. COB strip needs less help, but a profile still protects it.
Are LED strips expensive to run?
No. A 5m plinth run at around 4 W a metre uses 20 W, so four hours every evening is under 0.1 kWh a day: a couple of pence at current UK prices.
 Save
Save it for later
Pin this guide to one of your Pinterest boards so it's there when you start the job.