
Open-plan kitchen diner lighting zoning uses brightness, placement and control to define different areas within a shared space.
This guide explains how lighting is commonly used to zone open-plan kitchen-diner layouts, focusing on fixture placement, colour temperature, control rather than decorative style and how to create distinct lighting zones that remain visually consistent, using placement, brightness, and control.
Further detail is available in our kitchen colour temperature guide:
How lighting is used to zone open plan spaces
Table of Contents
Why Zoning Matters in Open-Plan Spaces
Open-plan rooms are amazing — until everything blends into one glowing rectangle.
Lighting creates structure without walls:
- Defines where you cook, eat, sit, entertain
- Guides movement & sightlines
- Adds depth + highlight focal points
- Makes one room feel like many — elegantly
Lighting layout helps define how each part of the space is used.
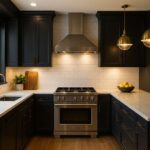
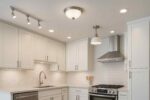
Zone 1: The Kitchen (Bright, Practical, Focused)
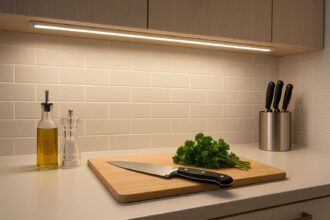
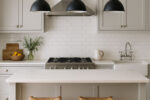
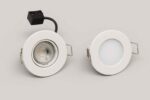
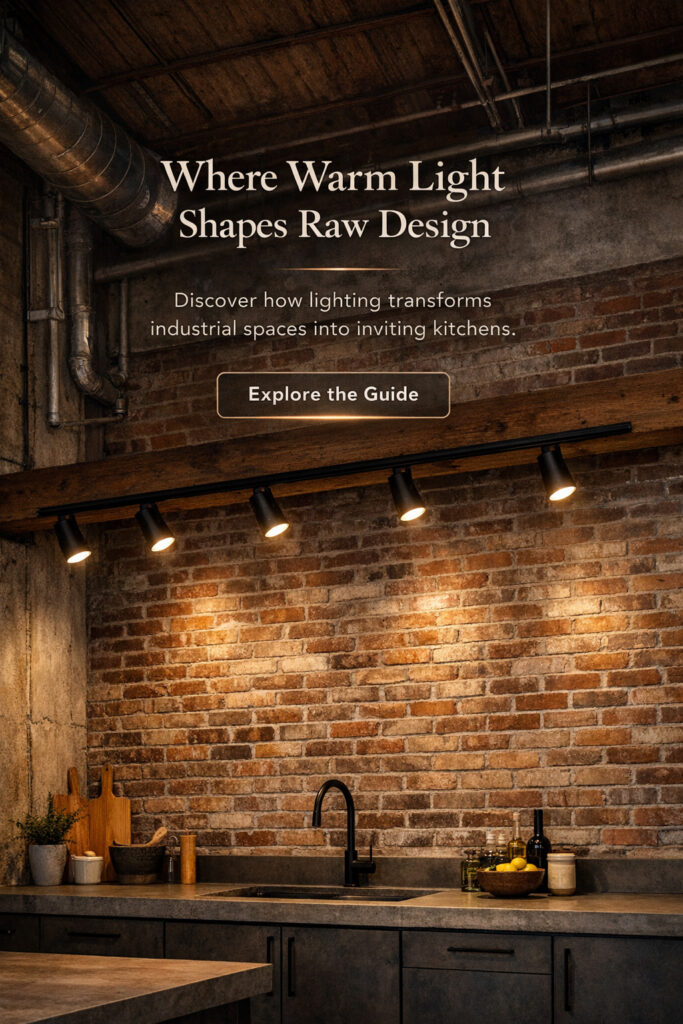
Kitchen task lighting is typically brighter and more neutral to support food preparation and cleaning. Downlights, linear fittings, and under-cabinet lighting are commonly used to provide even coverage over work surfaces.
Use:
- Recessed downlights
- Under-cabinet LED strips
- Adjustable track heads (optional)
- 3000–3500K daytime clarity
Placement rules:
- Downlights above counters, not the walkway
- Strips under all wall cabinets (shadow killer)
- Optional track lighting to target splashback + prep zones
- Pendants only if out of head/heat path
Brightness here should be highest in the whole room.
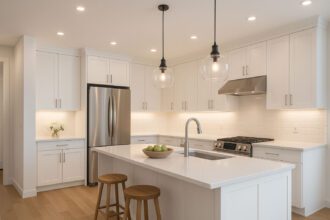
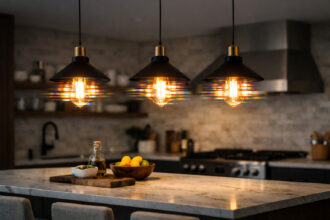
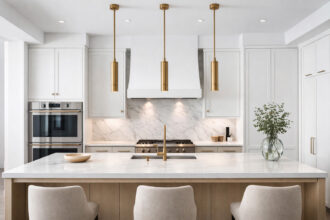
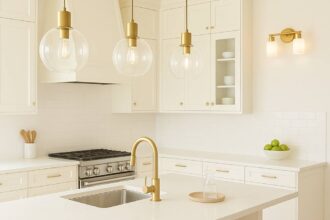
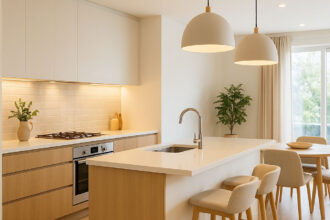
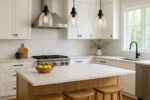
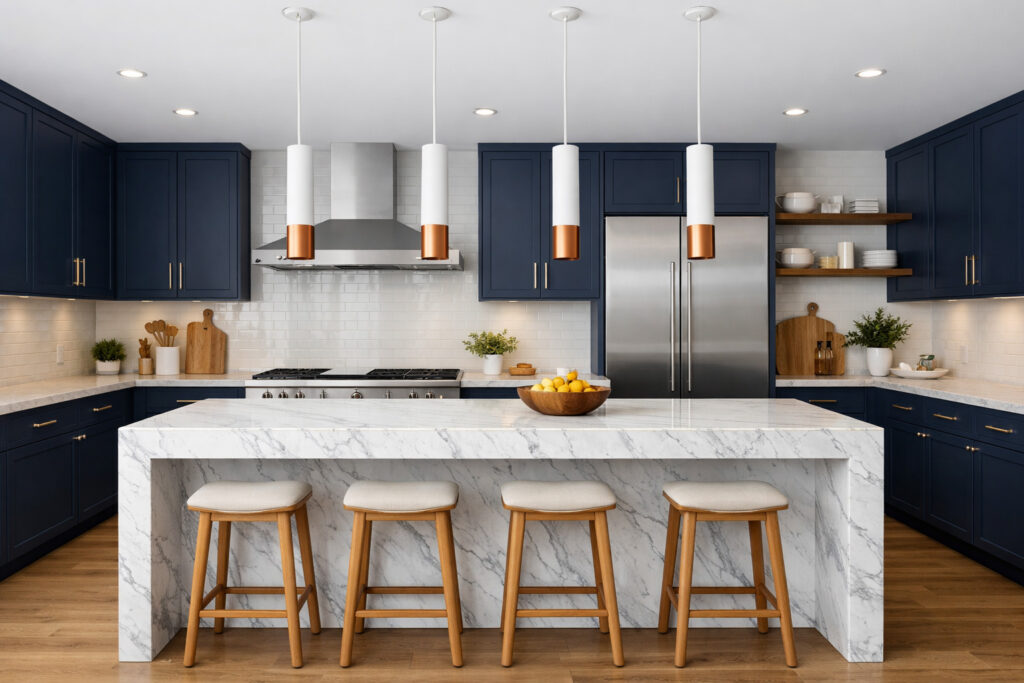
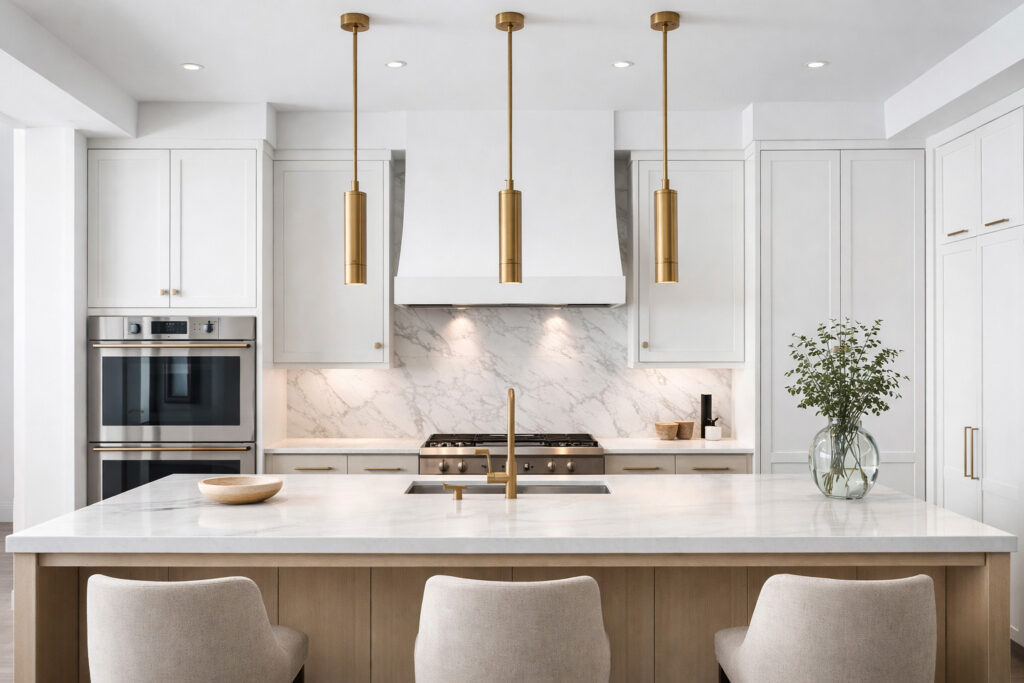
Zone 2: The Island or Breakfast Bar (Task and separation)
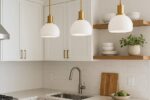
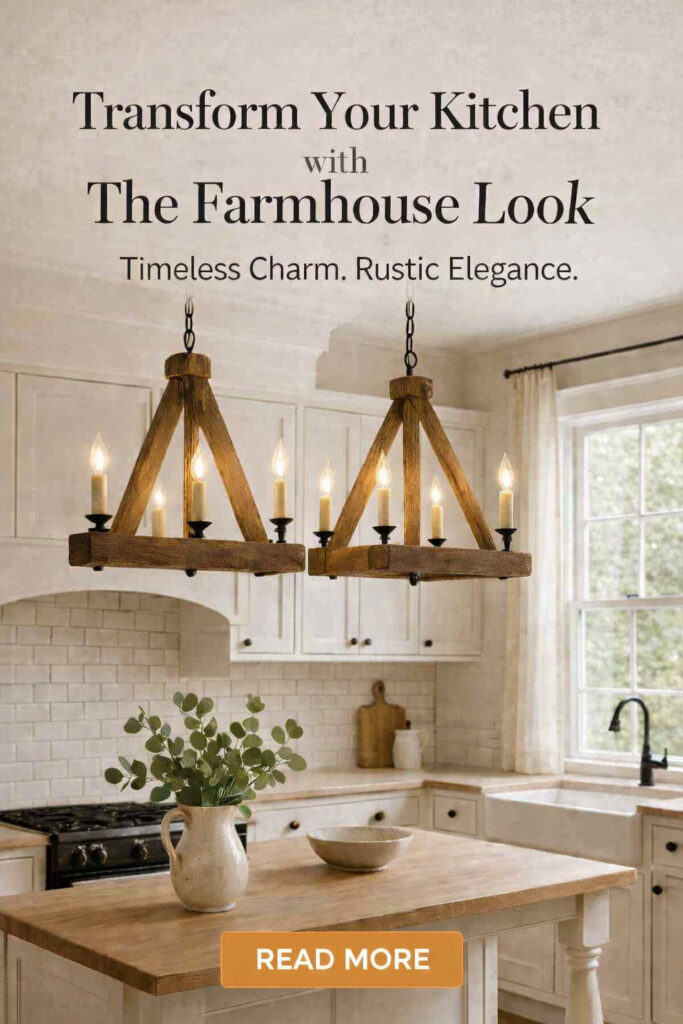
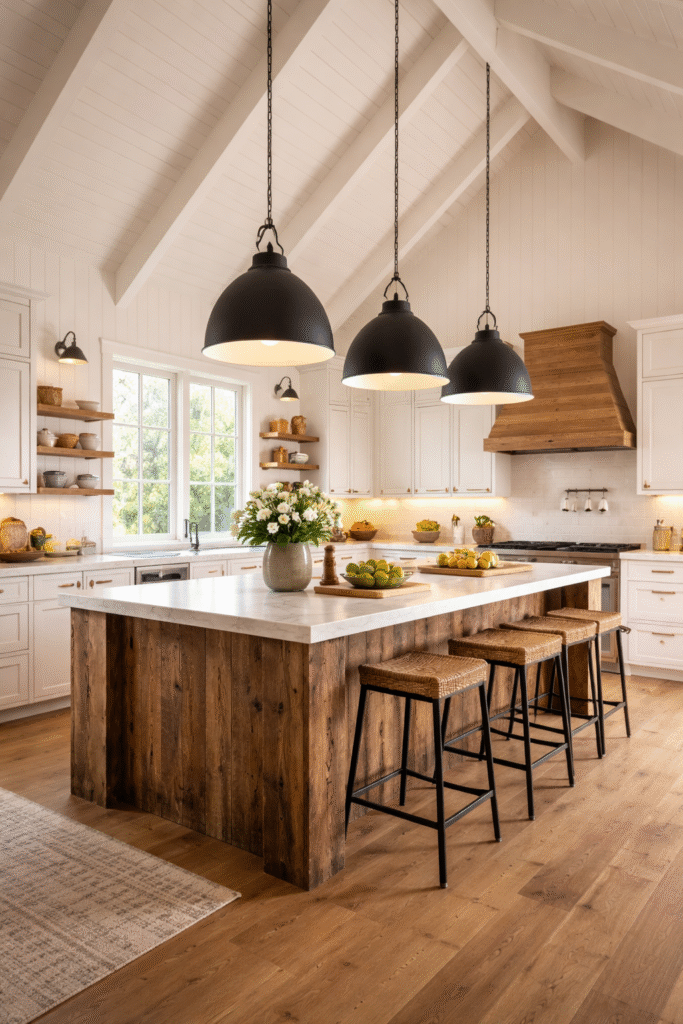
Island lighting often serves both task and visual separation purposes. Pendants or linear fittings above the island help distinguish it from surrounding areas while still contributing to overall light levels.
Best choice:
PENDANTS
Choose:
- 2 or 3 statement pendants
- Opal or frosted for softness
- Brass/black metal for contrast
- Tinted glass if glare control is needed
Height:
70–90cm above island worktop
Colour temp:
2700–3000K for golden glow
Further detail is available in our kitchen pendant ideas & heights guide:
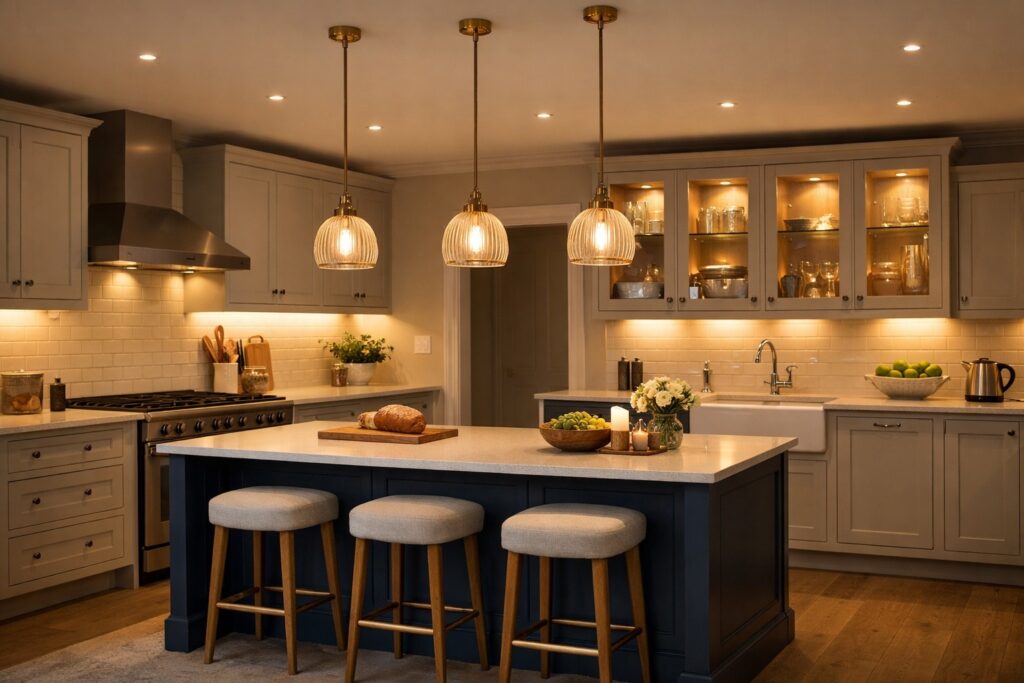
Zone 3: The Dining Area (Warm, Slow, Relaxed)
Dining areas are usually lit with lower brightness than the kitchen zone. Pendant lights or dimmable fittings are commonly used to visually separate the dining table from adjacent work areas.
Best lighting types:
- Pendants over the table
- Linear bars for long tables
- Multi light fittings where appropriate
- Diffused shades to reduce glare
Use dimmers here – essential.
Lower brightness and warmer settings are commonly used here.
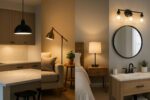
Zone 4: Living / Chill Area (Glow, Not Glare)
Living areas within open-plan layouts typically rely on lower-level lighting such as wall lights, floor lamps, or indirect sources. These fittings reduce contrast and help differentiate the space from brighter task zones.
Use:
- Floor lamps + table lamps
- Wall lights to add lower-level illumination
- Low-level lighting like plinth/foot lighting
- 2700K evening colour temp
Avoid recessed grid ceiling everywhere – too commercial.
This area typically uses lower-level lighting to reduce contrast with task zones.
The Secret Sauce: Dimming Controls
Dimming helps adjust brightness across zones at different times of day.
Use separate controls for:
- Kitchen task lights
- Island pendants
- Dining fixtures
- Living / lamp areas
Separate switching supports independent control of each zone.
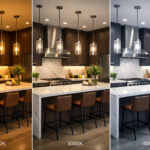
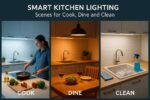
Colour Temperature Blending (Super Important)
Different colour temperatures are often used across zones to support how each area is used. Neutral or cooler tones are common in task areas, while warmer tones are more often used in dining and living zones.
| Space | Kelvin | Energy |
|---|---|---|
| Kitchen prep | 3000–3500K | Task focused |
| Island + dining | 2700–3000K | General use |
| Living lounge | 2700K | Lower brightness |
Higher Kelvin appears cooler
Lower Kelvin appears warmer
Kitchen Colour temperature guide:
How to Blend Zones Seamlessly (So It Feels One Space)
Lighting can define zones without making the space feel disjointed.
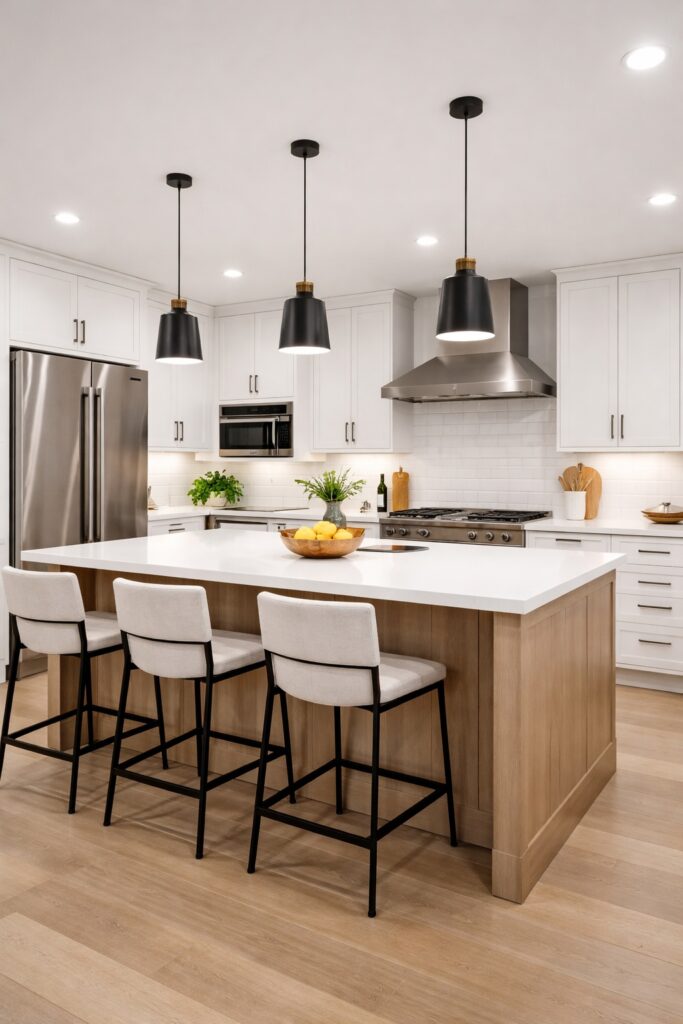
Keep cohesion by:
- Repeating finishes: black trims + black pendants
- Matching colour temp across all fixtures
- Using one continuous under-cabinet strip line
- Letting brightness gently step down room-to-room
Aim for a gradual change in brightness between zones.
Kitchen = brightest
Island = focal lighting
Dining = lower brightness
Lounge = lowest brightness
Quick Copy-Paste Layout Plans
Open-Plan with Island (Most Common)
- Downlights over counters
- LED strips under cabinets
- 2–3 pendants over island
- Pendant over dining table
- Floor lamp or sconce in lounge zone
- Dimmers everywhere
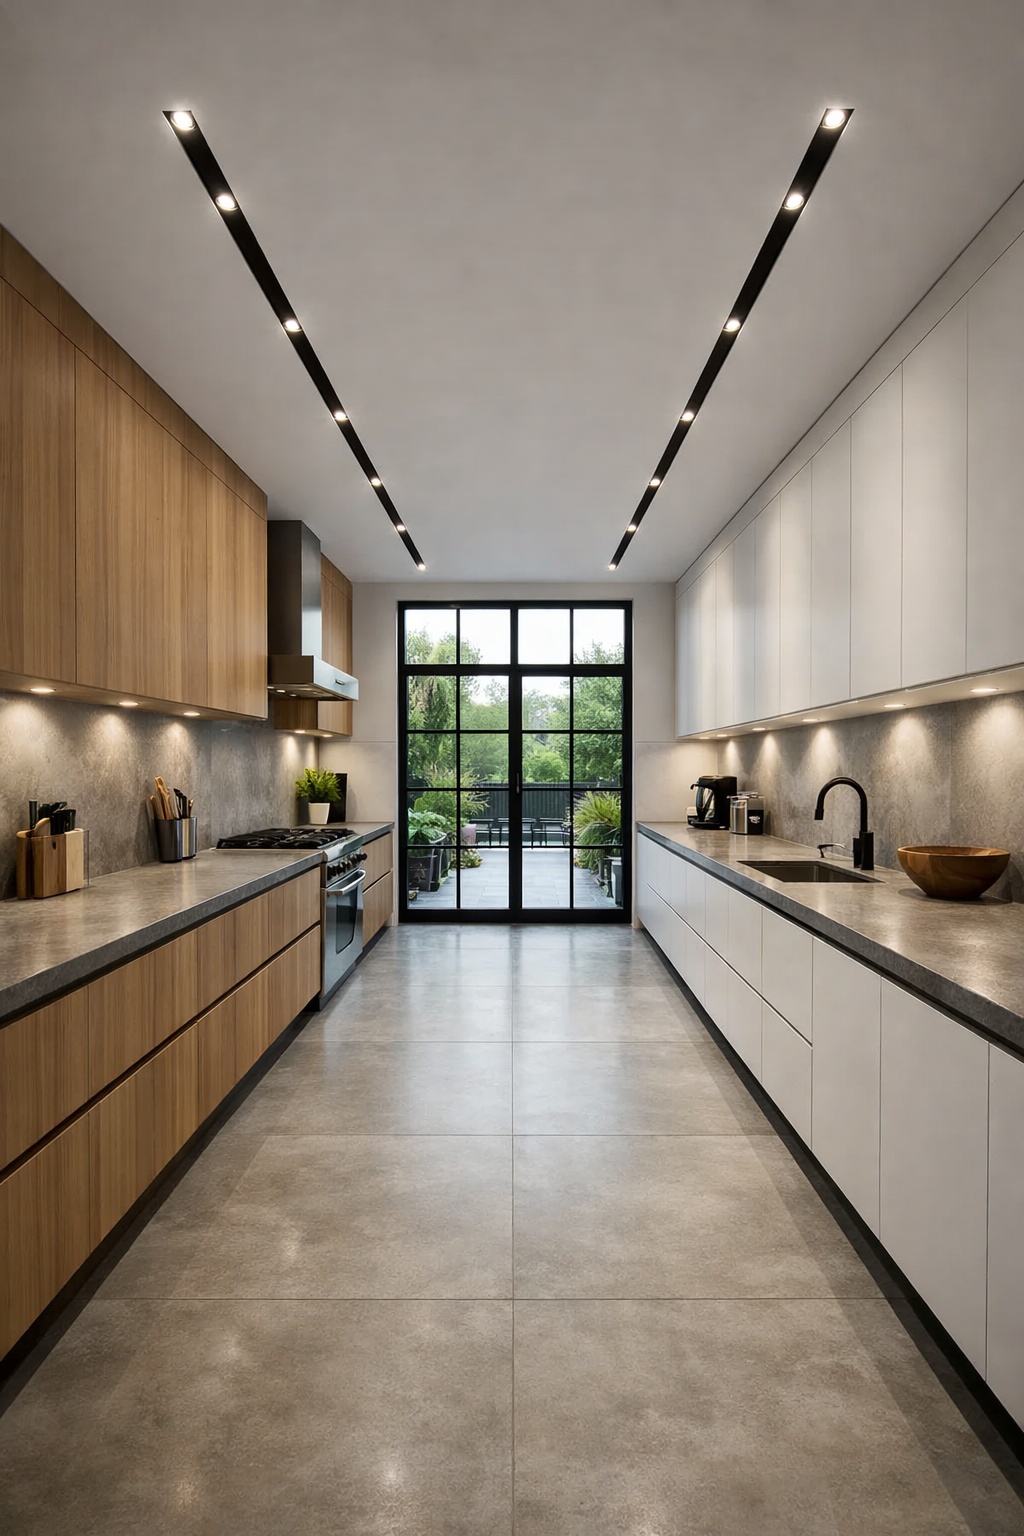
One-Wall Kitchen + Diner
- Track lighting aimed at countertop
- LED strip runs full length under cabinets
- Statement pendant at dining area
- Warm table lamp to soften backdrop
L-Shape + Dining Corner
- Recessed over both counter legs
- Plinth lighting for night time
- One bold pendant over table
- Optional wall wash behind bench seating
Mistakes That Ruin Open-Plan Lighting
- Same brightness everywhere can make the space feel flat.
- No under-cabinet lighting = harsh shadows
- Cool colour temperatures in dining areas can feel overly harsh.
- Pendant too high = dead spotlight, no intimacy
- Only ceiling lights, no layers = flat + dull
Fix: define zones and use separate dimming where possible.
Evening lighting settings
In the evening, many households reduce overall brightness and rely more on lower-level lighting:
- Kitchen downlights low
- Under-cab strip on warm glow
- Pendants over island/dining as main light
- Lamps in lounge area only
This helps reduce glare and keeps the space comfortable to use.
FAQ – Quick Answers
Q1: How do I separate kitchen + dining without walls?
Use different lighting layers – task vs pendant vs ambient.
Q2: Should zones be the same colour temperature?
Yes – match kelvin, vary brightness.
Q3: How high should pendants hang over an island?
About 70–90cm above worktop.
Q4: Do I need dimmers?
Dimmers help control each zone independently.
Q5: Should the kitchen be brightest?
Usually yes – dining + lounge get dimmed softer.
Conclusion
Lighting is a key tool for zoning open-plan kitchen-diner spaces without relying on physical dividers. By varying brightness, fixture type, and colour temperature, different areas can be clearly defined while maintaining a cohesive layout.
Planning lighting zones early helps ensure each part of the space remains practical and comfortable to use throughout the day.
More on colour temperature:
External Safety Guide – NICEIC
Safety in the kitchen
https://niceic.com/householders/kitchens-and-electrics-what-you-need-to-know