Open-plan kitchen-diner lighting: how to zone it with light


Mike's quick answer
Zone an open-plan kitchen-diner by brightness and switching, not by changing the colour of the light. Make the kitchen the brightest area, mark the island and table with pendants, light the living end with lamps and wall lights, and put each zone on its own switch or dimmer.
An open-plan kitchen-diner has to be three rooms at once: a workspace, somewhere to eat and somewhere to relax. Light it all the same way and it becomes one bright box. The worktops might be fine, but at nine in the evening you’re sitting on the sofa under the same downlights you cooked by.
Lighting is the easiest way to divide the space without walls. You do it with three things: how bright each area is, what kind of fitting lights it, and being able to switch each area on its own. Get those right and the room changes with what you’re doing in it.
How zoning with light works
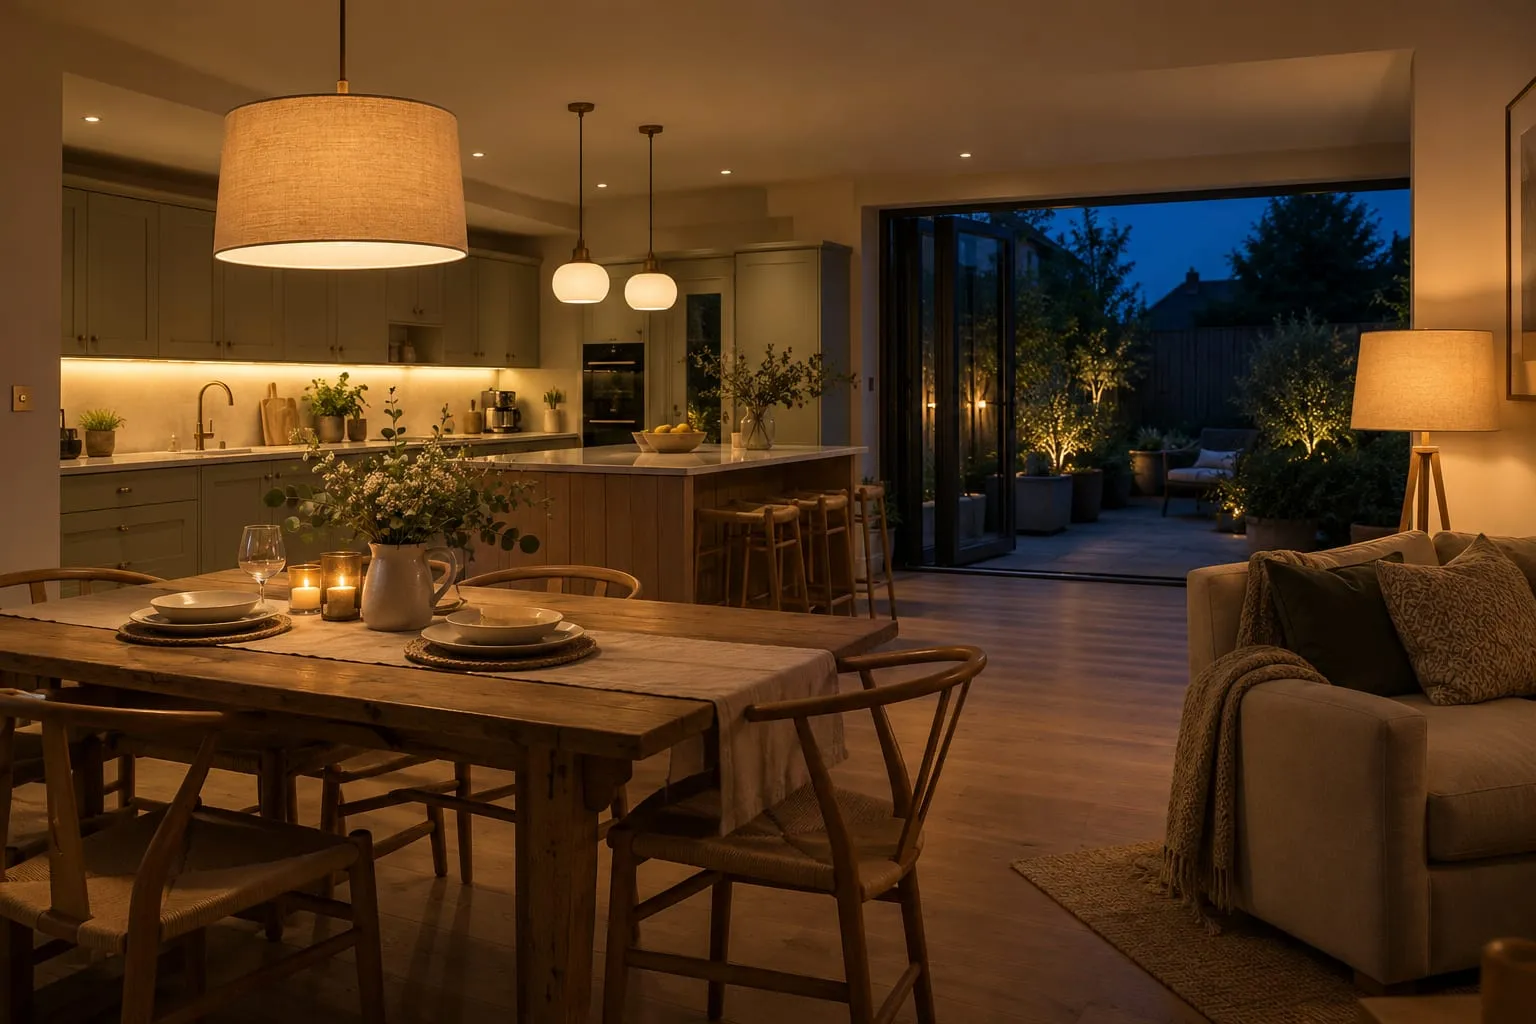
Each zone gets the light its job needs. The kitchen needs bright, even light on the worktops. The dining table needs a focused, dimmable pool of light over it. The living area needs low, soft light from lamps and wall lights. Stepping the brightness down from one end of the room to the other is what makes the zones read as separate areas.
The type of fitting does the rest. Downlights and under-cabinet strips say “kitchen”. A pendant over the table says “dining”. Lamps say “living room”. You don’t need different colours of light to mark the zones, and I’d avoid it.
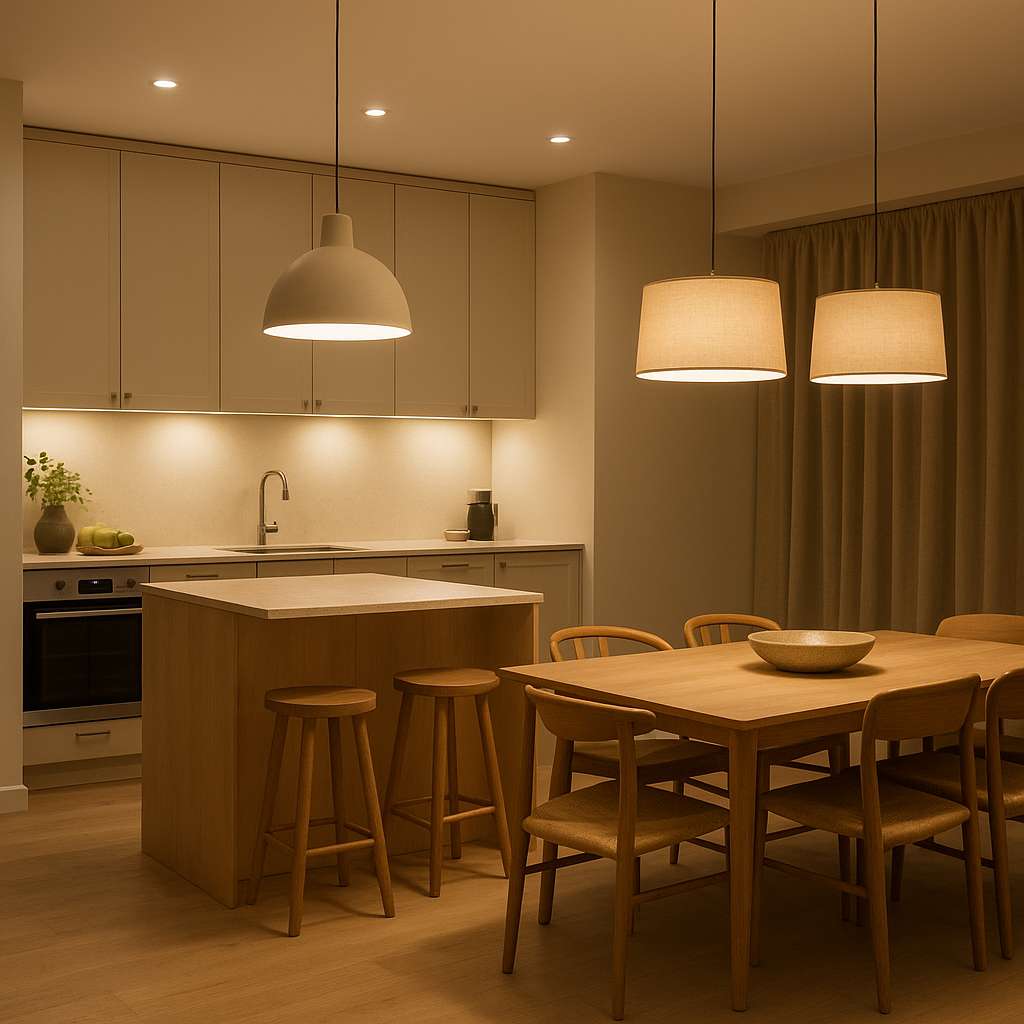
The zones at a glance
| Kitchen | Island | Dining | Living | |
|---|---|---|---|---|
| Job | Cooking, prep, cleaning | Prep, eating, marking the zone | Meals, homework, guests | Relaxing, TV |
| Main lights | Downlights, under-cabinet strips | Pendants | Pendant or linear fitting | Lamps, wall lights |
| Brightness | Highest | High, dimmable | Medium, dimmable | Lowest |
| White | 3000K | 2700–3000K | 2700–3000K | 2700K |
The kitchen zone
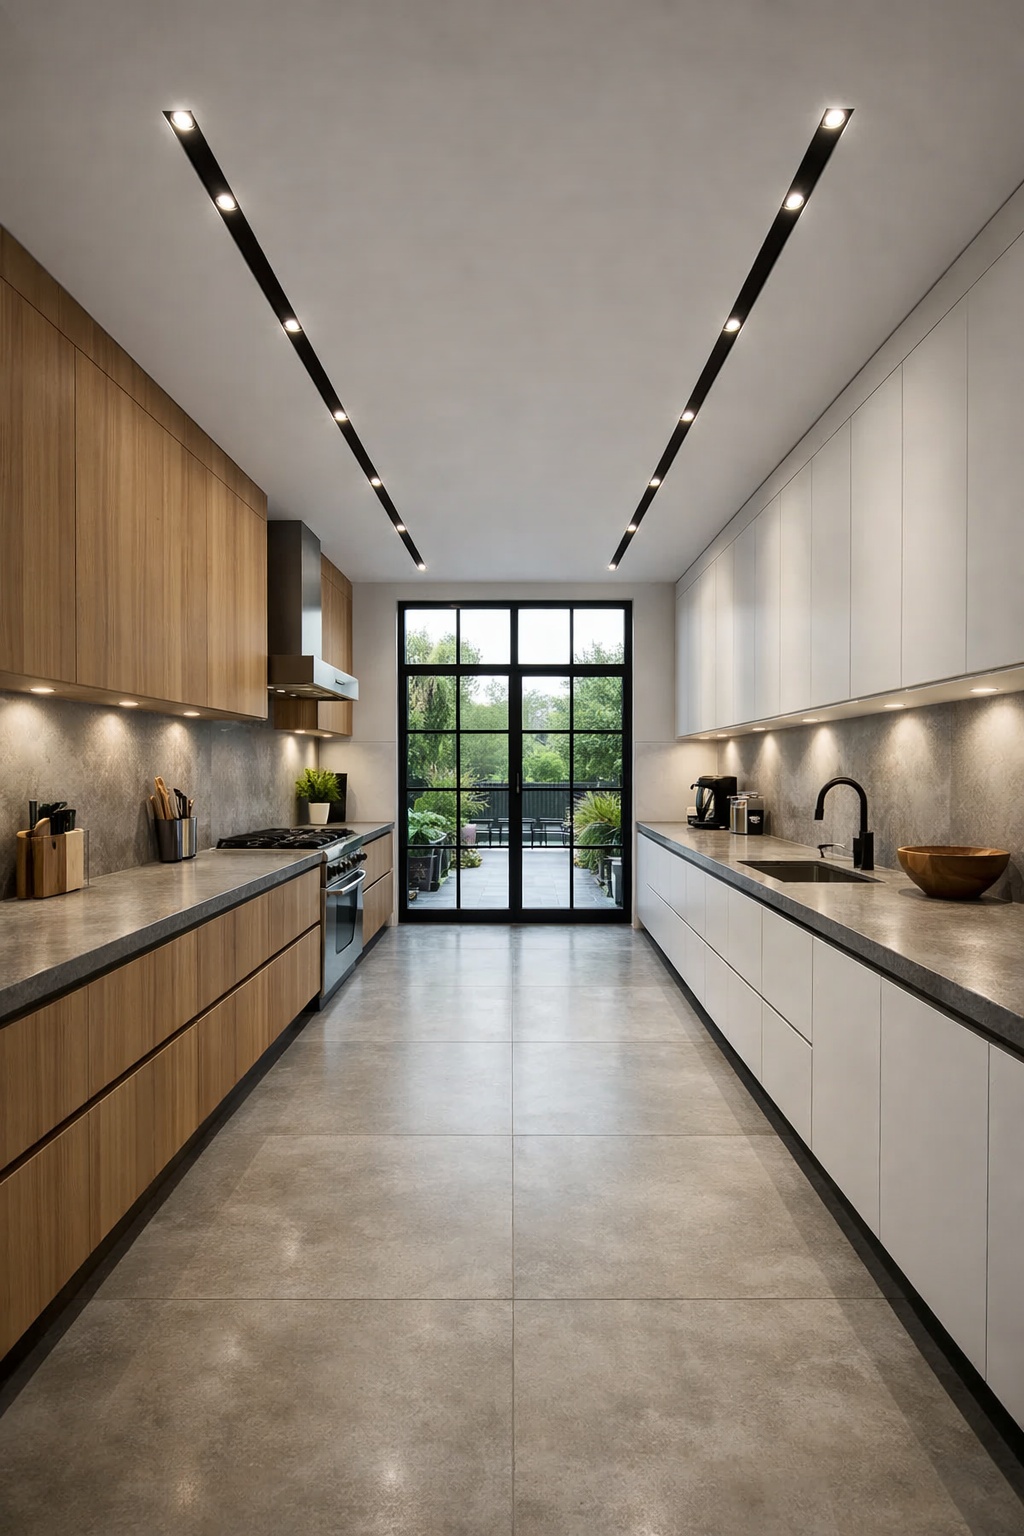
This is the working end, and it should be the brightest part of the room. Downlights do the general light, but put them over the worktops, roughly over the front edge and about 60 cm out from the wall, not over the walkway. The kitchen downlight spacing guide has the layouts.
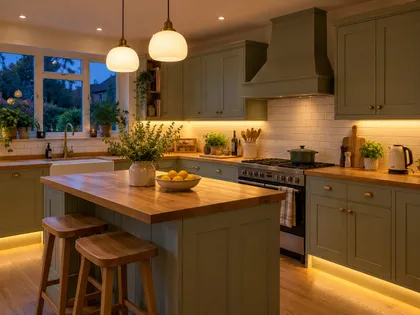
Under-cabinet strips are the most important light here. They light the worktop from the front, so you’re never working in your own shadow, and on a dimmer they double as a soft evening light. Run them under every wall unit. More on this in the under-cabinet lighting guide.
If the ceiling won’t take downlights, a track with heads aimed at the worktops does the same job. Keep pendants out of the cooking area itself: steam, heat and your head all get in the way.
The island zone
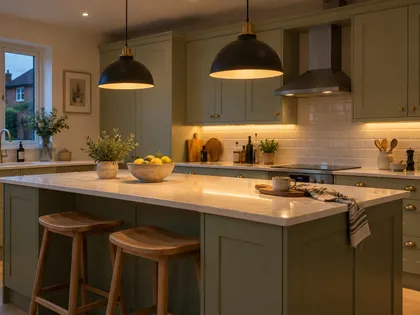
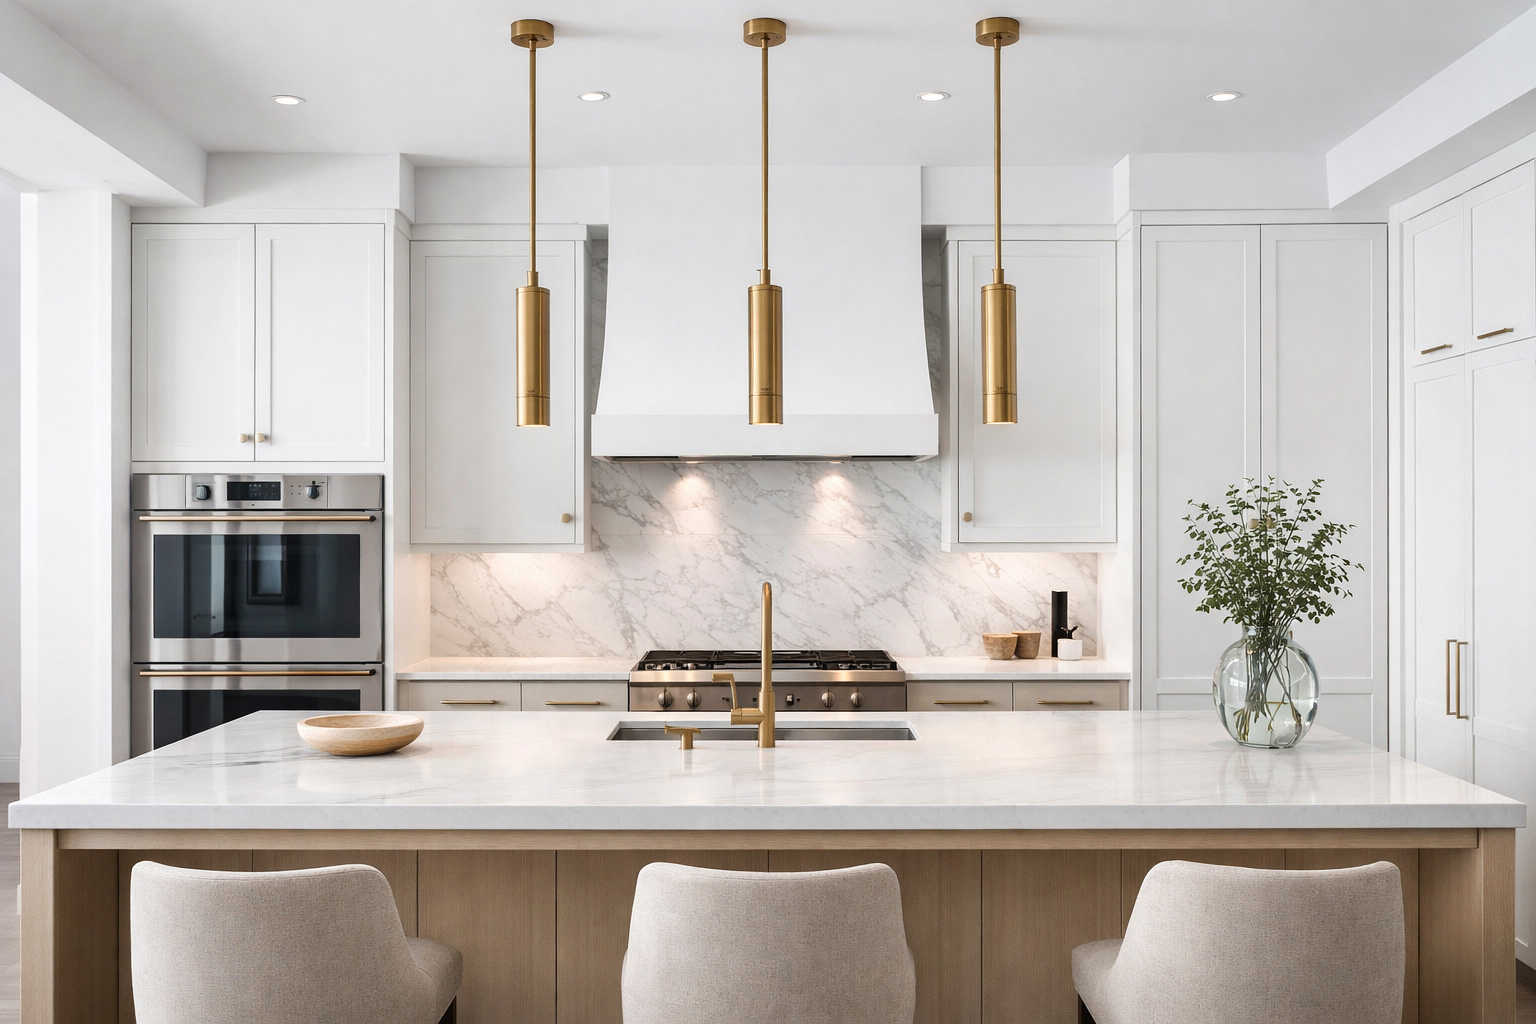
The island sits between the kitchen and the rest of the room, so its lights do two jobs: light the worktop and mark the edge of the kitchen. Pendants are the usual answer. Under 1.5 metres, use one large pendant or two small ones. From 1.5 to 1.8 metres, use two, and from 1.8 to 2.4 metres, three or two large. Past 2.4 metres, three or a single linear pendant works well.
Hang them with the bottom of the shade about 70 to 90 cm above the worktop. Opal or frosted shades, or ones that hide the bulb, avoid glare when you’re sitting at the island. The full detail is in how high to hang kitchen island pendants.
Put the island pendants on their own dimmer. Bright, they help with prep; dimmed, they become the link between the kitchen and the dining area.
The dining zone
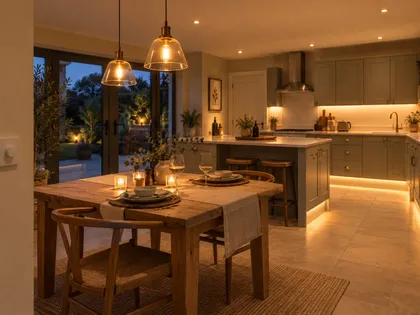
The dining table wants its own light, centred on the table. A pendant, a cluster or a linear fitting over a long table creates a pool of light that defines the eating area better than anything else. Hang it about 70 to 90 cm above the tabletop, low enough to feel intimate but high enough to see across the table. A single shade about half to two-thirds the width of the table usually looks in proportion; a linear fitting about two-thirds of its length. There’s more on height and size in how high to hang pendants over a dining table.
Choose diffused shades so nobody gets a bare bulb in their eyes, and put it on a dimmer. This is the light you’ll have low for dinner and up full for homework or a board game.
The common mistake is a dining pendant on the old ceiling point rather than over where the table actually sits. Decide the table position before the electrician starts, and ask for a little spare cable at the ceiling point if you think you might move it.
The living zone
The living end should be the softest part of the room. A grid of downlights here makes it feel like an office. Use floor lamps, table lamps and wall lights instead, so the light sits lower in the room and feels warmer. A few downlights on a dimmer are fine for general light when you need it, but they shouldn’t be the main light in the evening.
Warm 2700K bulbs suit lamps and wall lights here. Low-level lighting, such as a strip behind the TV unit or under floating shelves, adds depth without much brightness. The living room lighting guide covers this end of the room in more detail.
Switching and dimming
Zoning only works if you can control each zone on its own. As a minimum, give these their own switch or dimmer:
- Kitchen downlights
- Under-cabinet lights
- Island pendants
- Dining light
- Living lamps and wall lights
Put switches where you’ll use them: the kitchen switches by the kitchen, the dining light near the table or the door you come in by, and two-way switching if the room has more than one entrance. A multi-gang dimmer plate keeps it tidy. Use trailing-edge dimmers designed for LED, and check every light is dimmable.
New circuits are notifiable under Part P of the Building Regulations in England; adding switches to an existing lighting circuit isn’t, but the work must still meet BS 7671. Either way, plan the zones before the first fix, while the walls are open. It’s cheap to add a switch drop at that stage and messy afterwards.
Smart controls make it easier still. Save a few scenes, such as cooking, dining and evening, and one button sets every zone at once. The smart kitchen lighting guide shows how to set them up.
Colour temperature across the zones
This is where I’d keep it simple. Use the same white, usually 3000K, for all the fixed lights in the kitchen and island. Let the dining and living areas go a touch warmer through pendants and lamps at 2700K. A small step like that feels natural, especially in the evening.
What doesn’t work is a big jump: 4000K kitchen downlights next to 2700K table lamps makes the kitchen look clinical and the rest of the room look orange. If you want crisp light for cooking and warm light for eating from the same fittings, tunable white lights can change on demand. The colour temperature guide for kitchens has more on choosing.
Keeping it one room
Zones should feel like parts of one room, not three rooms that happen to share a floor. A few things hold it together:
- Repeat finishes. If the pendants are black, use black for the track or wall lights too.
- Keep the whites close, as above.
- Step the brightness down gradually from kitchen to island to dining to living, rather than a bright kitchen next to a dark lounge.
- Run the under-cabinet strip as one continuous line where you can.

Three layouts that work
Kitchen with island and a dining table
Downlights over the worktops, under-cabinet strips, two or three pendants over the island, a pendant or linear fitting over the table, and lamps or wall lights at the living end. Everything on a dimmer.
One-wall kitchen and diner
Track or downlights aimed at the worktop, a full-length strip under the wall cabinets, a statement pendant over the table, and a table lamp or wall light to soften the far wall.
L-shaped kitchen with a dining corner
Downlights over both legs of the L, plinth lights for the evening, a single pendant over the table, and an optional wall washer or wall lights behind any bench seating.
The evening setting
The test of an open-plan scheme is nine o’clock at night. Kitchen downlights off or very low, under-cabinet strips dimmed to a glow, the island or dining pendant as the main light, and lamps on at the living end. If you can set the room like that from the switches by the door, the zoning works.
Common mistakes
Most problems come from treating the room as one space. The same brightness everywhere makes it flat. A grid of downlights across the whole room makes the living end feel commercial. Cool light over the dining table is unflattering. A dining pendant hung too high gives a harsh spotlight instead of a pool of light. And no under-cabinet lighting leaves the worktops in shadow however many downlights you add. For the wider list, see kitchen lighting ideas.
FAQs
How do I separate a kitchen and dining area without walls?
Use different kinds of light for each area and switch them separately: downlights and under-cabinet strips in the kitchen, a pendant over the table, and lamps or wall lights at the living end.
Should every zone be the same colour temperature?
Keep the fixed kitchen lights the same, usually 3000K. Pendants and lamps in the dining and living areas can be a little warmer at 2700K. Avoid big jumps, such as 4000K next to 2700K.
How high should a pendant hang over a dining table?
About 70 to 90 cm above the tabletop, measured to the bottom of the shade. Lower feels more intimate; higher makes it easier to see across the table.
Do I need dimmers in an open-plan kitchen-diner?
They make a big difference. A dimmer on each zone lets the same room go from bright for cooking to soft for eating and relaxing.
Should the kitchen be the brightest part of the room?
Yes. It’s where you need light for safe, accurate work. The dining and living areas can be dimmer and warmer.
 Save
Save it for later
Pin this guide to one of your Pinterest boards so it's there when you start the job.