Kitchen downlight layout: how many you need and how far apart

Some links below are affiliate links: if you buy through them I may earn a small commission, at no extra cost to you. As an Amazon Associate I earn from qualifying purchases. How LightGuru makes money

Mike's quick answer
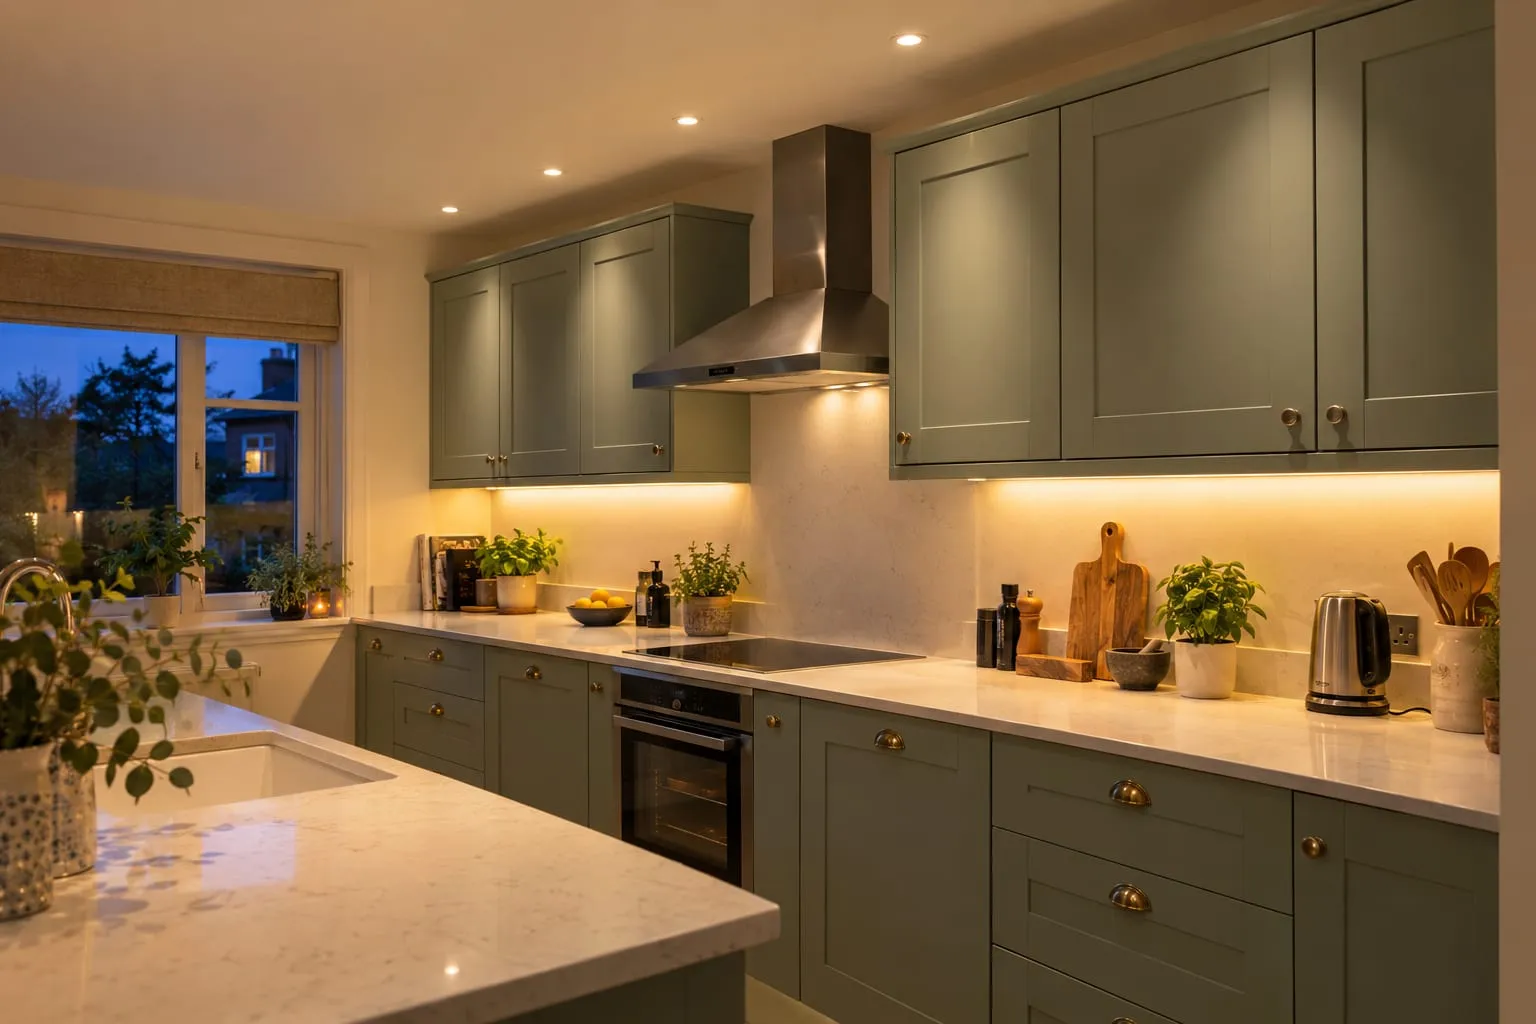
On a standard 2.4 m ceiling, space kitchen downlights about 1.2 to 1.5 m apart, in a line roughly over the front edge of the worktop, about 60 cm out from the wall. For the number, allow about 300 lumens per square metre: a 12 m² kitchen needs around six 600-lumen fittings or eight to nine GU10s.
The downlight layout gets decided early on a kitchen job, often before the units are even fitted, and once the holes are cut it’s hard to change. Get it right and the worktops are evenly lit, with no shadow where you’re chopping. Get it wrong and you have bright cupboard doors, dark worktops and a row of holes you can’t easily move.
Three numbers decide it: how many fittings the room needs, how far apart they go, and how far out from the wall the line sits. The last one matters most, and it’s the one that most often goes wrong.
How many downlights do you need?
Start with light, not fittings. I allow about 300 lumens per square metre of kitchen floor from the ceiling lights. Drop to about 250 in a small kitchen with good under-cabinet lighting, and go up to 350 or a little more if the units or worktops are dark, because dark surfaces soak up light.
Then divide by the output of the fitting you’re buying:
Floor area (m²) × 300 ÷ lumens per fitting = number of downlights
A 4 × 3 m kitchen is 12 m², so it wants about 3,600 lumens. With 600-lumen integrated downlights that’s six. With 400-lumen GU10 bulbs it’s eight or nine. As a quick cross-check, it comes out at about one 600-lumen fitting per 2 m² of floor.
| GU10 (about 400 lm) | Integrated (about 600 lm) | |
|---|---|---|
| Small, 6–8 m² | 5–6 | 3–4 |
| Medium, 10–12 m² | 8–9 | 5–6 |
| Large, 15–20 m² | 11–15 | 8–10 |
Those counts are for the ceiling lights only, at about 300 lumens per m². A 3 × 3 m kitchen falls between the first two rows: four to six fittings of 500 to 600 lumens. Under-cabinet lights go on top, and they’re what actually stops worktop shadows, so don’t cut them to pay for more downlights. In a kitchen-diner, count the kitchen part on its own; the dining end wants pendants, not more of the same grid. For the brightness side in more depth, see how many lumens a kitchen needs.
The type of fitting changes the count. An integrated downlight usually gives 450 to 800 lumens against 300 to 500 for a GU10 bulb, so you need fewer of them for the same light on the worktops.
Same kitchen, similar light on the worktops. An integrated fitting puts out more usable light, so you need fewer of them.
The rest of that choice (dimming, colour matching, cost) is in GU10 or integrated downlights.
How far apart should they be?
On a standard 2.4 m ceiling, 1.2 to 1.5 m between fittings works in most kitchens. The rule of thumb behind it is spacing of about half to 0.6 of the ceiling height, with the first and last lights about half a spacing from the end wall or tall unit.
| Ceiling height | Between downlights | First light from end wall |
|---|---|---|
| 2.4 m | 1.2–1.5 m | 0.6–0.75 m |
| 2.7 m | 1.35–1.6 m | 0.7–0.8 m |
| 3.0 m | 1.5–1.8 m | 0.75–0.9 m |
Here’s why that range works. A 60° beam from a 2.4 m ceiling is about 1.7 m across by the time it reaches a 90 cm worktop. At 1.2 to 1.5 m apart the pools overlap, and the worktop looks evenly lit. Spread the fittings further and you get bright circles with dimmer patches between them.
You’ll see “ceiling height × 1.2” quoted as a spacing rule. That’s roughly how wide a 60° beam is by the time it reaches the floor, so lights that far apart (about 2.9 m on a 2.4 m ceiling) leave obvious dark gaps at worktop height. I wouldn’t use it in a kitchen.
Lower ceilings, 2.2 to 2.3 m in a lot of older houses, need the fittings a bit closer, around 1.1 to 1.3 m. Higher ceilings let you spread them a little, but the light has further to travel, so check the lumens still add up.
How far from the wall?
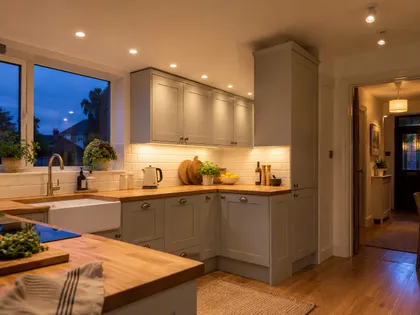
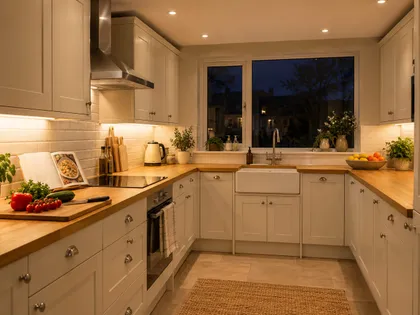
Put the line of downlights roughly over the front edge of the worktop. In most UK kitchens that’s about 60 cm out from the wall, which puts the fittings roughly 25 to 30 cm in front of the wall-unit doors.
From there, the light lands on the part of the worktop where your hands are, coming from slightly in front of you. Move the line back towards the units and the beam hits the cabinet doors and the top of the splashback, leaving the front of the worktop dimmer and putting glare on gloss doors. Move it out over the walkway and the light comes from behind you, so your head and shoulders throw a shadow straight onto the chopping board.
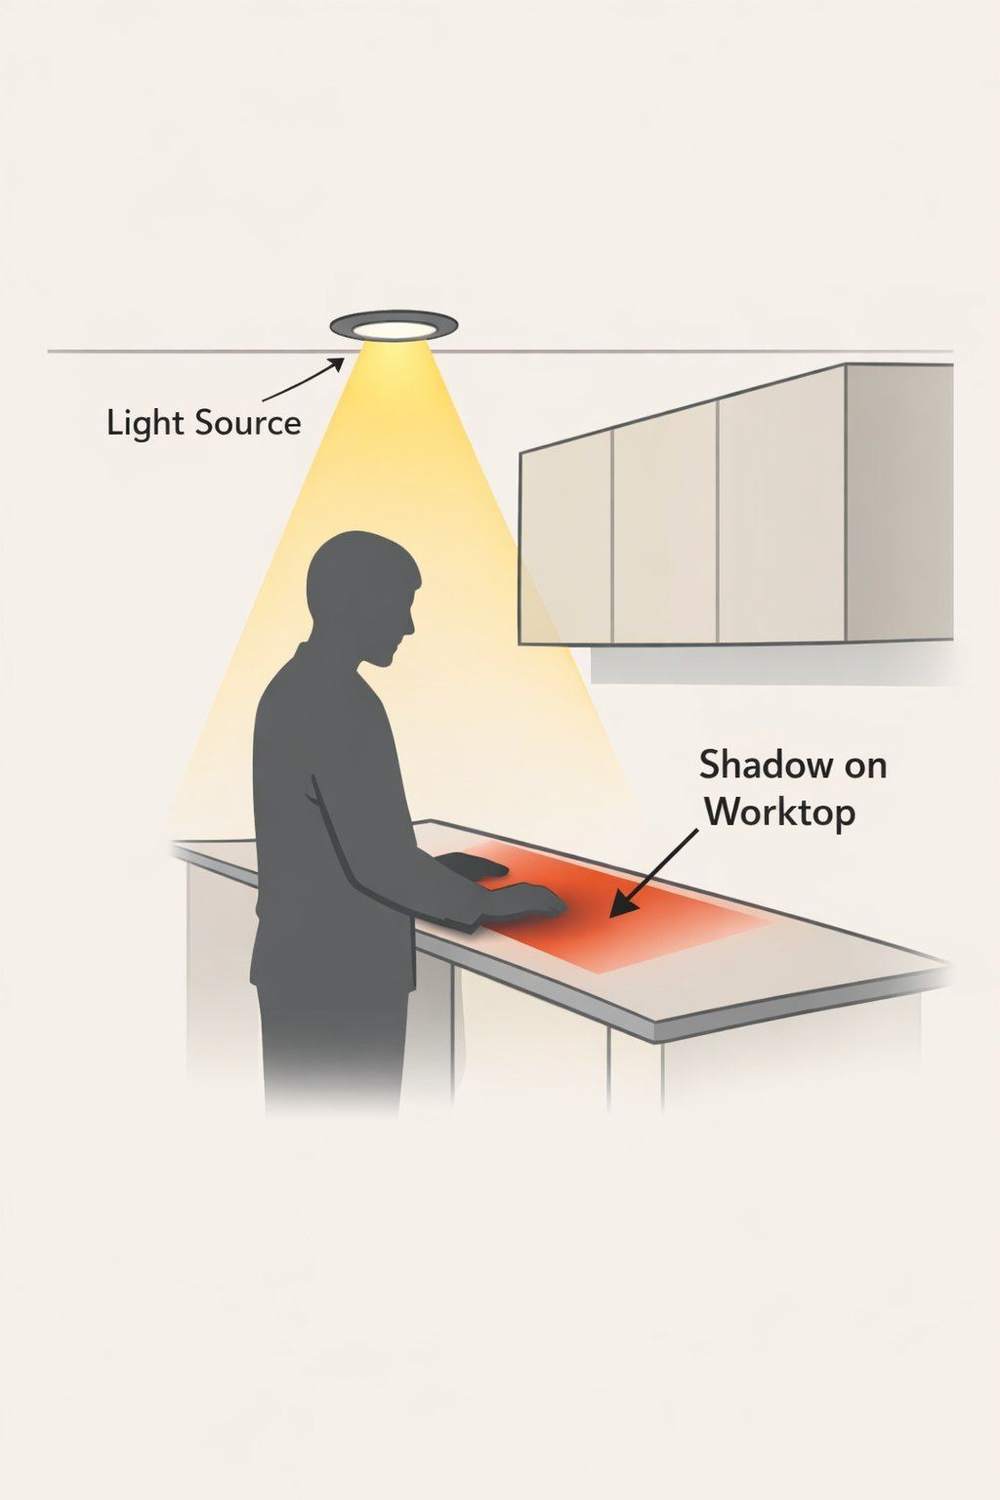
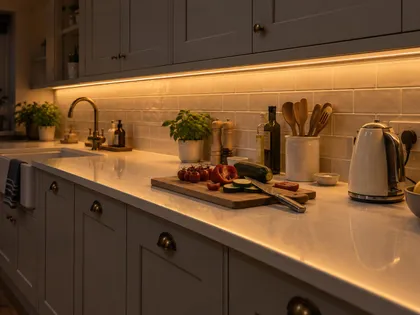
Even in the right place, ceiling lights can’t reach properly under the wall units. That’s the job of under-cabinet lighting: a strip or slim light bar fixed towards the front of the cabinet base lights the worktop from just above your hands. With both in, the shadows go. A warm white under-cabinet LED kit costs about £20 to £50 for a typical run, and there’s more on choosing one in shadow-free under-cabinet lighting.
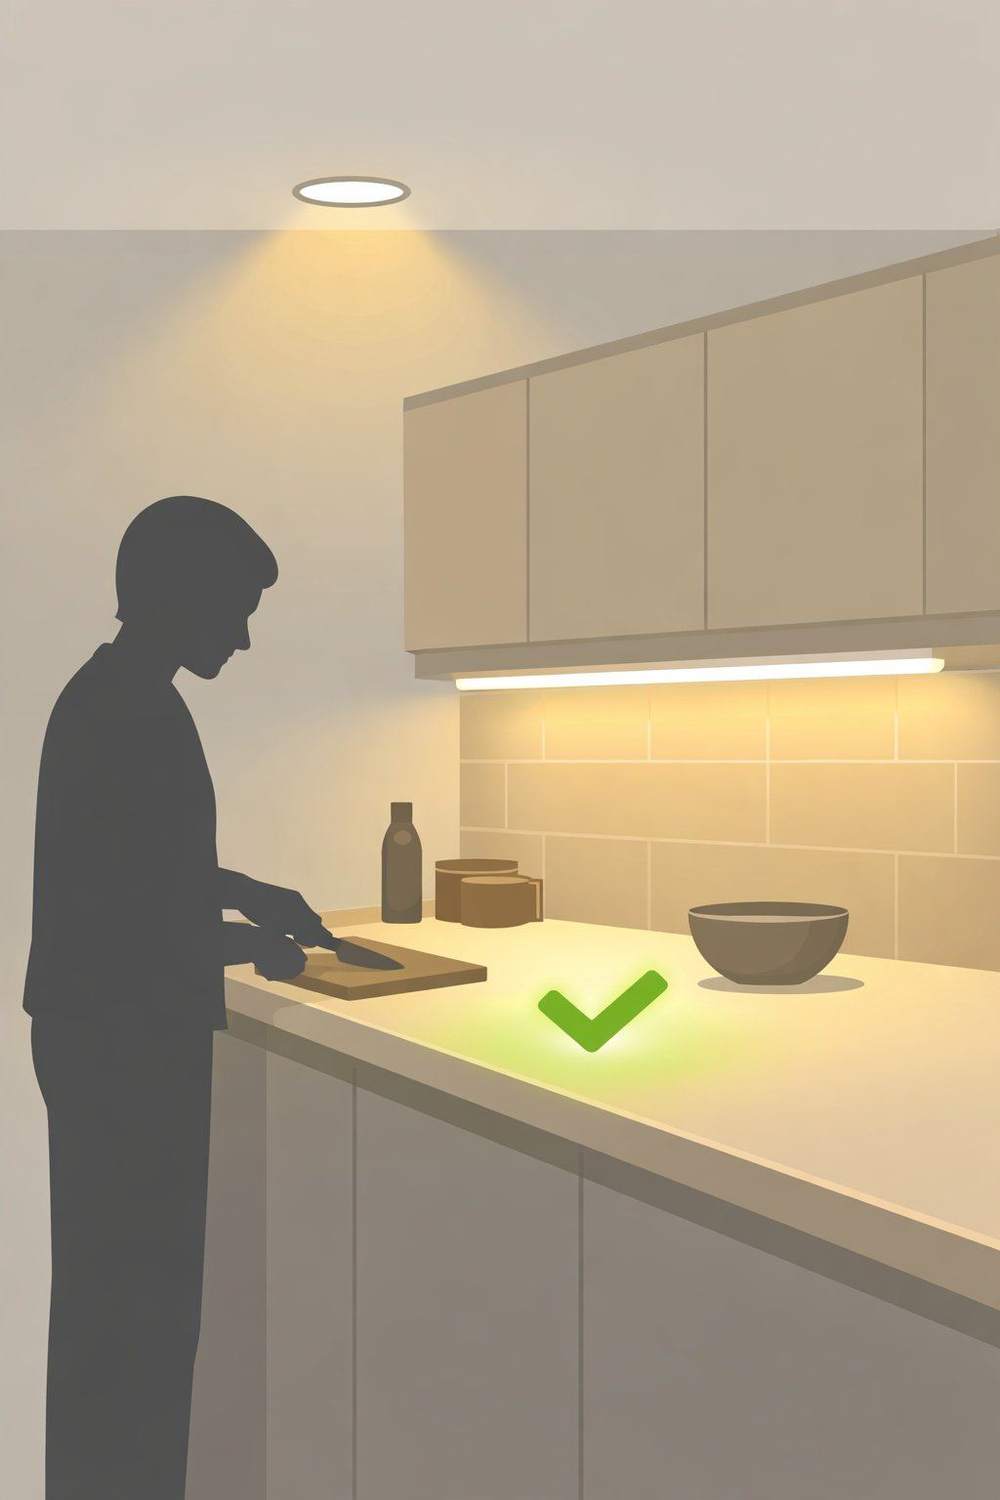
A few spots are worth planning around. Centre a light over the sink if the spacing allows, because washing up in your own shadow is the classic complaint. Most cooker hoods have their own lights, so the downlights can stop either side of a canopy hood; mark the hood on the plan before you mark the holes. In an L or U shape, put one light where the two worktop lines meet and space out from there.
Layouts by kitchen shape
Galley kitchens
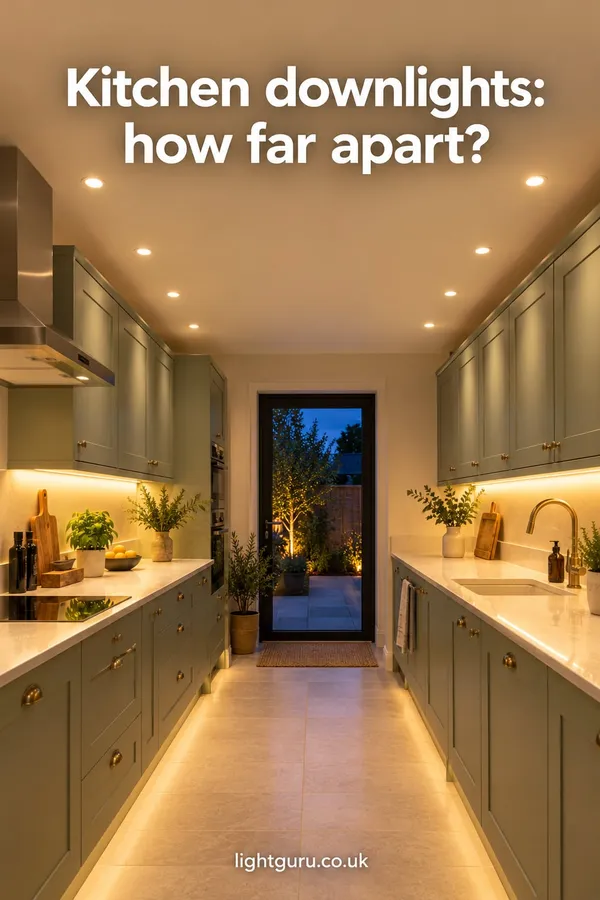
Use two lines, one over each worktop, each about 60 cm from its wall. A single row down the middle looks tidy on a plan, but it puts the light behind you whichever side you’re working on. In a narrow galley the two lines end up quite close together, and that’s fine.
L-shaped and U-shaped kitchens
Follow the worktop lines round, with a fitting at each corner where the lines meet, and keep the spacing the same on every run so the ceiling looks planned. In a bigger room, the open floor in the middle may want light of its own. Put that on a separate switch so you’re not lighting the whole floor every time you make a cup of tea.
Kitchens with an island
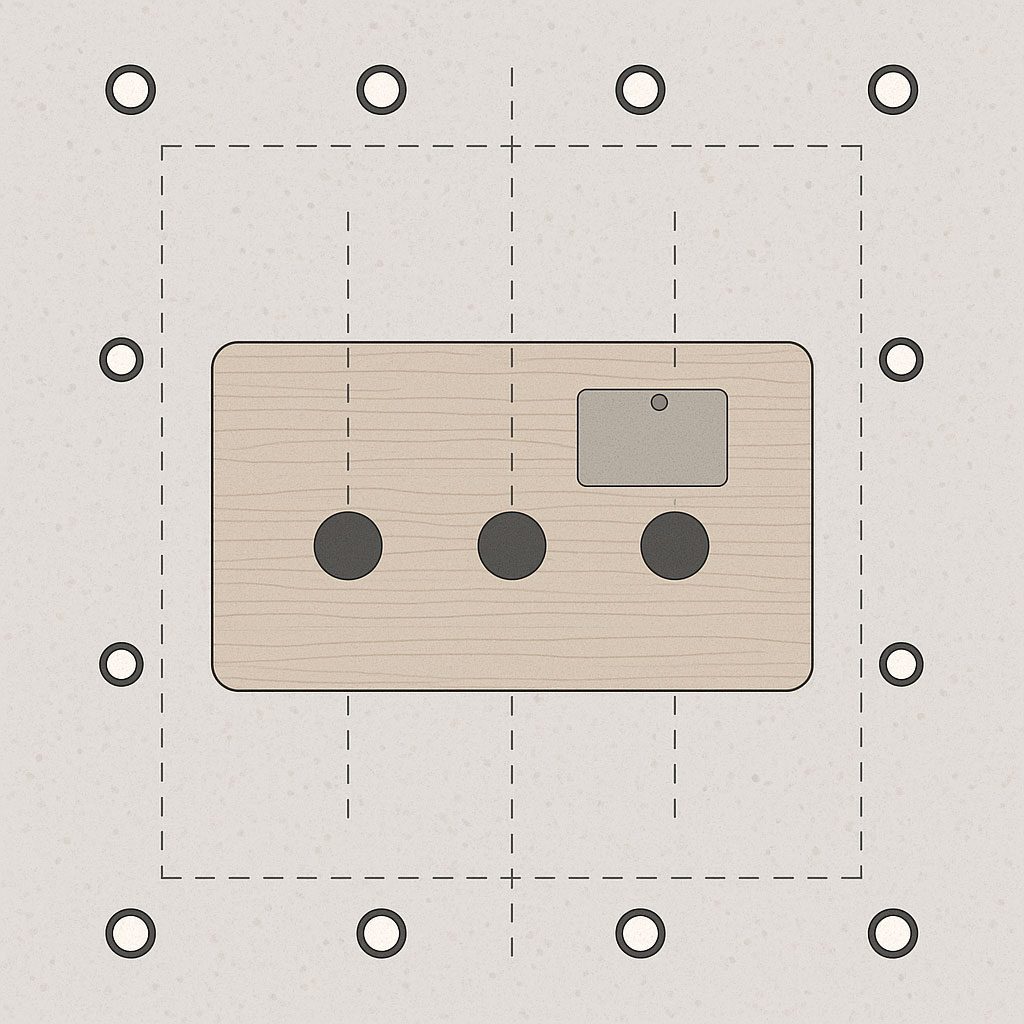
Run downlights round the perimeter worktops as normal. Over the island, pendants usually do the main job, and if you prep there, add downlights over the working side. Keep downlights away from directly above island seating, because anyone sitting there ends up looking straight into them. Put the pendants on their own circuit and dimmer, and see how high to hang island pendants for the drop.
Open-plan kitchen-diners
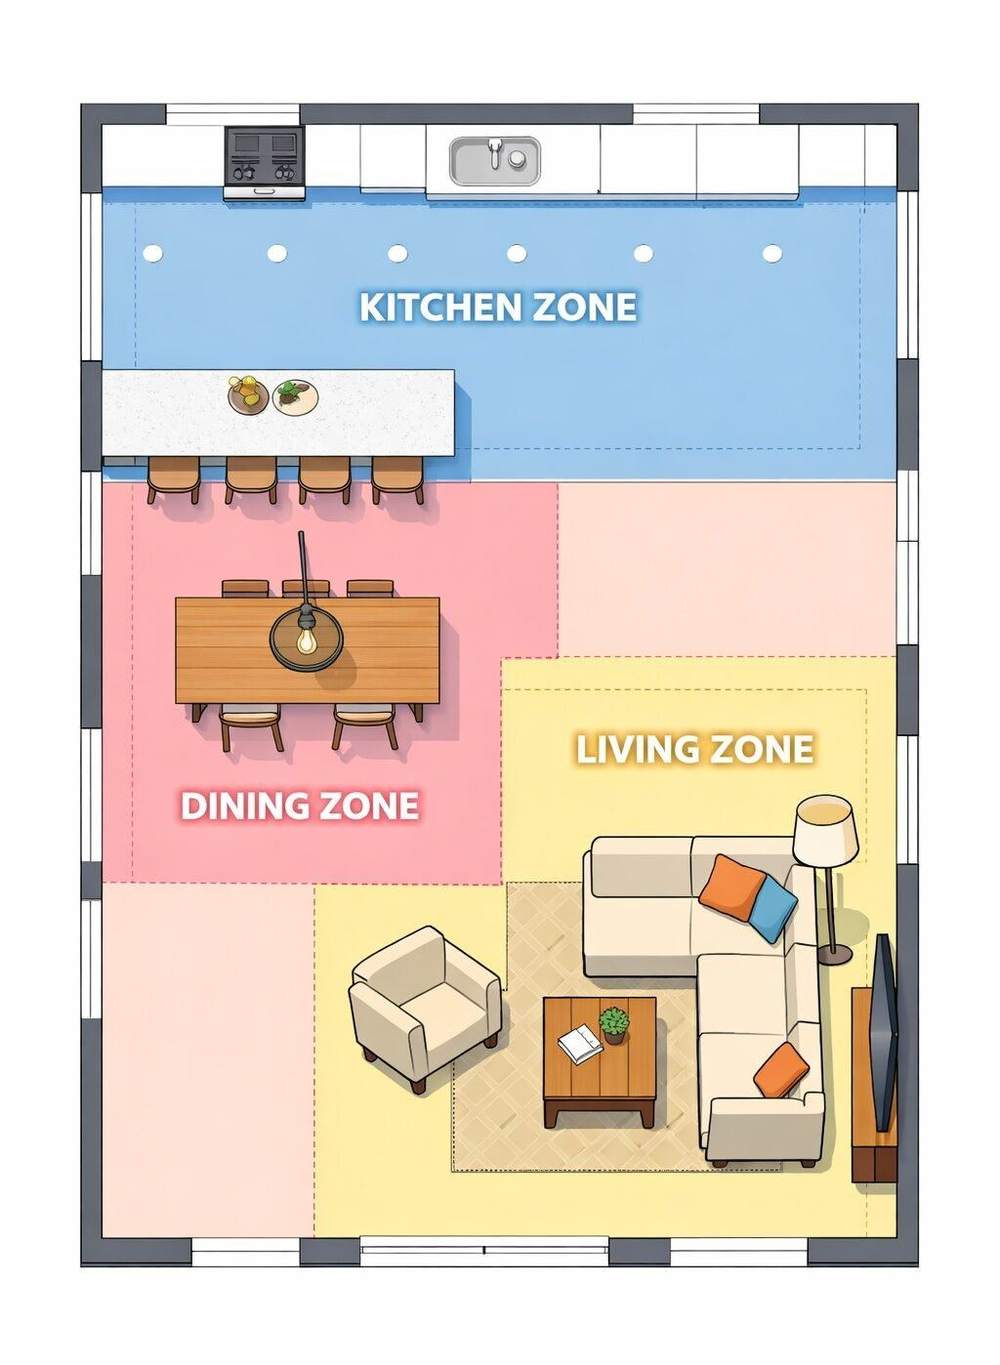
Treat the kitchen as its own zone, with its own downlights and its own switch. Running one grid across kitchen, dining and living looks like an office. Pendants over the table and lamps at the living end, each on its own circuit, let you dim the kitchen when you sit down to eat. Open-plan kitchen-diner lighting goes into the zoning.
Beam angle and fittings
For general kitchen light, a 50 to 60° beam gives an even overlap at the spacings above. Narrower beams, 36 to 40°, make tighter, brighter pools. They’re useful over an island or on a high ceiling, but on a 2.4 m ceiling they need closer spacing, around a metre, to avoid patches.
Whatever you choose, use the same fitting, beam angle and colour temperature along a run. Mixed beams make some pools brighter than others, and it shows on a pale worktop. For colour, 3000K suits most kitchens and 4000K gives a crisper modern look; the kitchen colour temperature guide covers the choice. Look for CRI 90 or above so food looks right.
If there’s a room above the kitchen, the downlights need to be fire-rated so they don’t weaken the ceiling’s fire resistance, as set out in Approved Document B. Fire-rated fittings usually come in 30 or 60-minute versions, and if insulation will sit over them, choose ones rated to be covered. Kitchens don’t have IP zones the way bathrooms do, but steam and grease get into open fittings, so a sealed fitting rated IP44 or IP65 is worth having near the hob and sink. Many fire-rated integrated downlights are IP65 from the front anyway.
Dimming and switching
Put the downlights on a dimmer, and split them if you can: worktop runs on one circuit, island or dining on another. Use dimmable fittings and a trailing-edge LED dimmer, and check the dimmer’s minimum load against the total wattage, because six LED downlights can draw less than a single old halogen did. A mismatch there is the usual cause of flicker, covered in fixing LED flicker and buzz.
Plan it on paper first
- Draw the room to scale on squared paper, with the base units, wall units, sink, hob, hood, island and doors.
- Draw a line about 60 cm out from each wall that has a worktop.
- Mark a light at each corner and over the sink, then space the rest evenly along each line, 1.2 to 1.5 m apart on a 2.4 m ceiling.
- Check the ends: the last light should sit about half a spacing from the end wall or tall unit.
- Add island, dining and walkway lights as separate groups.
- Add up the lumens and compare them with floor area × 300.
The downlight spacing calculator does the grid maths for a rectangular room if you want a cross-check. For the rest of the house, the room-by-room downlight layout guide covers living rooms, bedrooms, bathrooms and halls.
New downlights mean new holes, new cable and sometimes a new circuit, and that’s a job for a registered electrician. A new circuit is notifiable building work under Part P, which a registered electrician can self-certify.
What I'd buy
Affiliate linksFAQs
How many downlights do I need for a 3 × 4 m kitchen?
That’s 12 m², so about 3,600 lumens from the ceiling: six 600-lumen integrated downlights, or eight to nine GU10s at around 400 lumens. Add under-cabinet lights for the worktops on top.
How far from the wall should kitchen downlights be?
About 60 cm, so they sit over the front edge of the worktop and roughly 25 to 30 cm in front of the wall units. Closer than that lights the doors; further out puts the light behind you.
How far apart should downlights be on a 2.4 m ceiling?
About 1.2 to 1.5 m, with the end lights roughly 60 to 75 cm from the end wall.
Should downlights go over a kitchen island?
Over the working side, yes, if you prep there. Not over the seating: use pendants there instead, on their own dimmer.
Can you have too many downlights in a kitchen?
Yes. Past a point, more fittings just give you a ceiling full of holes and a flat, overlit room. If the count looks high, choose brighter fittings and spend the difference on under-cabinet and pendant lighting.
 Save
Save it for later
Pin this guide to one of your Pinterest boards so it's there when you start the job.