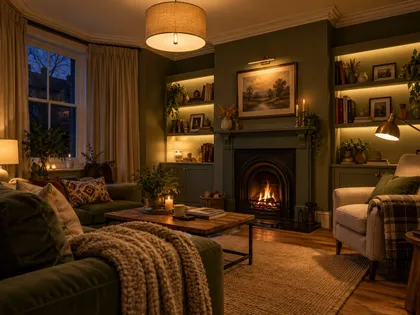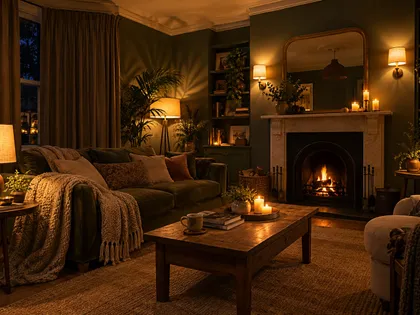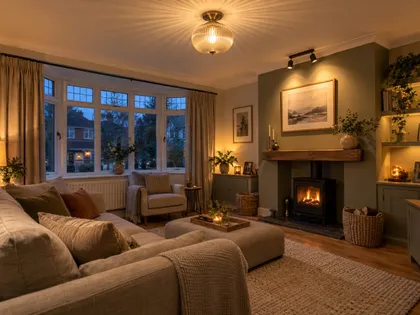
Accent lighting for art, shelves and alcoves: what to fit and where

Some links below are affiliate links: if you buy through them I may earn a small commission, at no extra cost to you. As an Amazon Associate I earn from qualifying purchases. How LightGuru makes money

Mike's quick answer
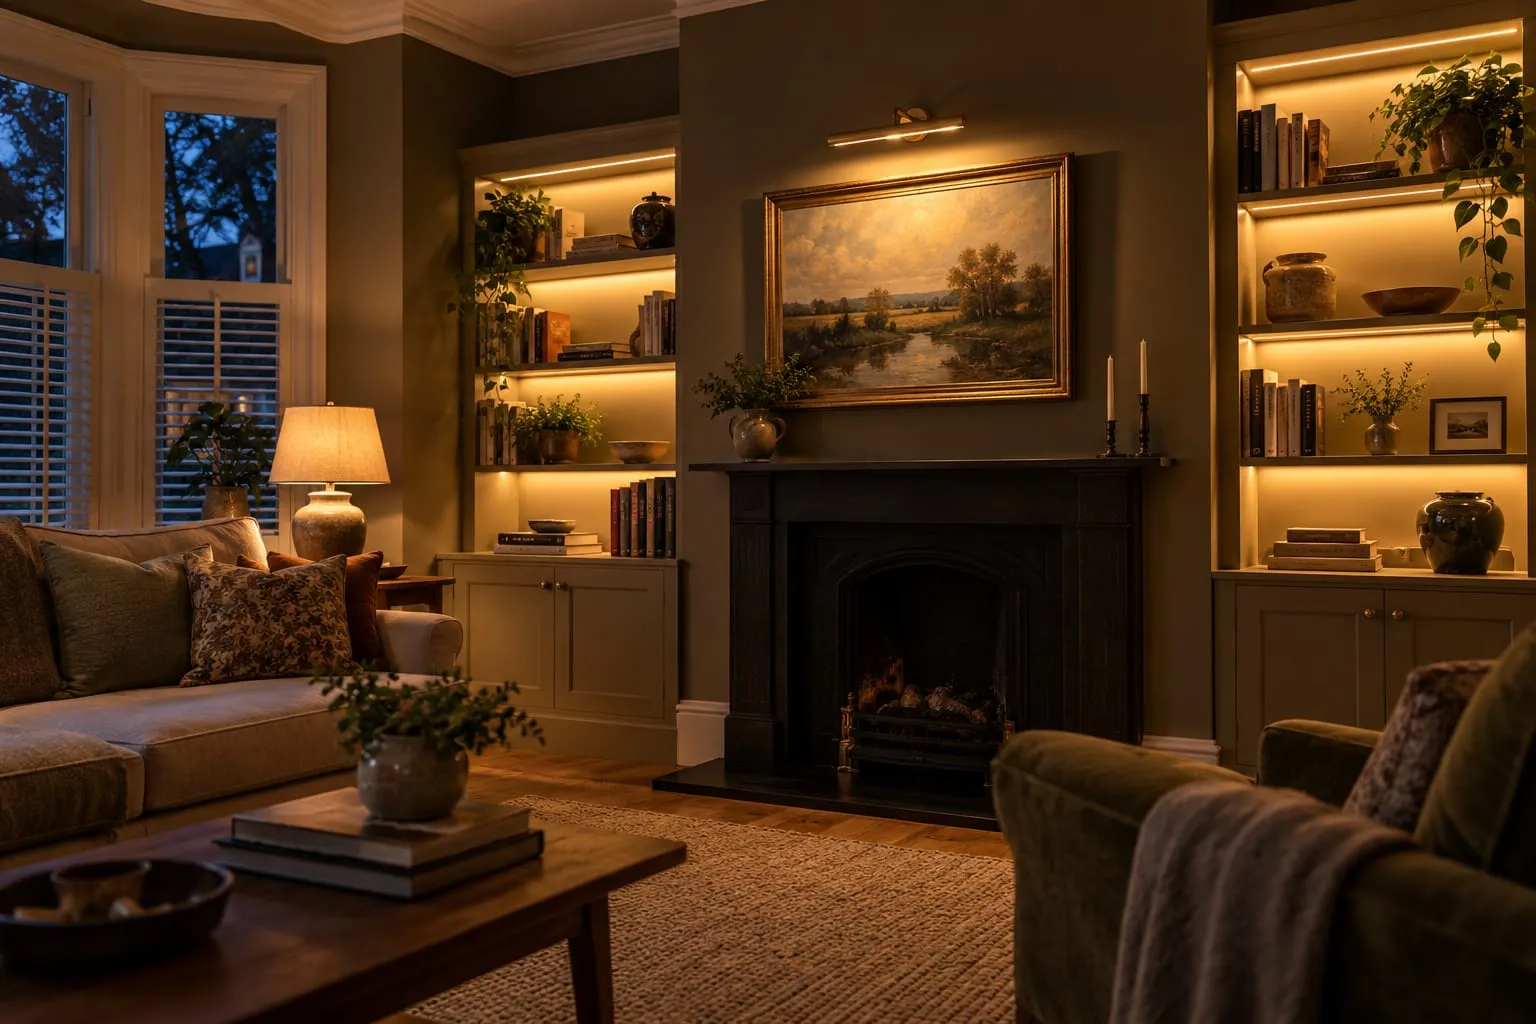
Use a picture light or a ceiling spot aimed at about 30 degrees for art, a diffused LED strip at the front of each shelf for shelving, and a strip or small spot at the top of an alcove. Keep it all warm white (2700K–3000K), hide the light source and put it on a dimmer.
Accent lighting is the light you add to something you want to look at: a painting, a run of shelves, the alcoves either side of a chimney breast, a stone or brick wall. It doesn’t light the room so much as give it depth. Switch it on in the evening with the lamps and the room looks finished; leave it off and the same room looks flat. It’s the third layer in the living room lighting guide, after the ceiling light and the lamps.
Two rules cover most of it. You should see the lit object, not the light fitting. And the accent light should be noticeably brighter than its surroundings, but not so bright it looks like a shop window. The rest is choosing the right fitting for each feature and putting it in the right place.
Lighting a painting or print
There are two good ways to light a picture: a picture light fixed above it, or a spotlight in the ceiling aimed at it.
| Picture light | Ceiling spot or track | |
|---|---|---|
| Fitting | Wall or frame, plug-in or wired | Recessed adjustable spot or track head |
| Light on the picture | Stronger at the top | More even |
| Glare and reflections | Low | Low if aimed at about 30 degrees |
| Look | Traditional, decorative | Hidden, gallery-like |
| Move the picture later | Light moves with it | Spot may need re-aiming |
| Works for renters | Yes, battery or plug-in | Track on an existing point |
Yellow = the better option on that line.
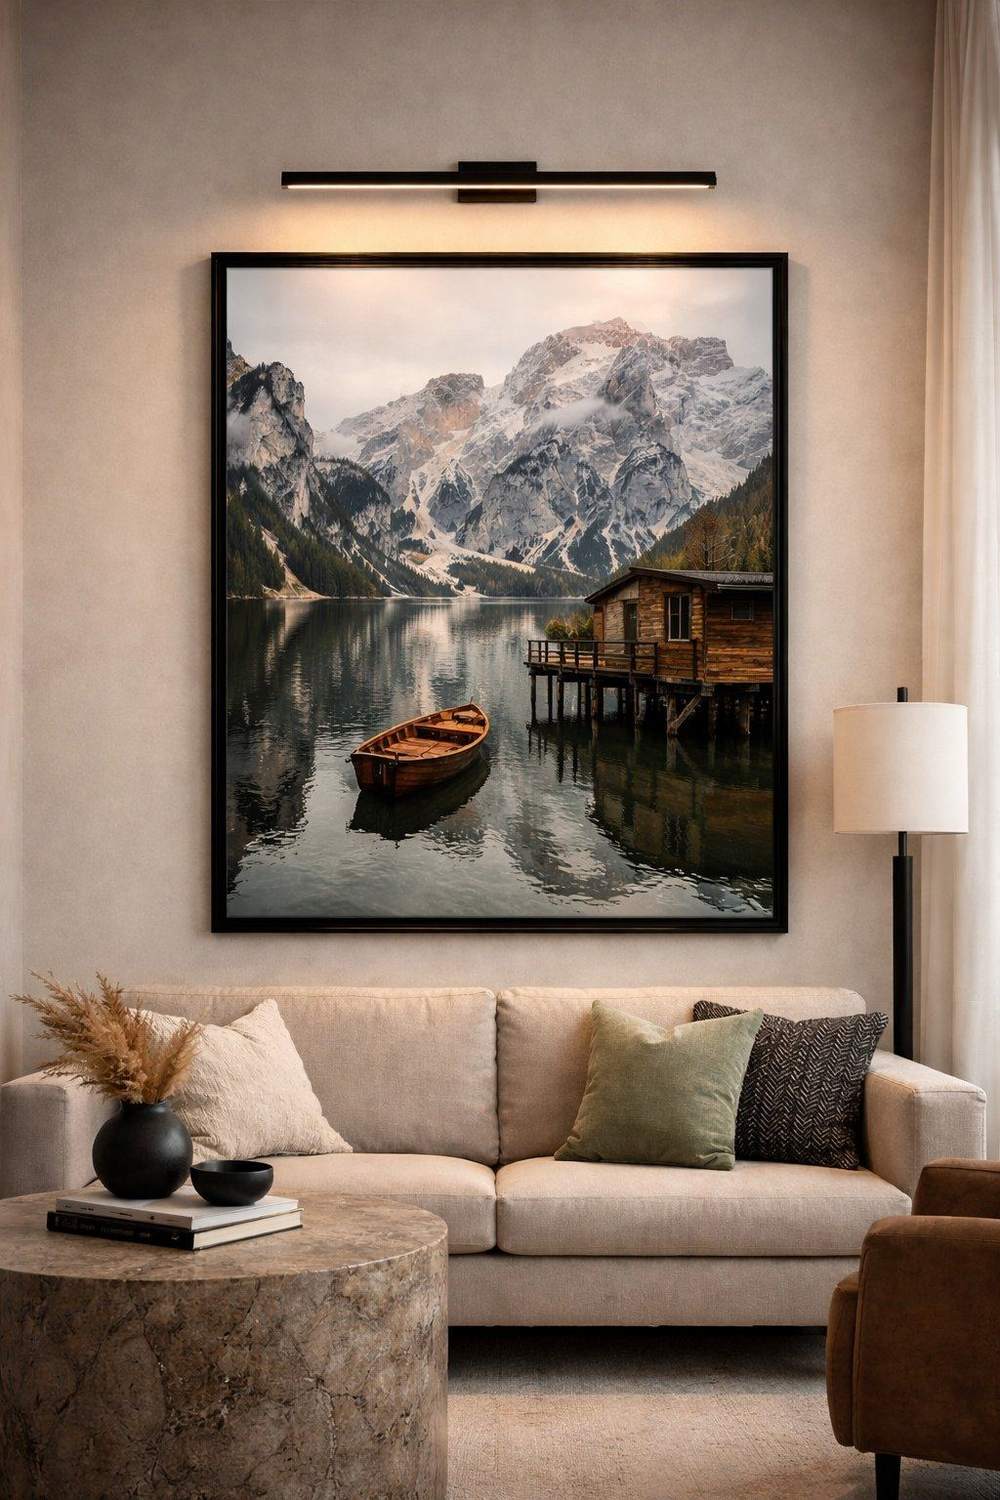
Picture lights suit traditional rooms and any single piece you want to make a point of. As a rule of thumb, choose one between half and two-thirds the width of the frame. Modern LED versions are slim and run cool, and the better ones let you angle the head so the light reaches the bottom of the picture as well as the top. Wired versions need a cable in the wall, so they’re best fitted while you’re decorating. If that’s not an option, rechargeable battery picture lights with a remote and timer cost about £20 to £50; they’re dimmer than wired ones and need recharging, but there’s no cable at all.
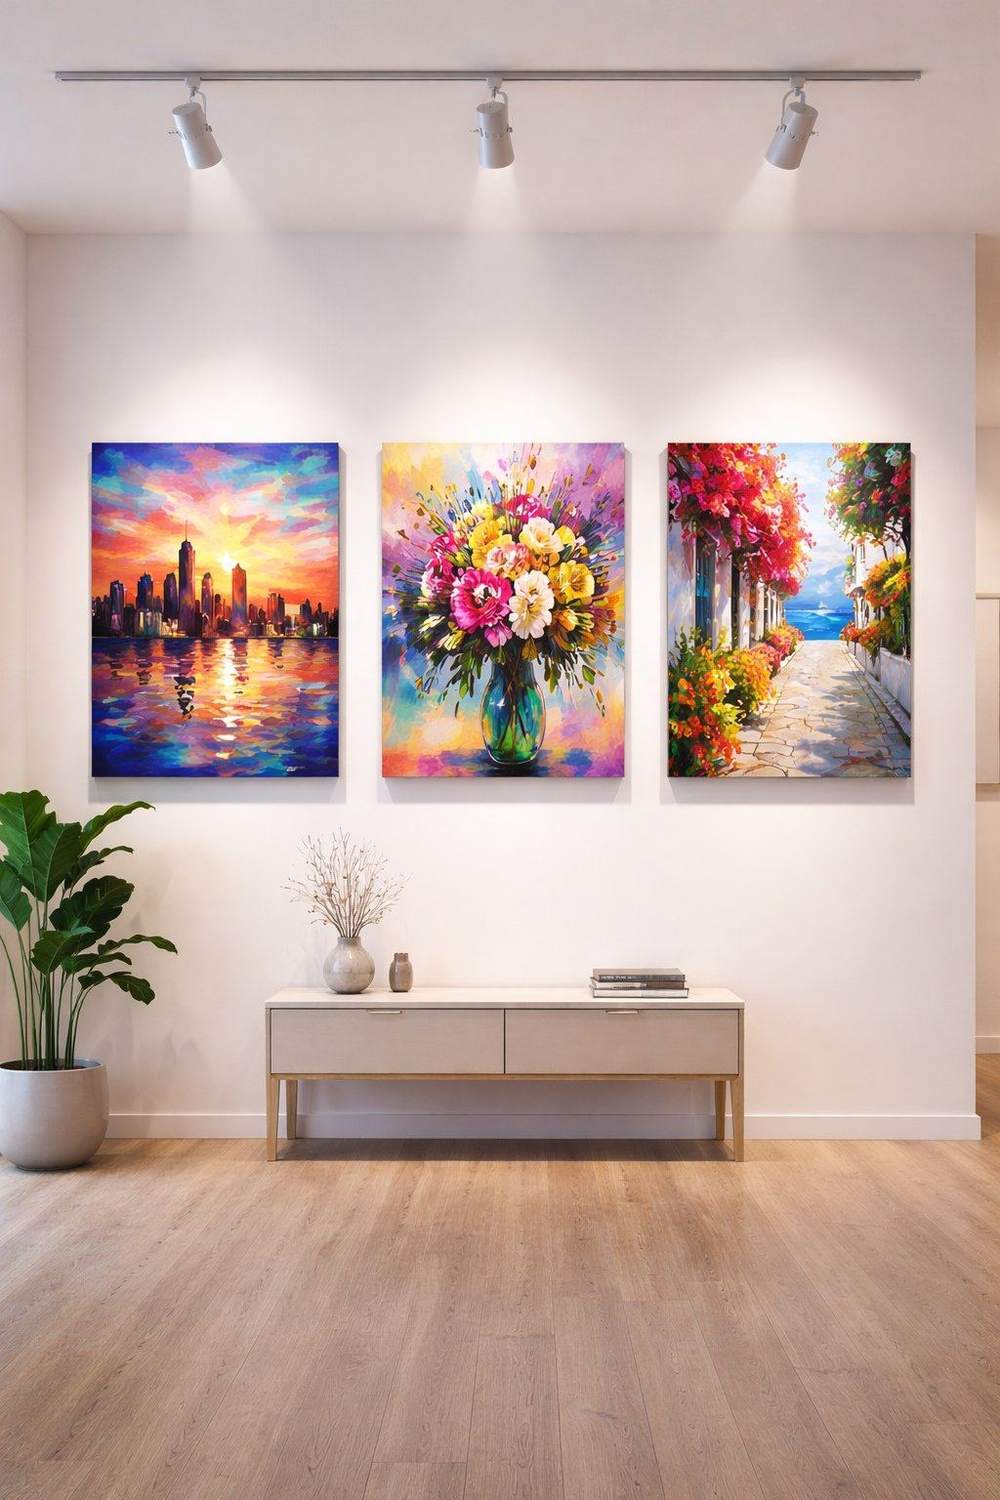
Ceiling spots give a more even wash and suit modern rooms, large canvases and groups of pictures. The rule galleries use is to aim at about 30 degrees from vertical. Steeper than that and the frame casts a shadow across the top of the picture; shallower and you get reflections off glass and varnish into the eyes of anyone looking at it. On a standard 2.4 m ceiling, with the centre of the picture at around 1.5 m, that puts the spot roughly 500 to 600 mm out from the wall. Use an adjustable fitting with a 24 to 36 degree beam for a single picture, or a wider beam for a big piece. Track lighting does the same job without new holes; there’s more on it in ceiling lighting ideas for living rooms.
Getting the colour right on art
Use warm white, 2700K or 3000K, to match the rest of the room. Cool white makes most paintings look flat and slightly blue, and it fights with the lamps.
Colour rendering matters more here than anywhere else. Look for CRI 90 or above, and 95 or above for anything you care about, so reds and skin tones look as the artist intended. The CRI and colour temperature guide explains the difference between the two numbers.
LEDs are kind to art: they give off almost no ultraviolet and very little heat towards the picture. Light still fades sensitive work over time, though, so keep watercolours, prints and textiles out of direct sun and light them gently. Museums keep works on paper to around 50 lux for that reason. Oils and acrylics are much more robust.
Shelf lighting
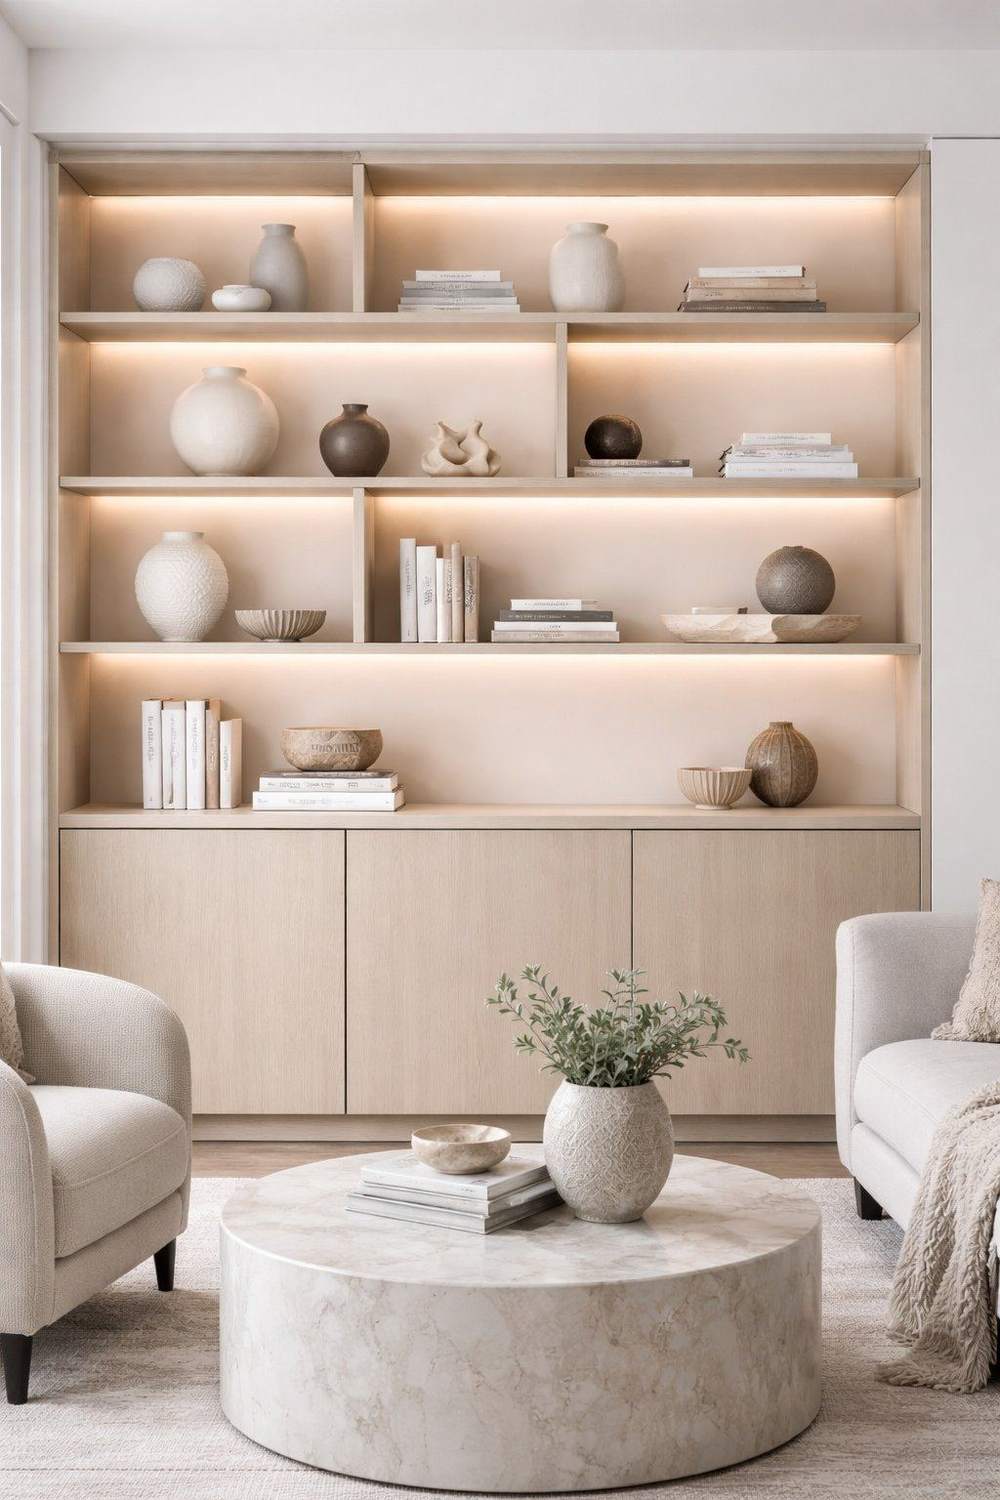
LED strip is the usual choice for shelves. It’s thin enough to hide under a shelf and gives an even line of light rather than separate spots.
Fix the strip to the underside of each shelf, towards the front edge, angled or pointing slightly back. That lights the objects and the back panel rather than shining into the room, and it puts the light in front of what’s on the shelf, not behind it. Mounted at the back, a strip lights the wall and leaves the front of everything on the shelf dark.
To avoid the dotted look of a cheap strip, put it in an aluminium profile with an opal diffuser, or use COB strip, where the LEDs are so close together the line looks continuous. A profile also helps the strip run cool and last longer. For a display glow, 200 to 400 lumens per metre is plenty, especially on a dimmer; brighter strip is for kitchen worktops.
Most strips run at 12 or 24 V from a driver, which has to go somewhere accessible and ventilated, such as a cupboard below, not sealed into the joinery. Plug-in kits are the easy option for a freestanding bookcase. Hard-wiring strips into fitted shelving and connecting them to a wall switch or dimmer is a job for an electrician, and it’s far easier to do while the joinery is being built. The LED strip guide covers strip types and drivers in more detail.
Alcoves either side of a chimney breast
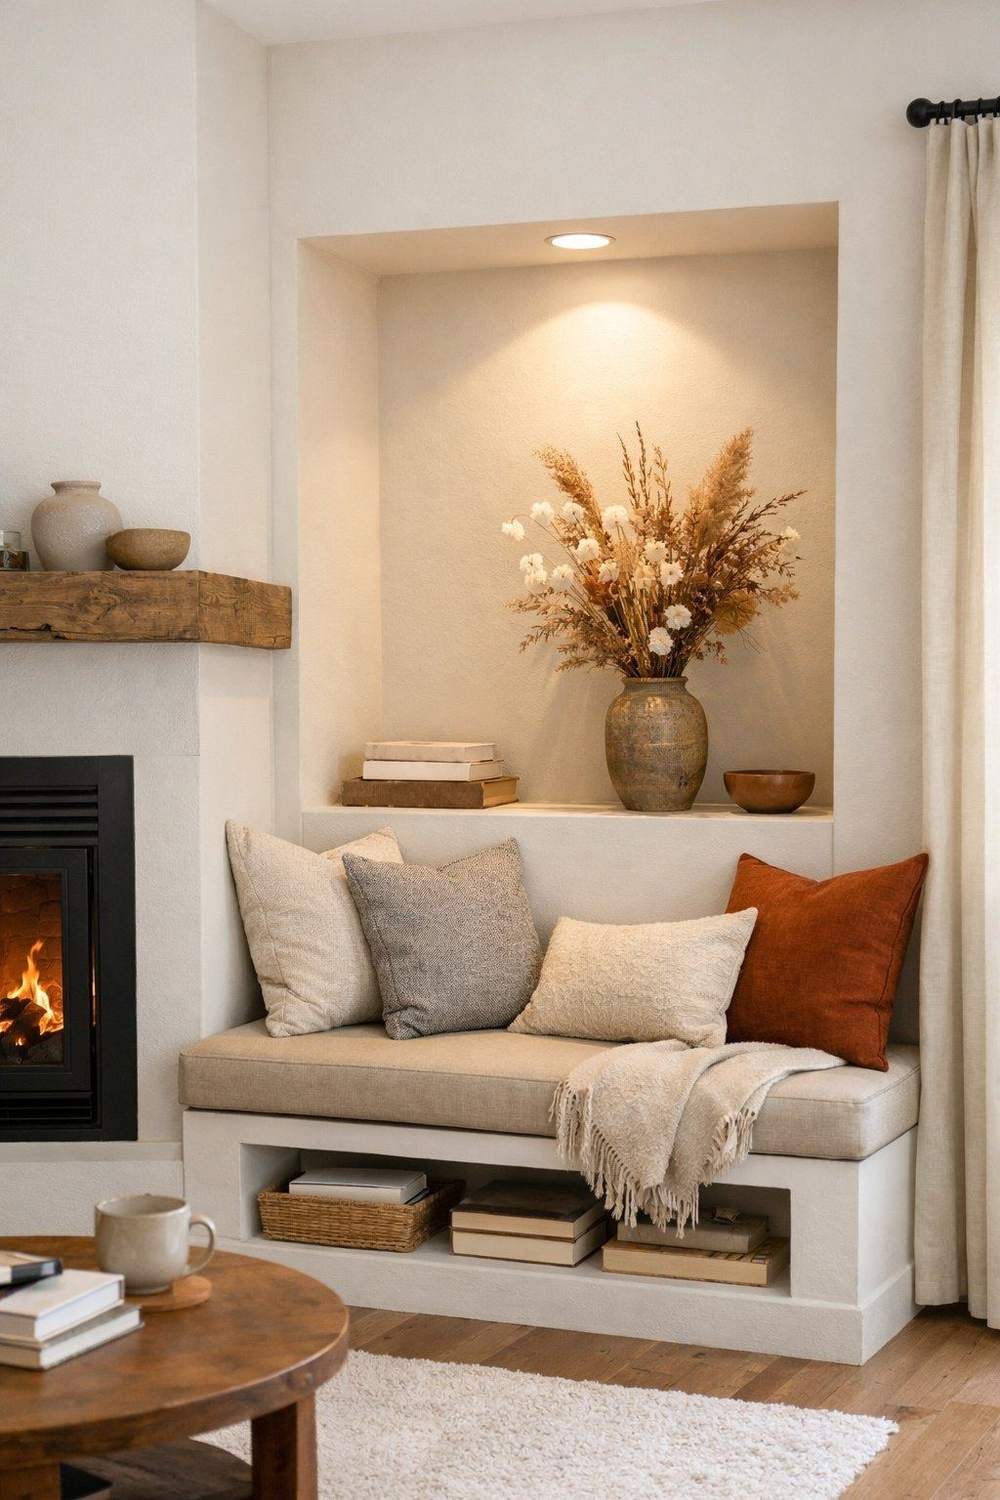
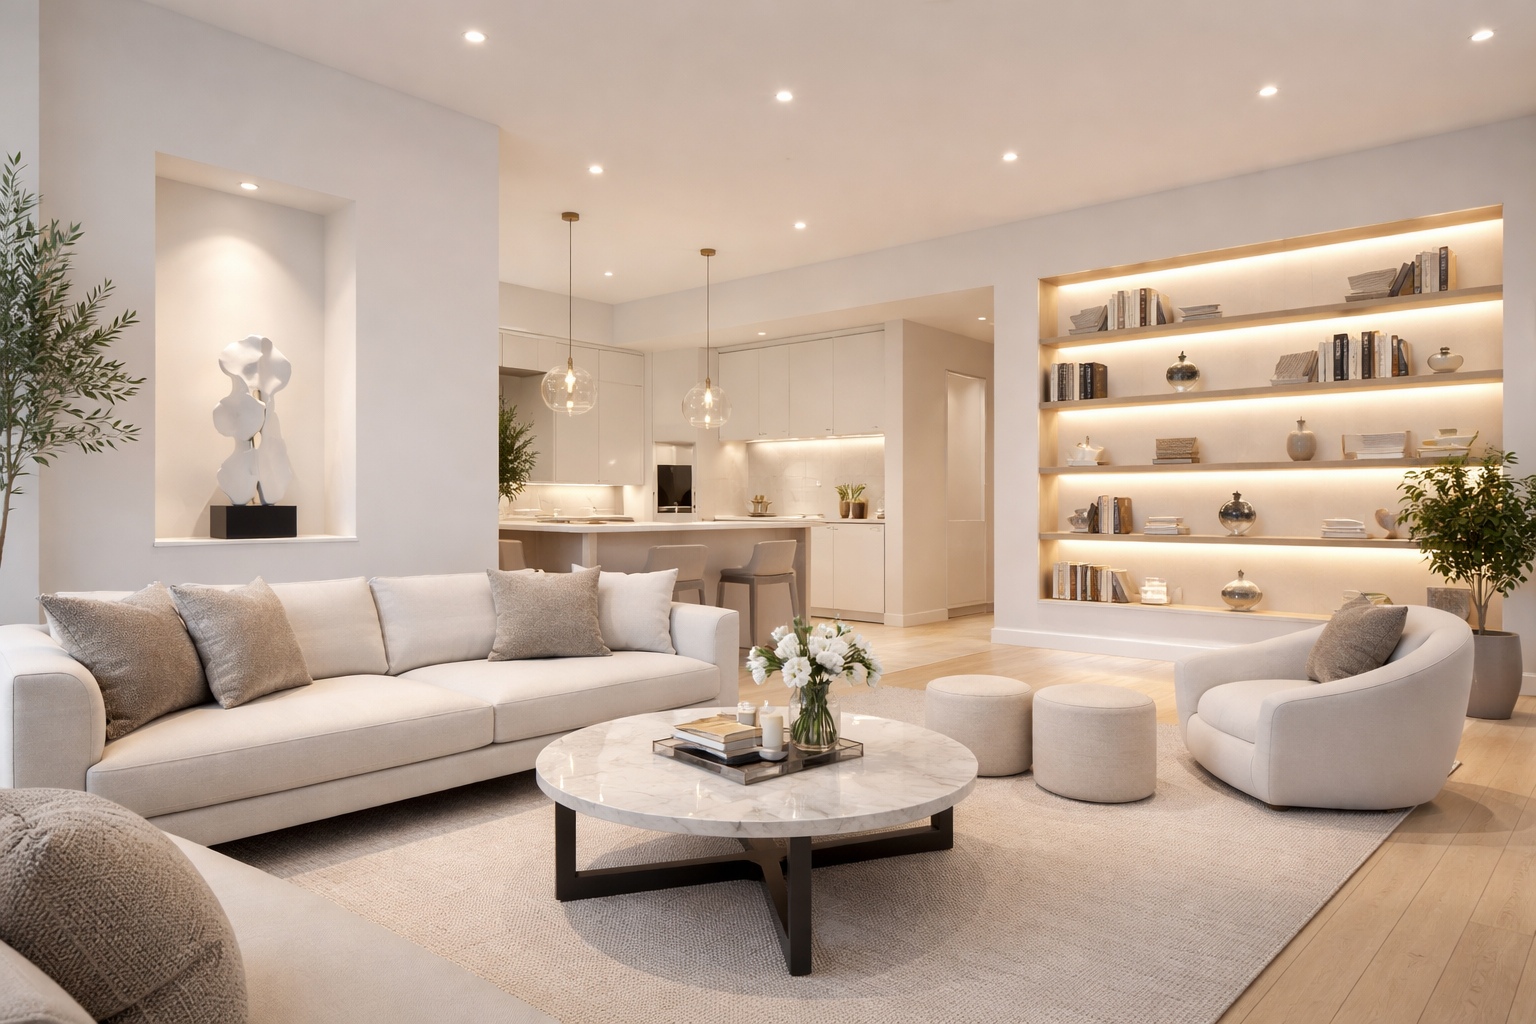
The alcoves either side of a chimney breast are a feature of so many British living rooms, and they’re often the darkest part of the room. Lit, they become one of the best.
With shelves in the alcove, use LED strip under the front edge of each shelf, as above. Without shelves, or with a cupboard and an open space above, a single small spotlight or puck light set into the top of the alcove washes light down the back wall. Vertical strips hidden in the sides of the alcove give a more modern look and light the shelves from the edge. A wall light just outside the alcove is the simplest option of all and lights the chimney breast too.
Whatever you choose, light both alcoves the same so the wall looks balanced, and keep them dimmer than the picture or fireplace you want people to notice first.
Feature walls: grazing and washing
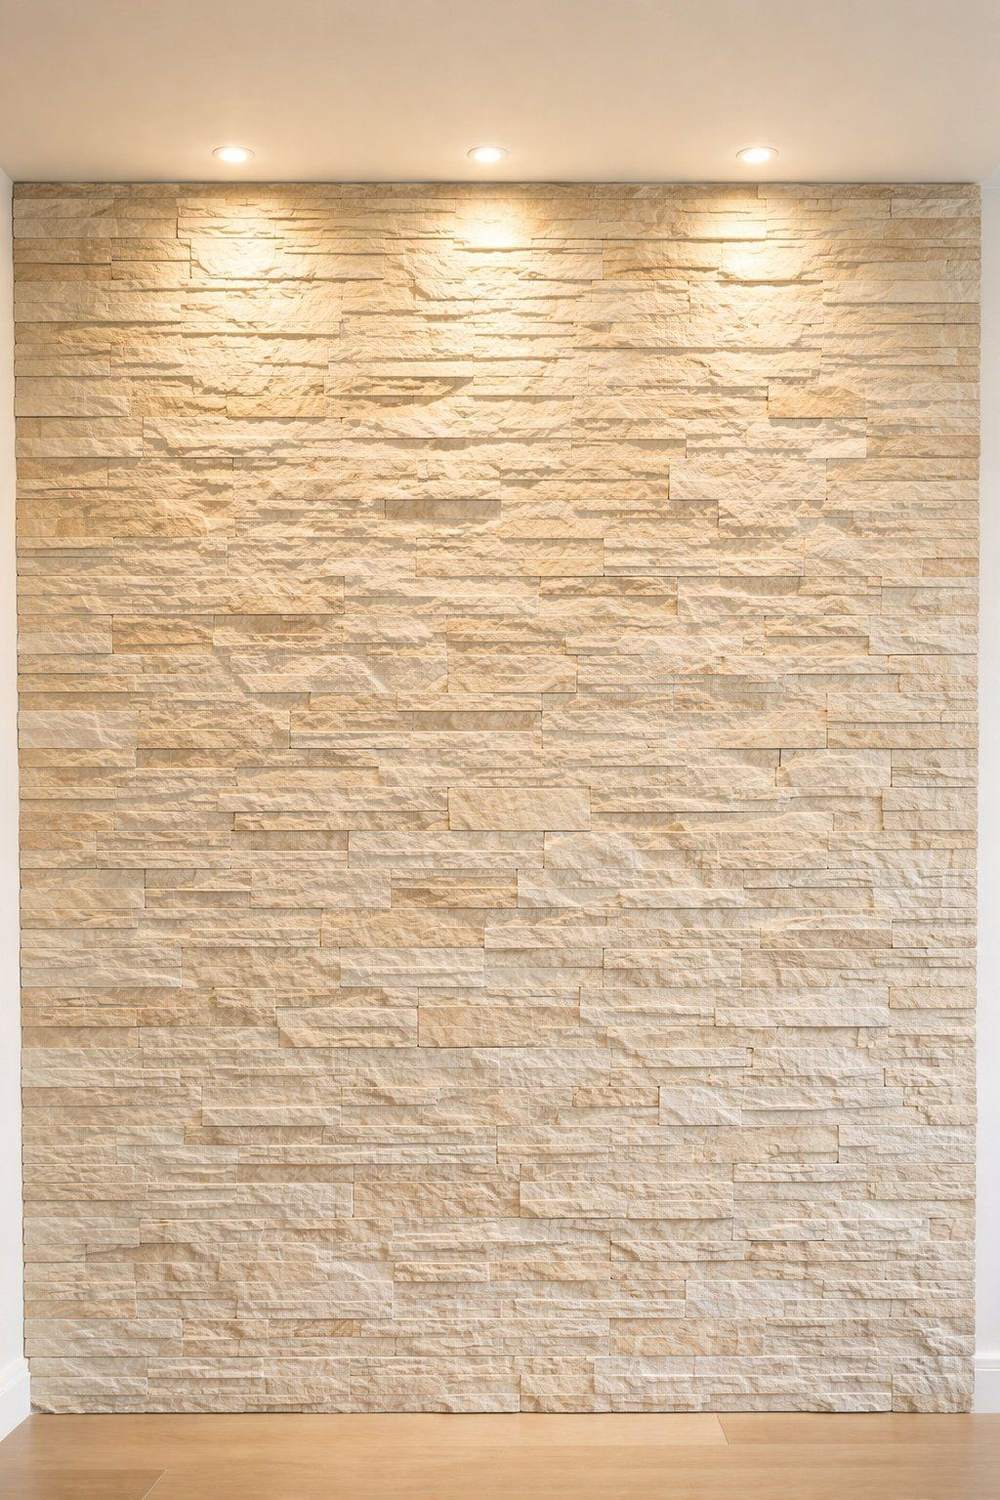
A stone, brick or panelled wall comes alive with the right light. There are two ways to do it.
Grazing means placing fittings close to the wall, often around 150 to 300 mm from it, so the light skims down the surface. Every bump and joint casts a shadow, which makes texture look dramatic. It’s the right choice for stone, brick and rough plaster, and the wrong one for a smooth wall with any imperfections, which it will show up.
Washing means setting fittings further out so the light lands evenly across the wall. It suits smooth painted walls and walls with a group of pictures, and it makes a room feel larger. Wall-washer downlights are made for this, and an adjustable downlight set back from the wall does a similar job. The living room downlights guide covers fixed and adjustable fittings.
How bright should accent lighting be?
Brighter than its surroundings, or you won’t notice it. Lighting designers work on a rough rule that a feature needs about three times the light of the area around it to stand out, while ten times or more looks theatrical. In a living room in the evening, with lamps on and the ceiling light off, that takes surprisingly little light, which is why dimmers matter so much.
Put accent lighting on a dimmer and turn it down until the feature glows rather than shines. It should be the second thing you notice in the room, not the first.
Common accent lighting mistakes
- Visible light sources. Bare dots of an LED strip or a bright spot in your eye line spoil the effect. Hide them.
- Too bright. Over-lit shelves look like a shop display. Dim them down.
- Cool white. Anything above 3000K looks cold next to warm lamps.
- Glare on glass. Spots aimed too shallow bounce off picture glass. Aim at about 30 degrees from vertical.
- One wall only. Accent light on a single wall makes the room feel lopsided. Spread it to two or three points.
- On the main switch. Give accent lights their own switch so you can use them with the ceiling light off.
What I'd buy
Affiliate linksFAQs
What is accent lighting?
Light aimed at a feature, such as a painting, shelves, an alcove or a textured wall, rather than at the room as a whole. It adds depth and gives the eye somewhere to rest, and it works alongside general lighting and lamps rather than replacing them.
Where should a spotlight go to light a picture?
On a standard 2.4 m ceiling, about 500 to 600 mm out from the wall, aimed at the centre of the picture at roughly 30 degrees from vertical. That avoids frame shadows and reflections off the glass.
How big should a picture light be?
About half to two-thirds the width of the frame. Too small and it only lights the middle; too large and it dominates the picture.
Should LED strip go at the front or back of a shelf?
At the front, on the underside, angled slightly back. That lights the objects and the back of the shelf. Strip at the back lights the wall and leaves the front of everything dark.
What colour temperature is best for accent lighting?
Warm white, 2700K or 3000K, matched to the rest of the room. For art, also look for CRI 90 or higher so colours look true.
Can accent lighting work in a rented home?
Yes. Battery picture lights, plug-in LED strip kits for freestanding shelves and a spotlight bar on the existing ceiling point all work without new wiring.
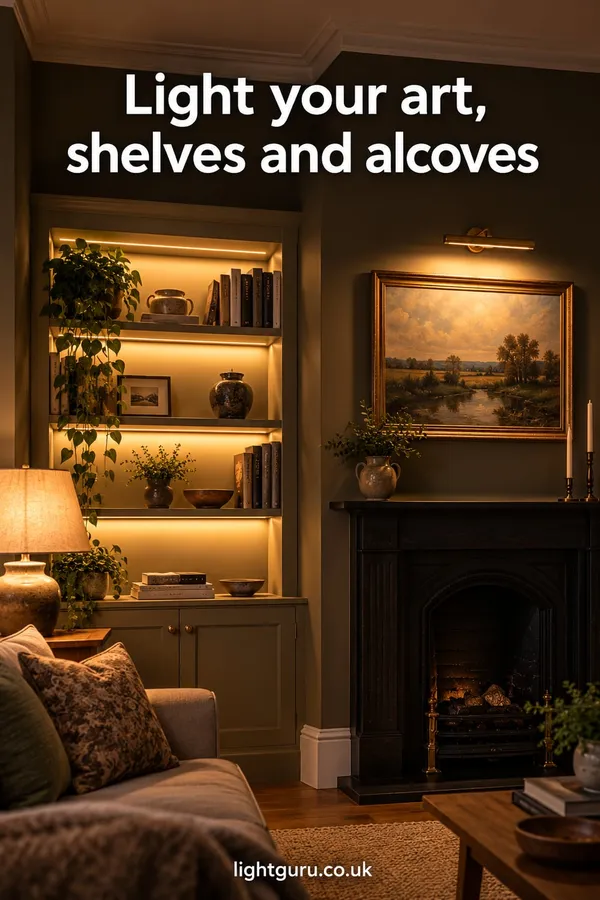 Save
Save it for later
Pin this guide to one of your Pinterest boards so it's there when you start the job.