Pathway lighting ideas for garden paths, steps and driveways

Some links below are affiliate links: if you buy through them I may earn a small commission, at no extra cost to you. As an Amazon Associate I earn from qualifying purchases. How LightGuru makes money

Mike's quick answer
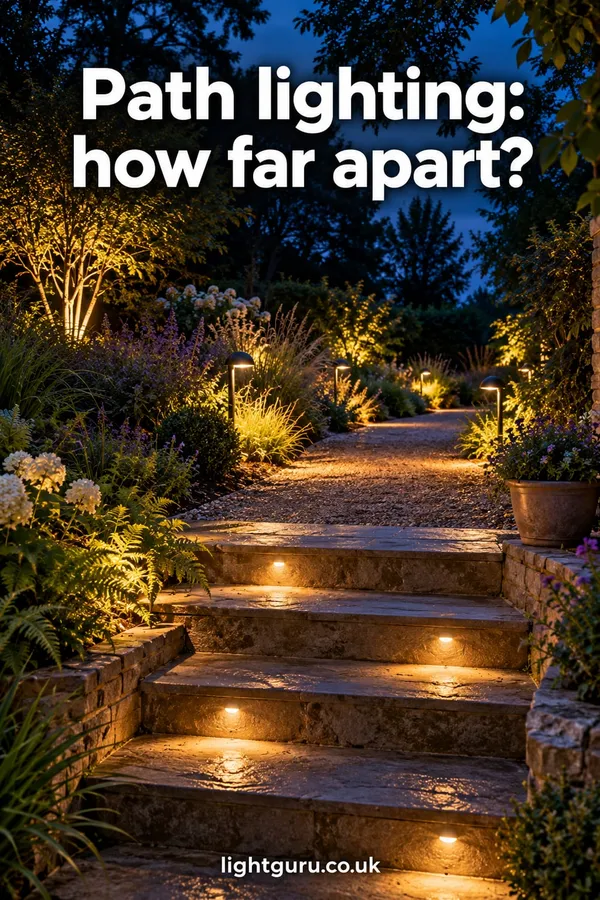
For most garden paths, low lights that throw light down onto the ground, spaced about 1.5 to 2.5 metres apart, at 50 to 200 lumens each and warm white. Use taller bollards on long paths and drives, recessed lights on steps, and solar only for paths you don't rely on in winter.
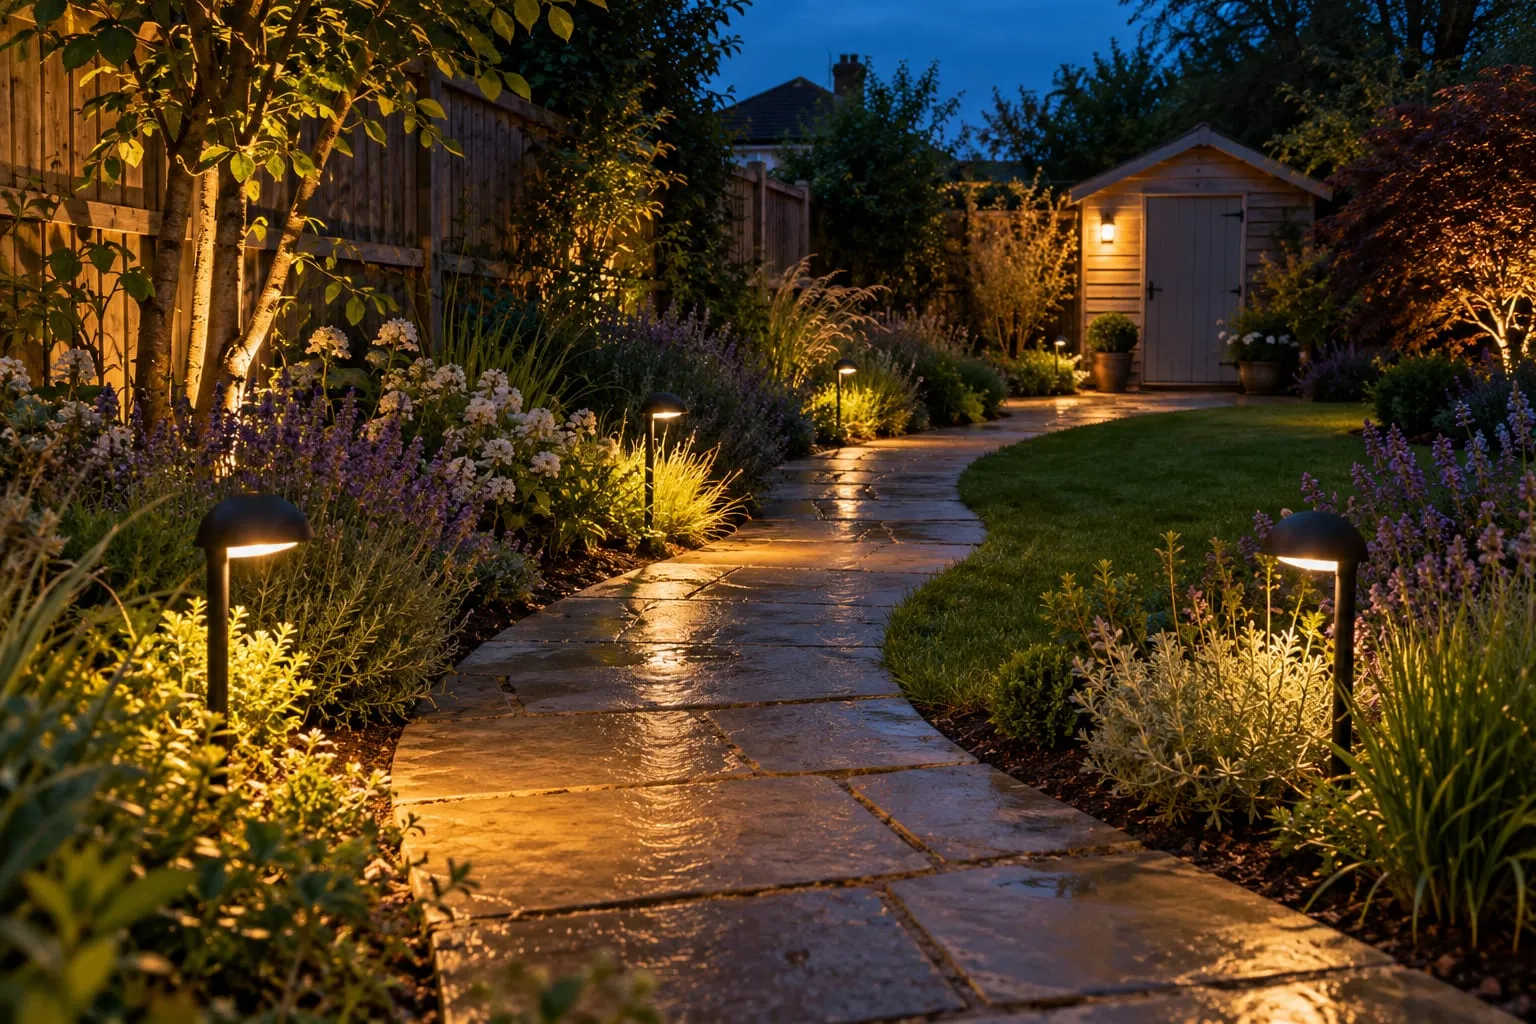
A lit path should show you the route and the edges, and nothing else. It doesn’t need to be bright. The paths that look best at night have small pools of warm light on the ground, a bit of darkness between them, and no bulbs glaring at you as you walk.
Which fittings you choose comes down to how long the path is, whether there are steps or a slope, whether a car uses it, and whether you can get mains or low-voltage power to it. Solar works for some paths, but not the ones you need every night of the winter.
The main types of path light
| Low path lights | Bollards | Markers and recessed | Solar stakes | |
|---|---|---|---|---|
| Height | About 20–60 cm | About 45–90 cm | Flush or set in a wall | 20–50 cm |
| Light on the path | Good, aimed down | Most, wider spread | Marks the edge only | Low |
| Typical output | 50–200 lm | 100–400 lm | 10–100 lm | Often under 50 lm |
| Spacing | 1.5–2.5 m | 2.5–4 m | 1–1.5 m | 1.5–2 m |
| Best for | Most garden paths | Long paths, front paths, drives | Modern paths, steps, drive edges | Secondary paths, summer |
Low path lights
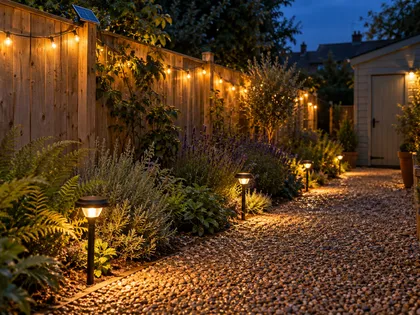
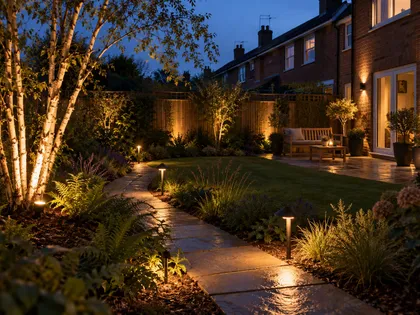
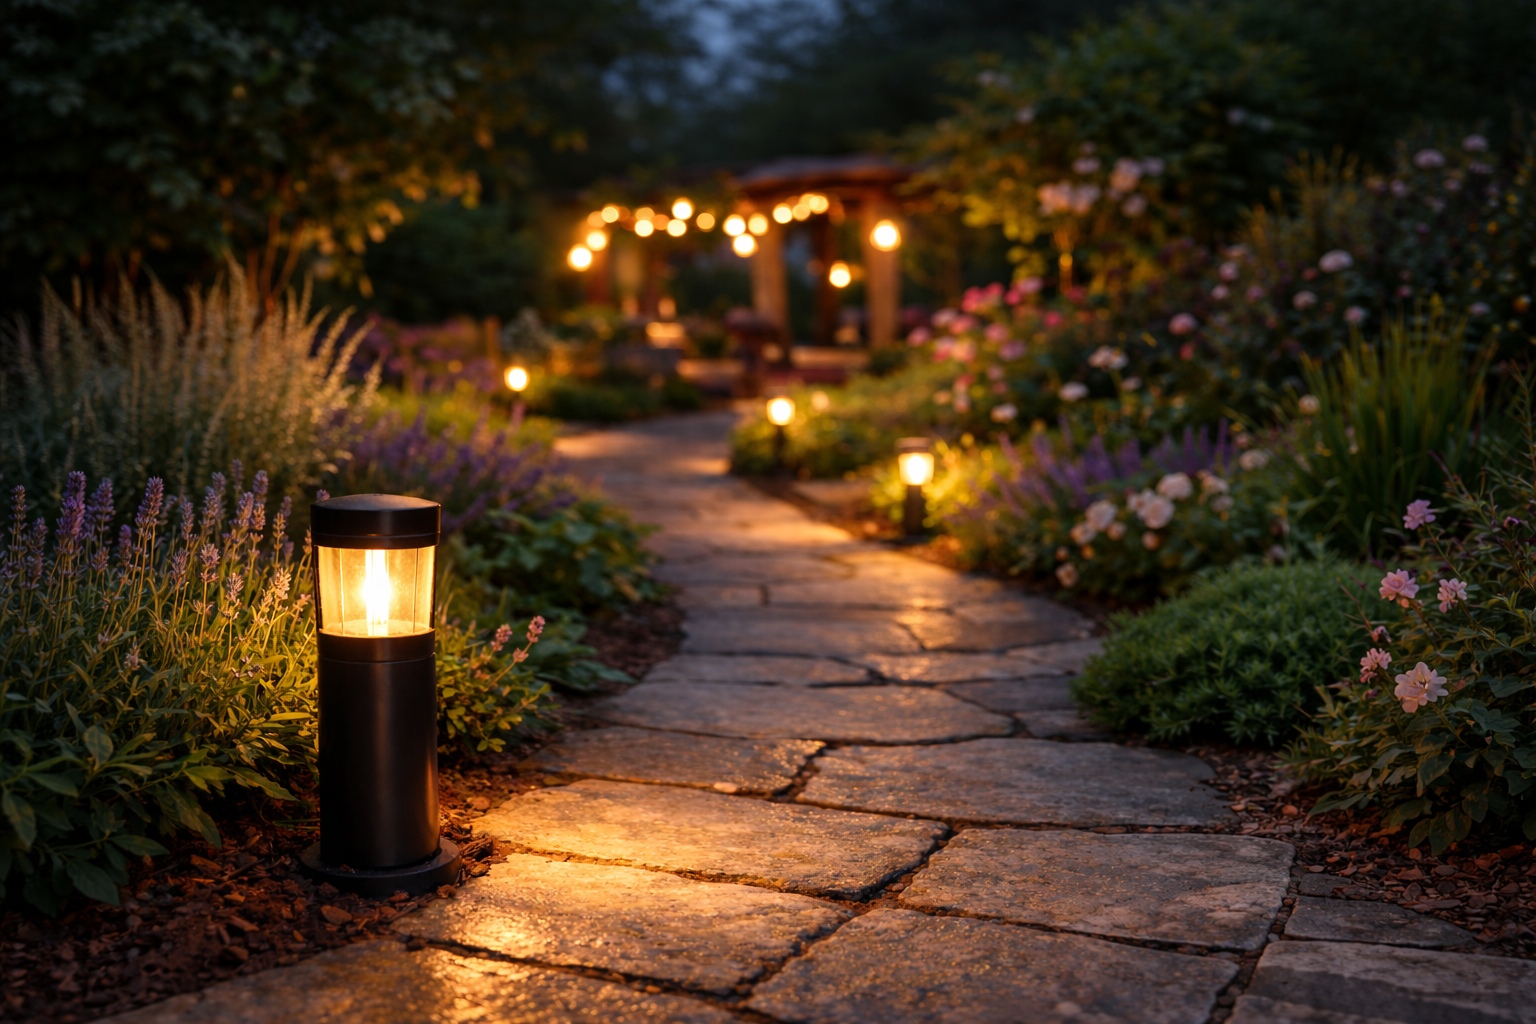
For most garden paths, this is the right answer: short lights on a spike or a small base, with a cap, hood or louvre that throws the light down and sideways onto the path. Because you look at the top of the fitting rather than into the LED, there’s no glare.
Put them in the border just off the edge of the path, where they won’t get kicked or hit by the mower, and space them roughly 1.5 to 2.5 metres apart. On a narrow path, run them along one side; on a wider one or a path through planting on both sides, stagger them side to side rather than lining them up in pairs, which looks like a runway. Bring them closer together where the path bends, narrows or meets a step, because that’s where people need to see.
Output of 50 to 200 lumens each is plenty. Low-voltage 12 V kits are the easiest way to wire them: the transformer plugs into an outdoor socket and the thin cable runs through the border, so you can move lights as plants grow.
Bollards for longer paths and front gardens
Bollards are taller, usually between about 45 and 90 cm, and they’re meant to be seen. On a long path, a front garden path to the door or the edge of a drive, a row of bollards gives the route structure in the daytime as well as at night.
They put out more light with a wider spread, so they can go further apart: roughly 2.5 to 4 metres, depending on the height and output. Choose ones where the light source is shielded and aimed down, with louvres or a solid top, rather than a glowing globe or an open lamp that you look straight into. In a small garden, the shortest bollards (or low path lights) look better; tall bollards can feel like a car park.
Most bollards run at mains voltage and have to be wired by an electrician, with suitable outdoor cable to each one. Some low-voltage systems include short bollards, which are a good DIY alternative for a garden path.
Markers and recessed lights
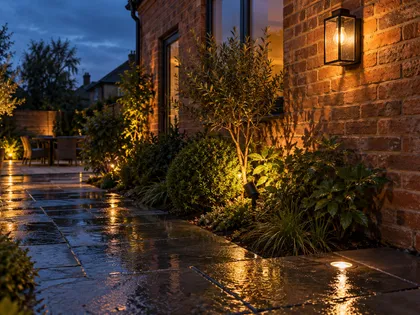
Markers are small, flush or nearly flush lights set into paving, a low wall, the edge of a path or a step. They don’t light the path much. They mark its edge, like cat’s eyes, which suits modern gardens with clean paving and minimal clutter.

Recessed ground lights need IP67, because rain sits on them and they’ll be under water in a downpour. If they go in a driveway or anywhere a car might cross, they must be rated for vehicles; the maker states a drive-over load. Brick lights, the small rectangular fittings set into a wall in place of a brick, are the other common marker. On a low wall beside a path they throw a neat strip of light across the ground.
Steps and slopes
Steps are where people trip, so they’re the part of a path most worth lighting. Light every tread, or every other one on a long flight, so you can see each edge. The light only needs to be dim: 20 to 100 lumens per step is enough once your eyes have adjusted.
There are three neat ways to do it. Small recessed lights in the face of each riser, or in the side walls, put a pool of light on the tread below. An LED strip tucked under the nose of each tread gives a continuous line of light and shows the edge very clearly. On informal steps through a sloping garden, low path lights at the side of every second or third tread work well without any cutting into stone.
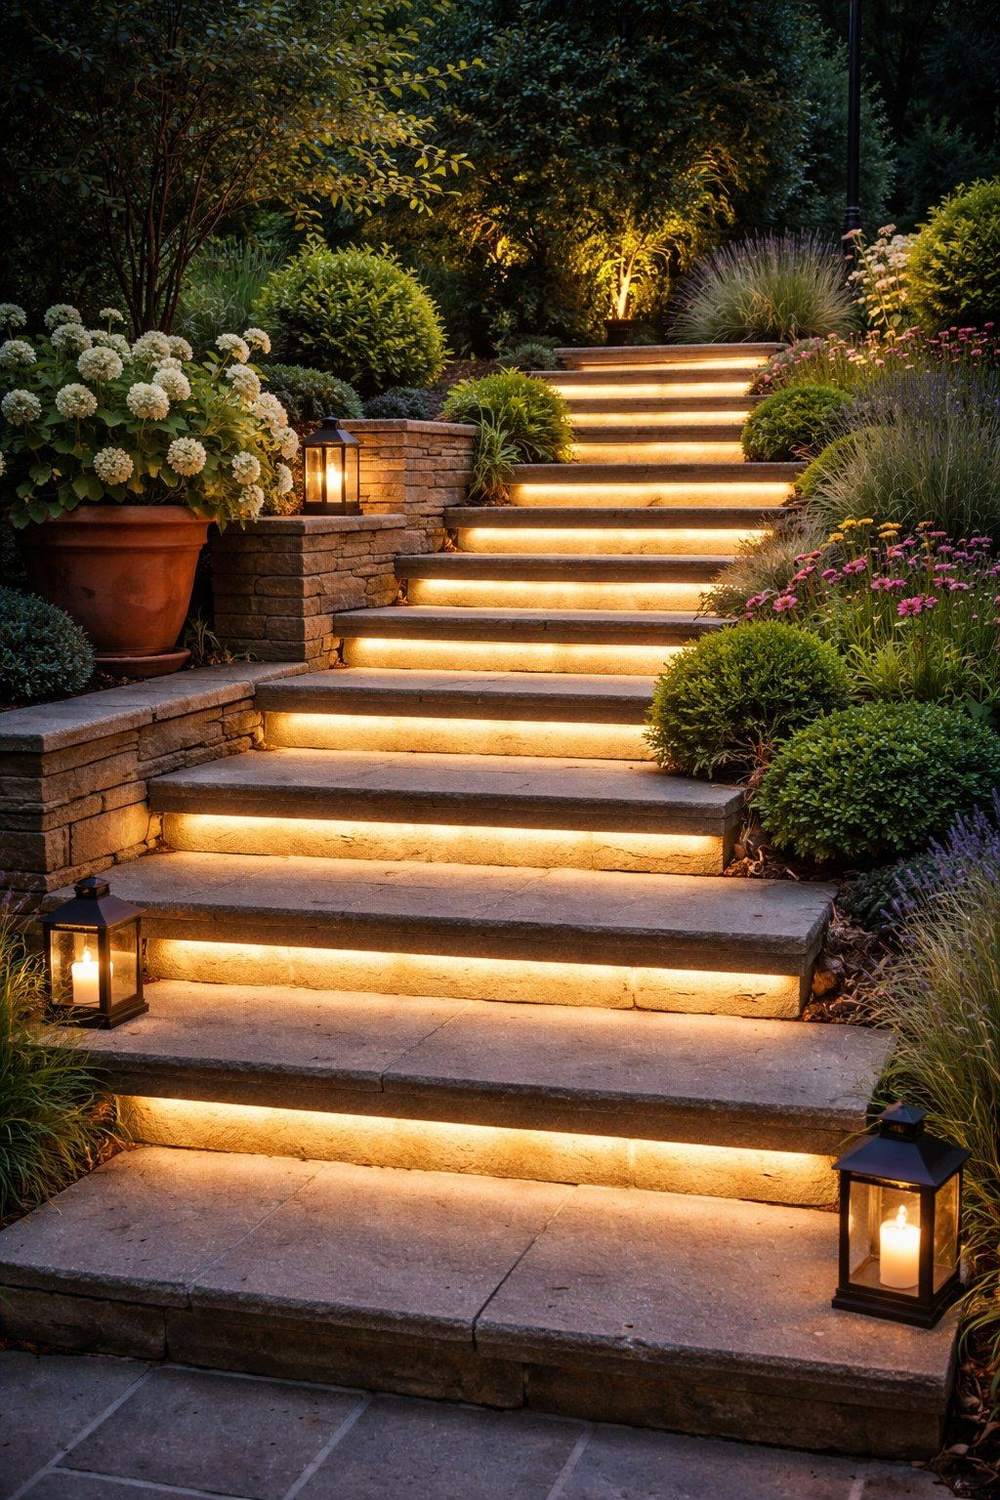
Fittings in the face of a riser or wall should be IP65; anything set into a tread, where water sits, needs IP67. For timber steps and decks, low-voltage deck light kits are the simplest option, and deck lighting ideas covers them.
Driveways and shared access
On a drive, the job is to show the edges and any kerbs, steps or changes in level, without dazzling whoever’s driving. Low lights or short bollards along one edge, aimed down and away from the drive, work well. Drive-over ground lights along the edge mark it clearly from a car, as long as they’re rated for vehicles.
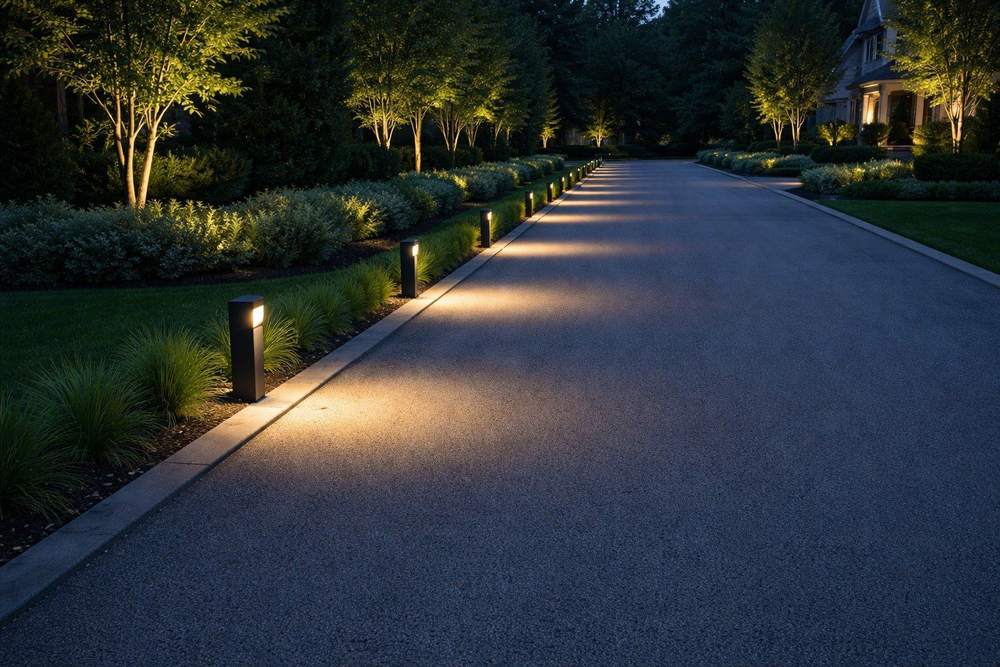
Avoid anything that shines towards a driver coming in, and keep lights on a shared drive aimed at the ground rather than at neighbours’ windows. A motion-sensor light on the house that comes on as you arrive often does more for security than lighting the whole drive all night.
Solar path lights
Solar path lights are cheap, need no wiring and can go anywhere, which makes them tempting. They’re fine for secondary paths, decorative edges and summer use, especially on a south-facing path that gets direct sun all day.
The catch is winter. On grey days from November to February, many solar lights only manage a few hours and are dim even then, and paths in the shade of a fence, house or trees barely charge at all. Many cheap solar stakes put out only a few lumens, enough to mark a path but not to light it. For the route from the back door to the shed, or the front path, use mains or low voltage.

If you do go solar, look for a separate panel you can put in the sun while the light sits in the shade, a stated output in lumens, and replaceable batteries. There’s more on each of those in solar garden lights that still work in winter. If you can’t run a cable to the path at all, how to light a garden path without wiring goes through every option, including battery and plug-in low voltage.
Brightness, colour and glare
The most common path-lighting mistake is too much light. Bright, bare lights make the path look like a runway, blind you to everything beyond it and make the rest of the garden disappear. Lower output, aimed down, with even spacing, lets you see better.
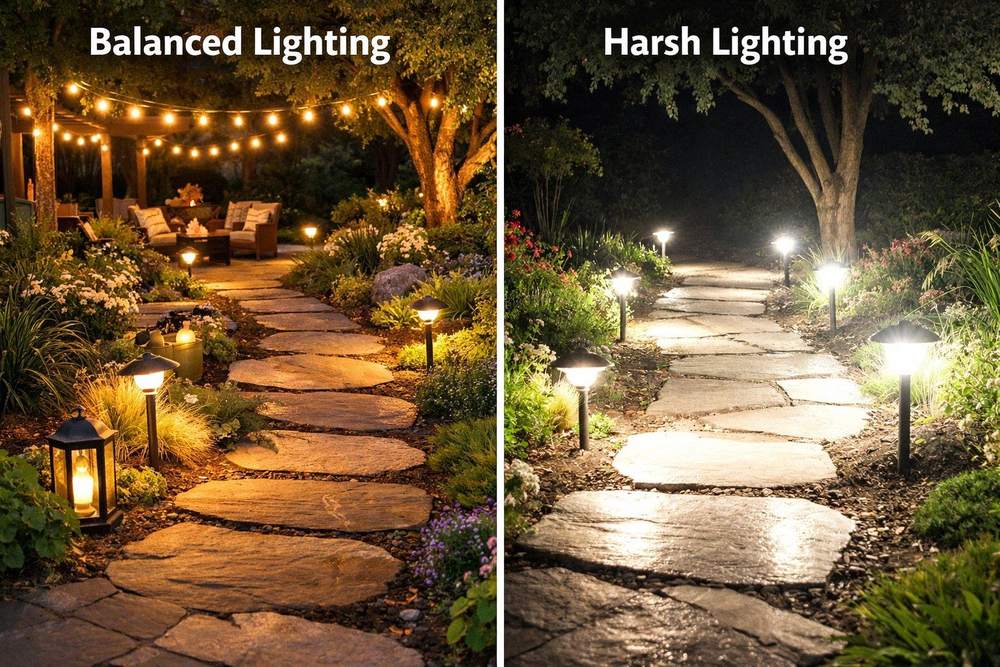
Use warm white, 2700K to 3000K, and keep every light on the path the same colour. One cool white light in a row of warm ones stands out badly, and it’s a common result of mixing a new solar light into an older set. Fittings with a shield or hood also keep light out of neighbours’ windows and off the sky, which matters for wildlife too.
Planning the layout
Walk the path at dusk and note where you actually need to see: the start and end, bends, steps, a change in surface, the gate. Those points get a light first. Then fill in between them at even spacing.
Before fixing anything, try it out. Lay the lights in position (or use a torch) and look at the path from where you’ll see it most: the back door, the patio, the kitchen window. Check that no light shines straight at you from those spots and that nothing spills into a neighbour’s window.
Mixing types is fine as long as each has a clear job. Low path lights on the flat, recessed lights on the steps and a pair of bollards at the gate is a common, good-looking combination. For how paths fit into the rest of the scheme, see garden lighting ideas.
Wiring and IP ratings
Outdoor sockets and outdoor lighting circuits need 30 mA RCD protection, so check your consumer unit before plugging in a low-voltage kit; NICEIC’s guide to gardens and electrics covers why. Mains-voltage path lights and bollards are a job for a registered electrician. Cable across a garden must be suitable for outdoor use, armoured or protected in conduit, and buried deep enough to be clear of spades. In England and Wales some of this work, including any new circuit, is notifiable under Part P of the Building Regulations, which a registered electrician self-certifies.
For IP ratings, path lights and bollards out in the rain should be IP65; IP44 is the bare minimum and only suits sheltered spots. Anything set into the ground needs IP67. The full explanation is in IP ratings for outdoor lighting, and if lights start flickering or tripping the RCD after rain, see outdoor lighting faults.
What I'd buy
Affiliate linksFAQs
How far apart should path lights be?
About 1.5 to 2.5 metres for low path lights, a little closer at bends and steps. Taller bollards can go 2.5 to 4 metres apart. Small marker lights that only mark an edge usually go every 1 to 1.5 metres.
How bright should path lights be?
Dimmer than you’d think. Around 50 to 200 lumens for each low path light, 100 to 400 for a bollard, and 20 to 100 for a step light. Even spacing matters more than output.
Are solar path lights bright enough?
For marking a secondary path in summer, yes. For a path you use every night in winter, usually not: many fade after a few hours on grey days and cheap ones only give a few lumens.
Should path lights go on one side or both?
One side is usually enough for a path under about a metre wide. On wider paths, stagger lights side to side rather than putting them in pairs opposite each other.
What IP rating do path lights need?
IP65 for path lights and bollards exposed to rain, IP67 for anything set into the ground or paving. IP44 is the minimum for any outdoor light and only suits sheltered spots.
Do I need an electrician to install path lights?
For mains-voltage lights and bollards, yes. Low-voltage plug-in kits and solar lights are DIY, as long as the socket you plug into is RCD-protected.
 Save
Save it for later
Pin this guide to one of your Pinterest boards so it's there when you start the job.