Track lighting in kitchens: where it works and how to set it up

Some links below are affiliate links: if you buy through them I may earn a small commission, at no extra cost to you. As an Amazon Associate I earn from qualifying purchases. How LightGuru makes money

Mike's quick answer
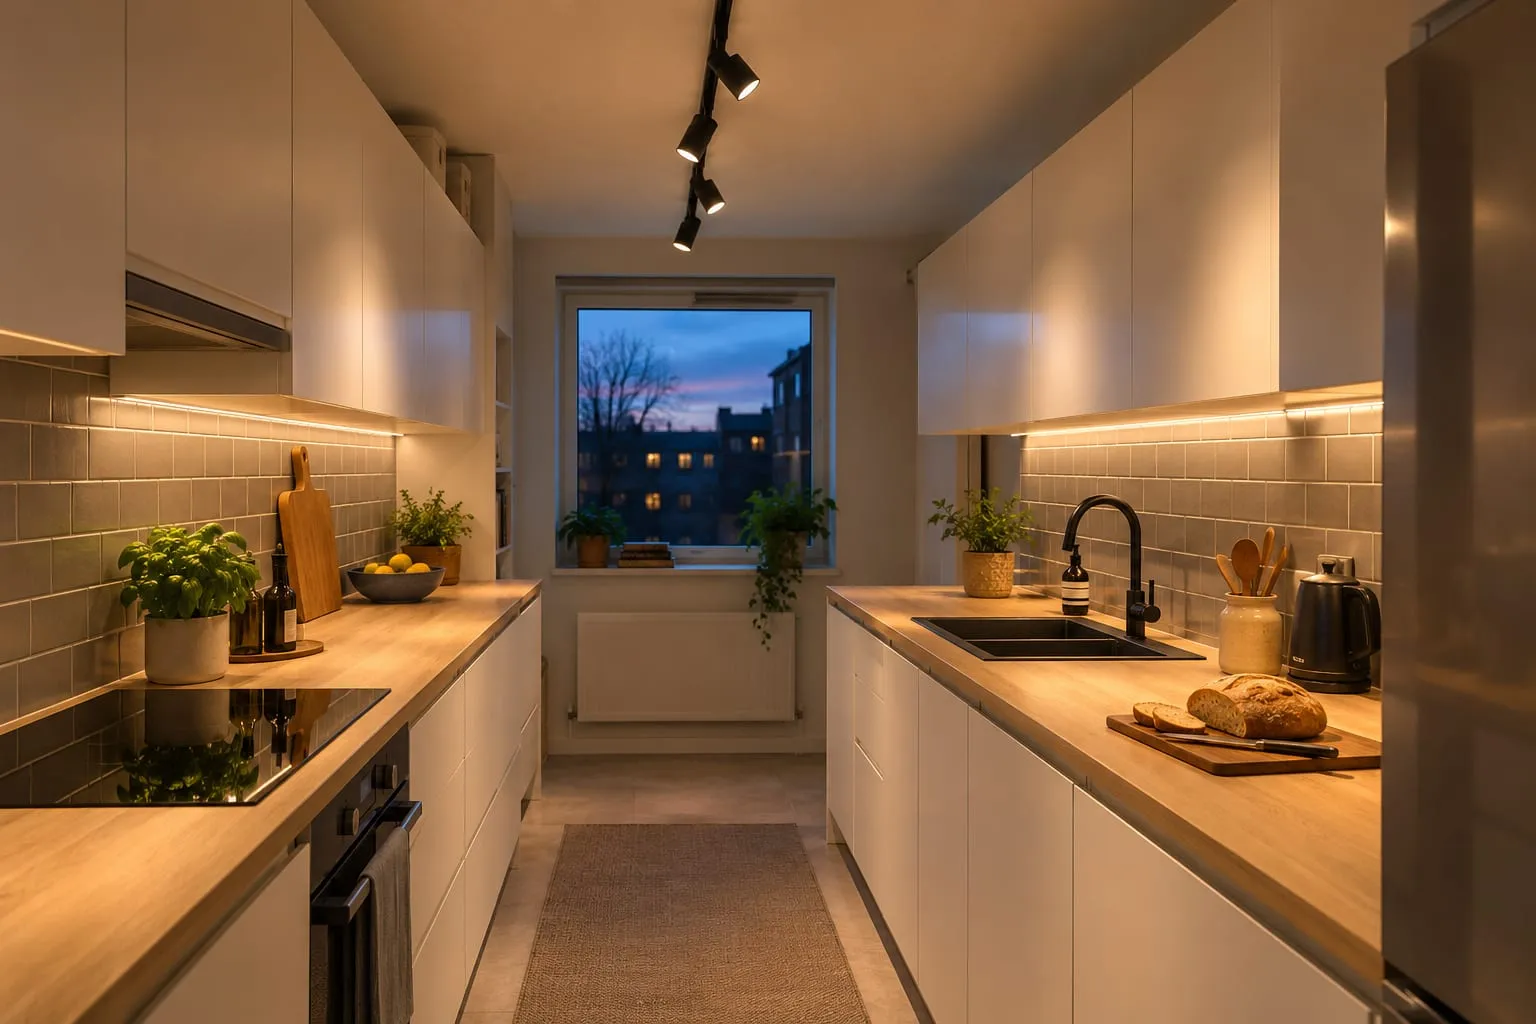
Track is the best answer where downlights won't go: solid or awkward ceilings, rentals, and galleys you want lit from one ceiling point. Run it over the working area, aim the heads at the worktops rather than straight down, use 3000K heads of around 350 to 500 lumens, and add under-cabinet lighting.
Track lighting used to mean chunky halogen spots that looked dated within a year. Modern LED track is slim and neat, and in the right kitchen it does a better job than downlights.
Its strength is that you aim the light. One rail, fed from one ceiling point, carries several heads that swivel and slide, so you put light on the worktop, the sink or the shelves wherever the track happens to run. Nothing gets cut into the ceiling.
It’s the right choice when downlights are awkward: a concrete ceiling, joists in the wrong places, a rental, or a galley you’d like to light from a single run. It’s less suited to a big kitchen where you want a clean ceiling, where downlights do the general lighting better.
Track or downlights?
| Track | Downlights | |
|---|---|---|
| Holes in the ceiling | None, one power point | One per light |
| Aiming | Every head swivels | Fixed, some tilt |
| Look | Visible, a design feature | Almost disappears |
| Fire rating | Not needed, ceiling intact | Needed under a floor |
| Changing it later | Move or add heads | New holes |
| Glare | Can glare if badly aimed | Low if well placed |
| Rough cost | £40–£150 for a kit | £8–£25 each, plus fitting |
Yellow = the better option on that line.
If you can cut the ceiling and want it to look clean, downlights usually win; recessed vs surface-mounted lighting goes through that decision. If you can’t, or you like the look of a visible rail, track is the better tool.
How track lighting works
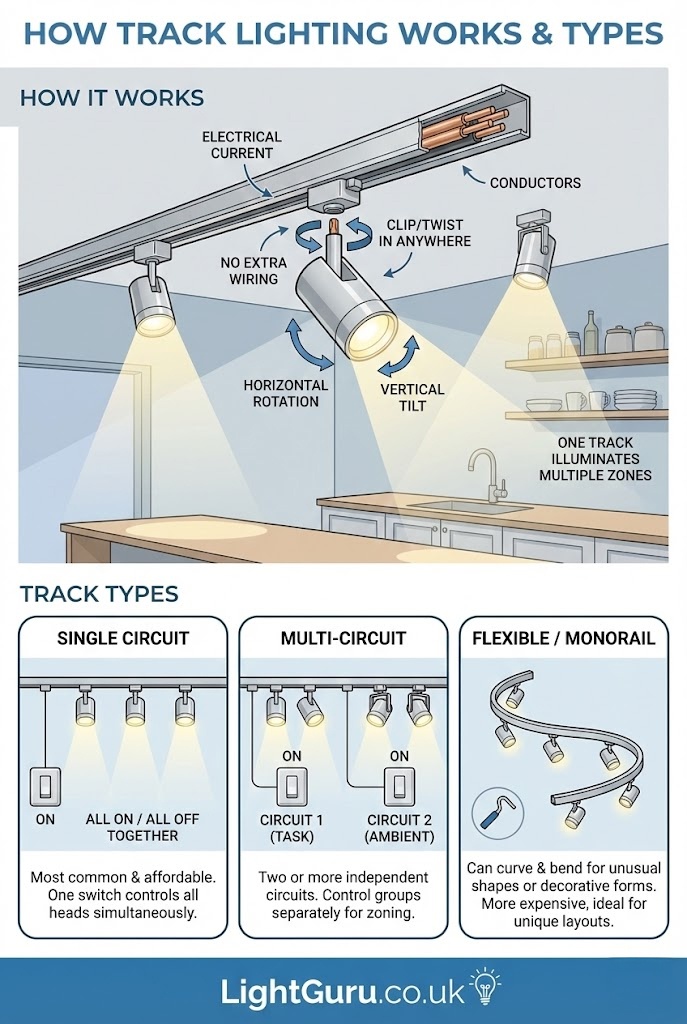
A track is a metal rail fixed to the ceiling with live conductors running inside it. The heads clip or twist into the rail anywhere along its length, and each one rotates and tilts. You can move, add or remove heads without new wiring.
There are three main types. Single-circuit track is the usual domestic kind: one switch, all heads on or off together. Multi-circuit track has two or three circuits in the same rail, so you can switch groups of heads separately, for example worktop heads on one switch and the island on another. Flexible or monorail systems bend to follow curves; they’re more expensive and rarely needed in a kitchen.
Many “track” kits sold for homes are really spotlight bars: a fixed bar with three or four heads that swivel but can’t slide. They’re cheaper and fine over a short run, but you can’t move or add heads later.
Heads come in two kinds. GU10 heads take a standard bulb, so you choose the colour and brightness and can drop in smart bulbs. Integrated LED heads are usually slimmer and more consistent in colour, but when one fails you replace the head.
When track makes sense
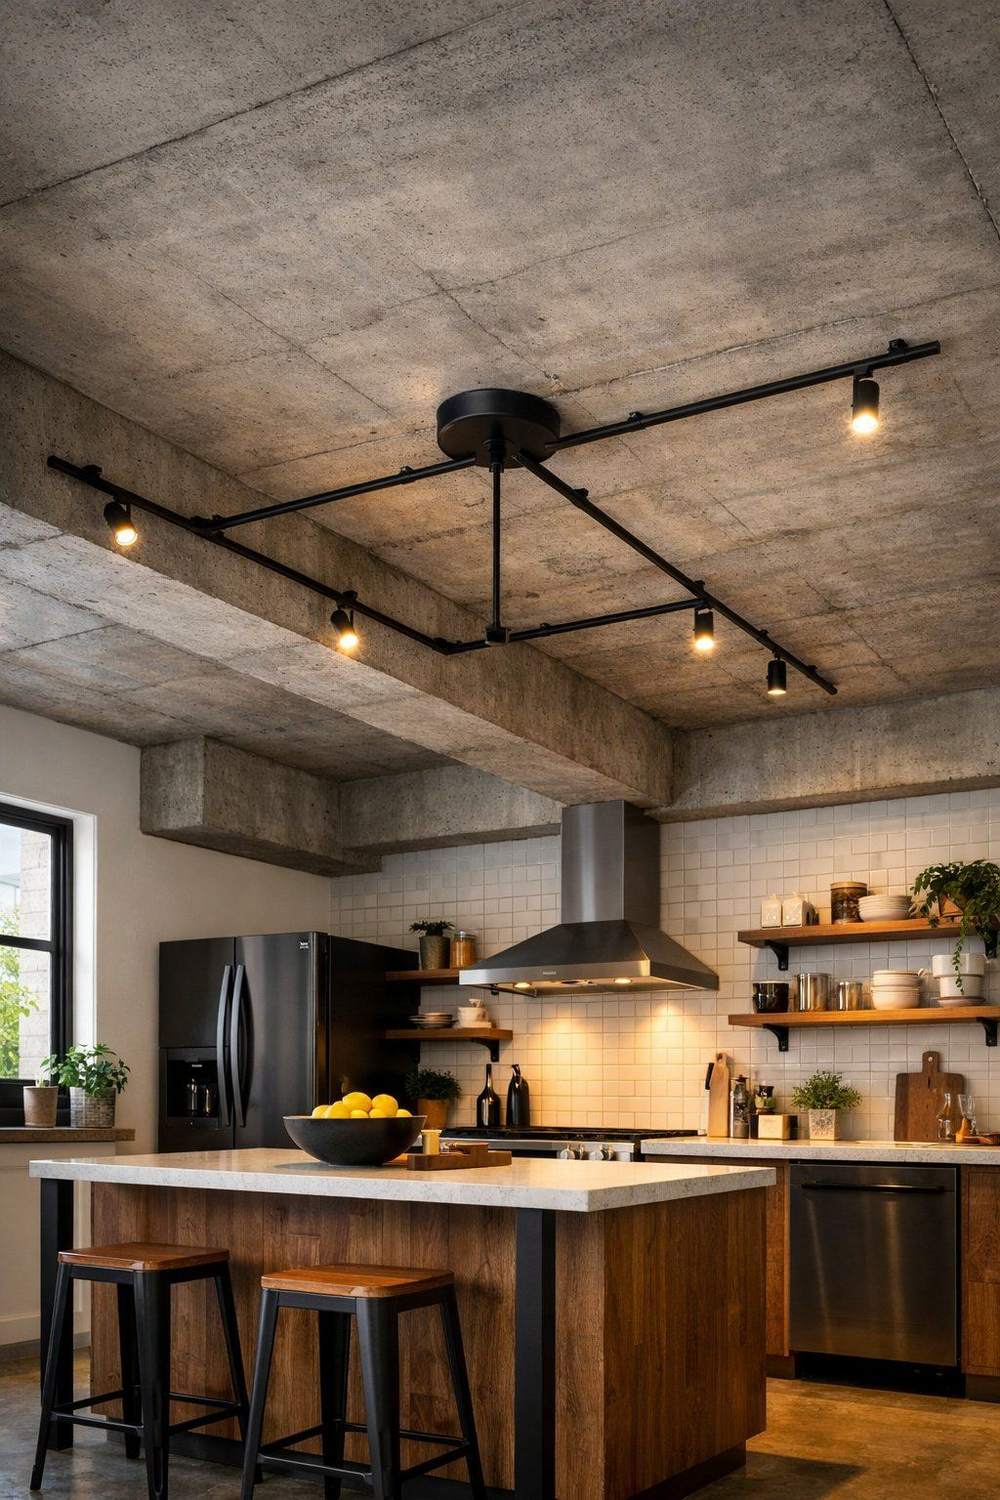
Solid or awkward ceilings. Concrete ceilings, shallow voids in extensions, steel beams and pipework all make downlights hard. A track only needs a fixing and a power feed.
Joists in the wrong places. If the joists stop downlights going where the worktops are, a track can run where it suits and the heads make up the difference.
Rentals and quick upgrades. A single-circuit track usually connects to the existing ceiling point, so there’s no new cable and nothing to make good when you leave.
Galleys. One track down the middle of a galley can light both worktops, with half the heads aimed at each side. That’s a job that would otherwise need two rows of downlights.
Budgets. A good kit with four to six heads usually costs less than fitting the same number of downlights, mostly because there’s far less labour: no holes, no fire-rated fittings, and little or no new cable.
Track also sits only a few centimetres below the ceiling, so it suits low ceilings better than most surface fittings. The low ceiling kitchen lighting guide covers the other options.
Where to put the track
Galley kitchen
Run one track along the centre of the ceiling, parallel to the worktops, and angle the heads alternately left and right. Make the track cover the full working length: in a 3 metre galley, a track of 2.5 to 3 metres, not a short section that leaves the ends dark. The galley kitchen lighting guide has more layouts for narrow kitchens.
Single run of units or an L-shape
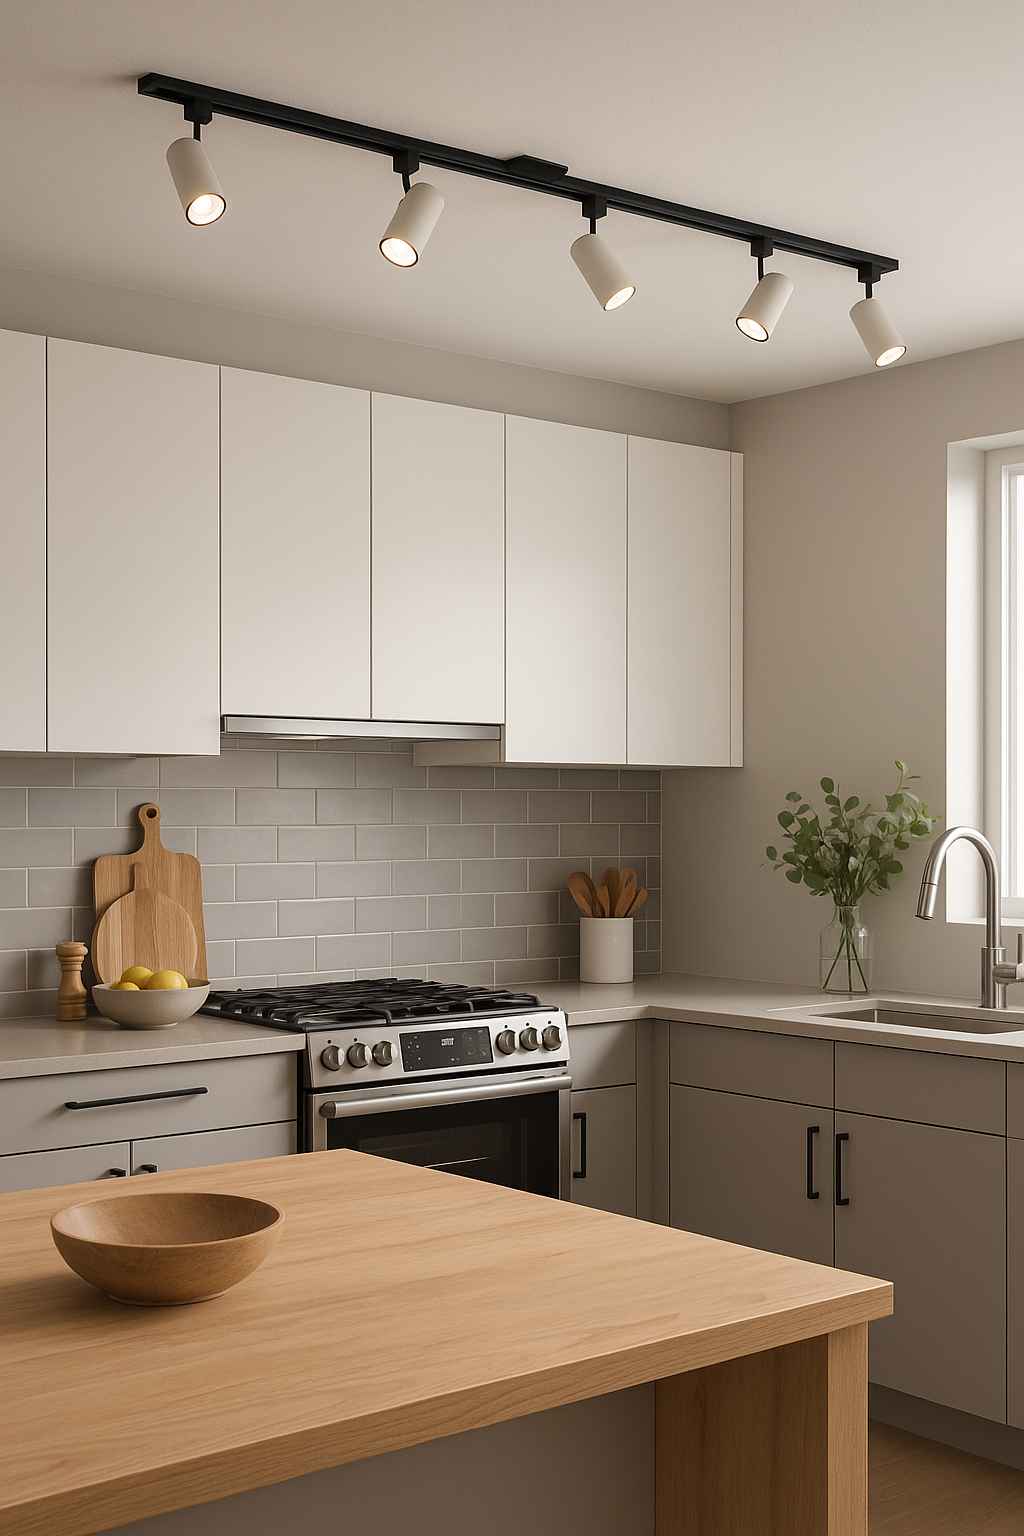
Keep the track parallel to the worktop and far enough into the room, roughly 60 to 90 cm from the wall, that the heads can angle back onto the worktop without the wall cupboards blocking them. For an L-shape, either use a corner connector to follow both runs or fit two separate tracks, one over each leg.
Over an island
A track over an island is a neat alternative to pendants, especially if you want a cleaner ceiling or might change how you use the island. Aim most heads at the worktop, and perhaps one at shelving or a feature wall.
Open-plan kitchen-diner
Keep the track to the kitchen zone. It helps mark the kitchen out as its own area. Use different fittings, such as pendants or wall lights, over the dining and living areas. More on this in the open-plan kitchen-diner lighting guide.
Aiming the heads
Getting the angles right is the whole point of track, and it’s where most people go wrong.
Don’t point every head straight down. That gives hard circles on the floor and the same shadow problem as a central ceiling light. Tilt each head just enough that its beam lands on the worktop in front of the wall units. Too little tilt and the light falls on the floor behind you; too much and it shines into the eyes of anyone on the other side of the room.
A head or two aimed at a tiled splashback or open shelves bounces light back into the room and makes the kitchen feel brighter. Keep one eye on glossy surfaces: high-gloss doors and polished worktops reflect a badly aimed spot straight back at you. Check from where you stand to cook and from where people sit, and adjust until neither gets glare.
Beam angle matters too. Heads of around 36 to 40 degrees give focused light for worktops; around 60 degrees gives broader, softer light for general use.
Colour and brightness
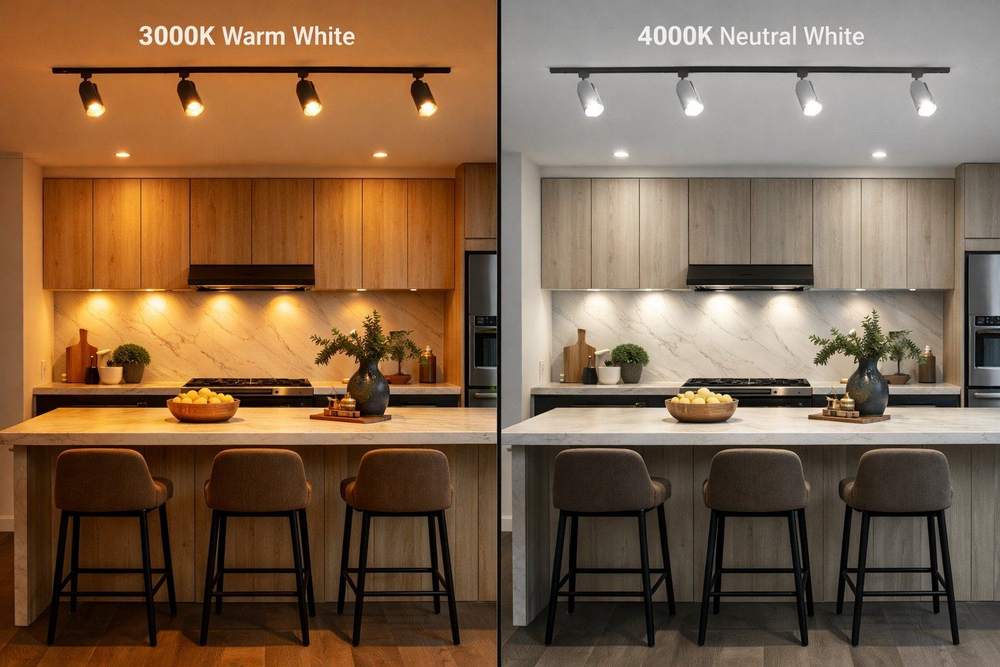
For most kitchens, 3000K warm white is the right choice. It’s warm enough for the evening and clear enough for cooking. 4000K suits a kitchen that’s mainly a workspace, but it can feel clinical once the kitchen doubles as a dining room. Whatever you choose, every head should match, and so should your under-cabinet lighting. Mixed whites on one track look patchy. The colour temperature guide for kitchens has more detail.
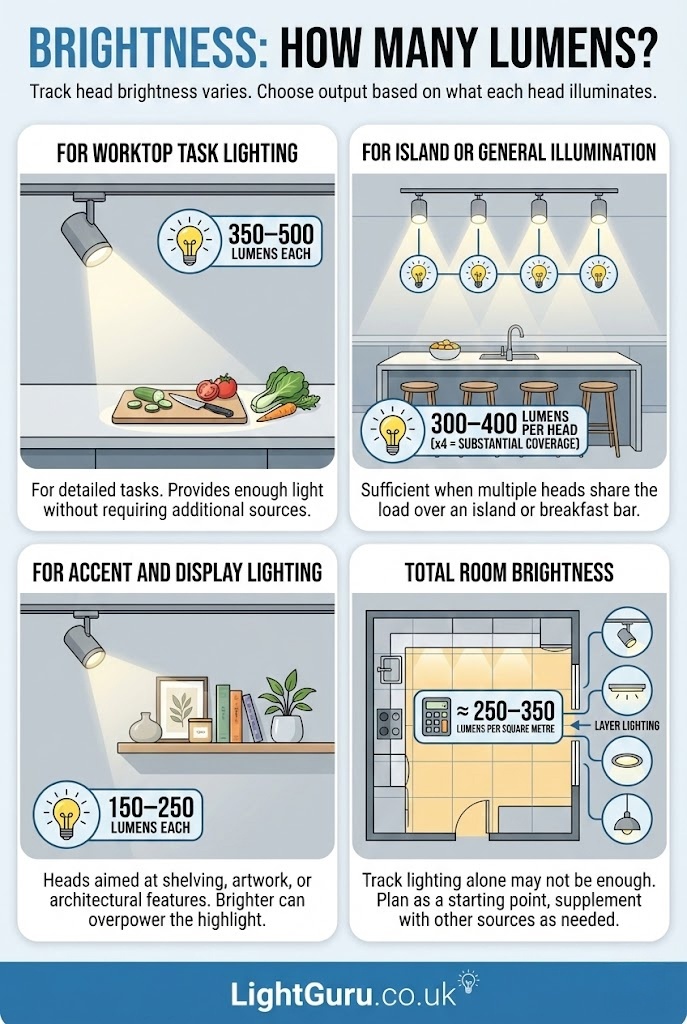
For brightness, choose heads by what they’re lighting:
- Worktops: about 350 to 500 lumens per head.
- Island or general light: about 300 to 400 lumens per head, with several sharing the job.
- Shelves or a feature wall: about 150 to 250 lumens. Brighter than that overpowers what you’re showing off.
A kitchen as a whole wants roughly 250 to 350 lumens per square metre. In anything bigger than a small galley, a single track won’t get there on its own, so plan it alongside under-cabinet lighting, downlights or pendants. Look for CRI 90 or above so food looks natural.
Layering track with other lights
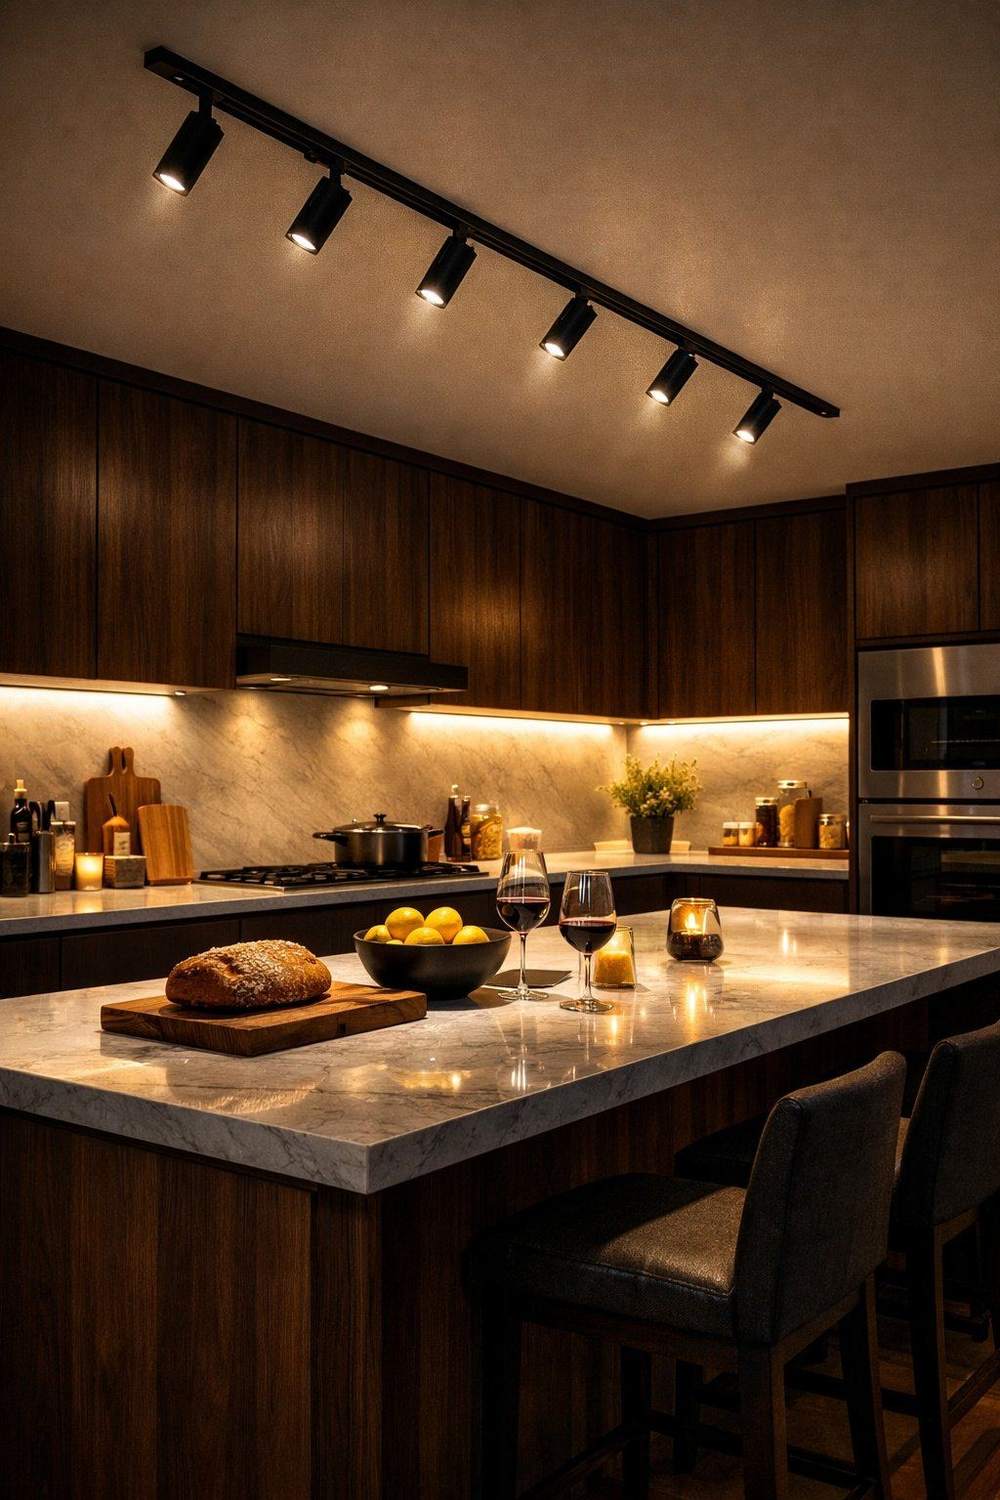
Track works best as one layer, not the whole scheme. With wall cupboards in the way, even well-aimed heads leave some shadow at the back of the worktop. Under-cabinet lighting fills that from the front, and the two together light a worktop properly.
In a larger kitchen, downlights can do the general lighting while a track handles the island or a feature wall. Plinth lights and shelf strips add the soft evening layer that a row of spotlights can’t.
Choosing and fitting a track
Black track makes a statement and suits modern, industrial and Scandi kitchens. White disappears against a white ceiling. Brushed metal ties in with stainless steel appliances.
If headroom is tight, choose the slimmest rail and compact heads. A slim LED track kit sits closer to the ceiling than an older chunky system.
Four to six heads suit a typical 2 to 3 metre kitchen run. More than that looks cluttered; in a big kitchen, two shorter tracks look better than one crowded one.
Track comes in set lengths that join with straight or corner connectors. Measure and plan the run, including the position of the power feed, before you buy.
On plasterboard, use proper cavity fixings or screw into joists; on concrete, a drill and plugs. Follow the maker’s fixing instructions for the weight of the track and heads.
A single-circuit track normally connects to the existing ceiling point. Multi-circuit track needs extra switch wiring. Putting in a new circuit is notifiable under Part P of the Building Regulations in England, so use a registered electrician for that. If you want to dim it, check the heads or bulbs are dimmable and use a trailing-edge LED dimmer.
Common track mistakes
The most common is pointing every head straight down, which wastes the whole point of track. Next is mounting the track too close to the wall, so the heads light the tops of the wall cupboards rather than the worktop. A cool 4000K or higher track over a kitchen-diner can feel harsh in the evening, and unchecked angles cause glare on gloss surfaces. Too many heads on one rail looks cluttered. And relying on track alone, in anything but a small galley, usually leaves the worktops short of light. The kitchen lighting mistakes guide covers fixes for the wider kitchen.
What I'd buy
Affiliate linksFAQs
Is track lighting good for kitchens?
Yes, especially where downlights are awkward. Being able to aim each head means you can light the worktops properly from a single ceiling point, which suits galleys, solid ceilings and rentals.
Where should track lighting go in a kitchen?
Down the centre of a galley, parallel to the worktops and roughly 60 to 90 cm from the wall on a single run, or over an island. Keep it far enough out that the heads can angle back onto the worktop.
Can track lighting replace downlights?
In a galley or a kitchen with a difficult ceiling, it can be the main ceiling light. In a larger kitchen it works better alongside downlights or other general lighting.
Is track lighting suitable for low ceilings?
Yes. A slim rail with compact heads sits only a few centimetres below the ceiling and doesn’t need a ceiling void, so it often suits low or solid ceilings better than downlights.
What colour temperature should kitchen track lights be?
3000K for most kitchens. 4000K if you want crisper light and the kitchen is mainly a workspace. Keep every head, and your under-cabinet lights, the same.
 Save
Save it for later
Pin this guide to one of your Pinterest boards so it's there when you start the job.