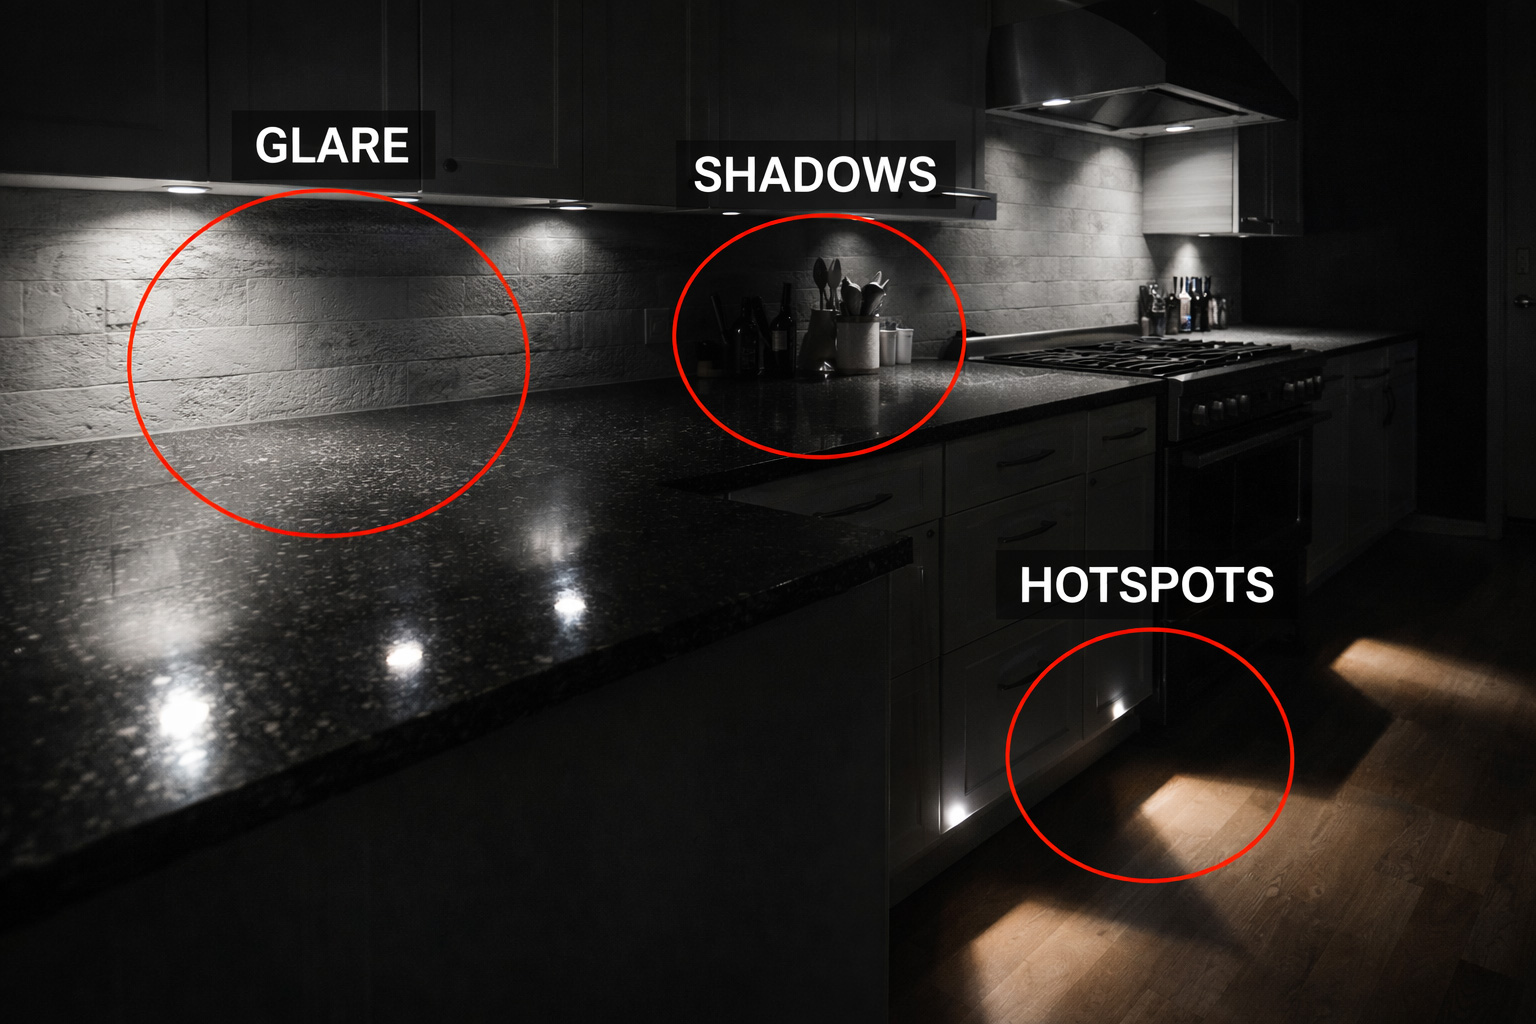
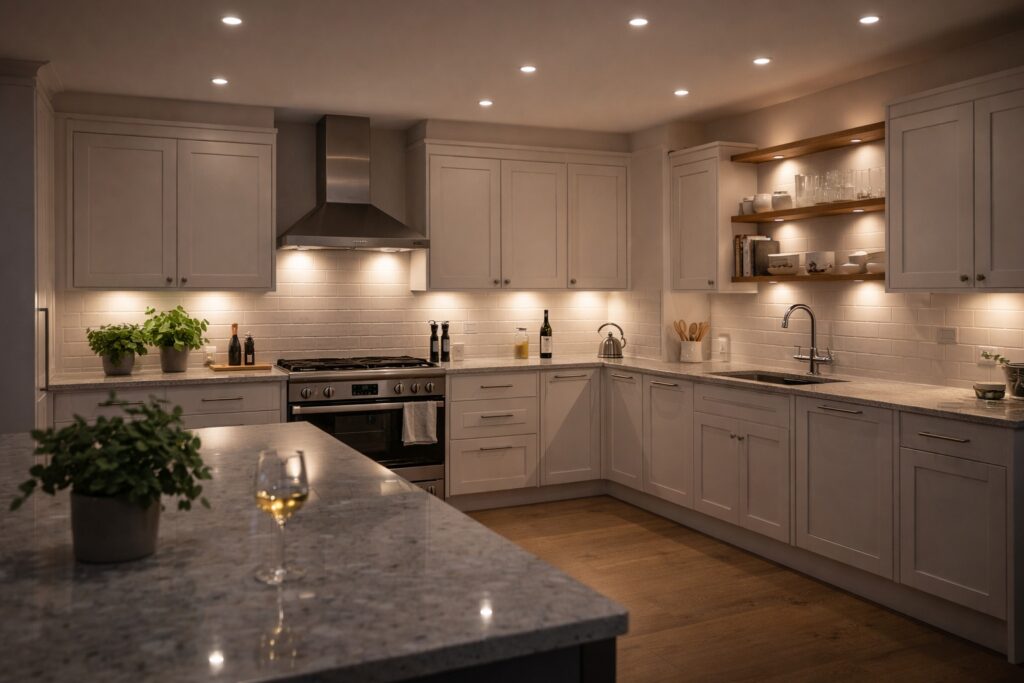
Glare, shadows, and hotspots are common kitchen lighting issues that usually result from placement, beam angle, or insufficient layering rather than a lack of brightness.
This guide explains how to identify each problem, what typically causes it, and how to correct it using practical lighting adjustments such as diffuser choice, beam spread, and positioning. The focus is on improving light distribution rather than increasing output.
Because most kitchen lighting problems come down to three issues:
- Glare
- Shadows
- Hotspots
Each one has a different cause — and a different fix.
This guide explains how to identify, diagnose, and correct each issue using practical lighting principles.
This guide focuses on fixing specific lighting defects like glare and shadows. For full kitchen room planning, layout, and brightness guidance, see our complete lighting guide.
Table of Contents
1) Glare — When the Light is Too Bright in the Wrong Way
Glare is brightness without softness.
It occurs when light is overly intense or poorly diffused.
It shows up as:
- Light that’s uncomfortable to look at
- Harsh reflections off glossy surfaces
- Fixtures that feel “too intense” even if lumens are correct
- That ceiling light that feels uncomfortable during everyday tasks.
Main causes:
- Bulbs without diffusers
- Too wide beam angle
- Fixtures placed directly in eye-line
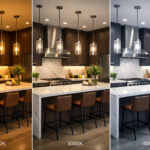
- Cool CCT (4000K–6500K) making everything sharper
- Low CRI causing contrast strain
- Gloss tiles/cabinets reflecting badly
How to fix glare:
- Use diffused LED strips instead of visible diodes
- Pick frosted/glass pendants instead of exposed filament
- Go warmer — 2700–3000K reduces intensity instantly
- Consider anti-glare baffles or deep-recess downlights
- Bounce light off ceiling instead of pointing downward
- Matte finished splashbacks > glossy mirrors in strong beam areas
Reducing glare usually requires a combination of diffusion and directional control.
2) Shadows — The Biggest Kitchen Enemy of All
If your light source is behind you while chopping veg, the light source is positioned behind the user.
Your body casts the shadow — not the light.
You’ll recognise shadow problems when:
- Counters look bright except where you work
- Knife + hands disappear into darkness
- Cabinets block ceiling light
- Island seating looks gloomy
- Standing under light makes it worse
Common causes:
- Only one central ceiling light (classic 90s error)
- No under-cabinet task lighting
- Downlights placed down the walkway instead of over surfaces
- High pendant height without downward focus
- Wrong beam angles (too narrow)
Fixing shadows is easier than you think:
- Move or angle beams over worktop zones
- Add under-cabinet LED strips (the shadow eraser)
- Use wall-washing to brighten vertical surfaces
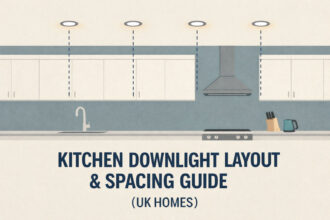
- Choose downlights with 36–60° beam spread
- Ensure lights sit forward of cabinet line (not centred in aisle)
Best rule: Task areas require lighting positioned directly over the work surface.

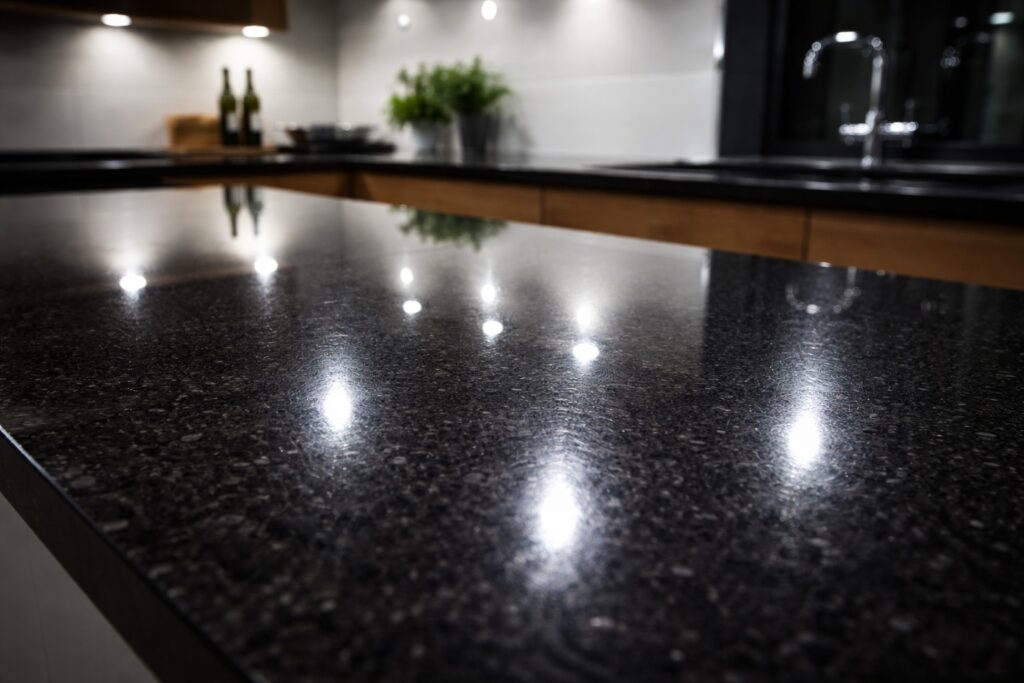
3) Hotspots — The Patch of Uneven Concentration of Light.
Hotspots are when light is concentrated instead of distributed.
Looks like:
- Bright circle on worktop
- One shiny patch on backsplash
- Pendant pools too small or too harsh
- Downlights spaced too far apart — dots of light, not wash
Causes:
- Narrow beam angles (<24°)
- High LED strip brightness with no diffuser
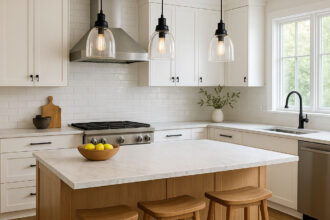
- Pendant too high = pool too tight
- Downlights too far apart → isolated cones
- Spotlights pointed at one tile instead of wall washing
HOTSPOT FIXES:
- Use wider beam downlights (40–60° sweet spot)
- Add diffusers to LED strips — never see the dots
- Lower pendants to spread light across table/island
- Add a secondary fill light to blend the bright spot
- Choose microprism diffusers for panel fittings
- Overlap beam cones for soft gradients
Hotspots can be reduced by increasing beam spread and overlapping light sources.

QUICK FIX CHEAT SHEET
| Problem | Fastest Fix |
|---|---|
| Glare | Frosted diffusers + warmer CCT |
| Shadows | Under-cabinet LEDs + better placement |
| Hotspots | Wider beam angles + overlapping spreads |
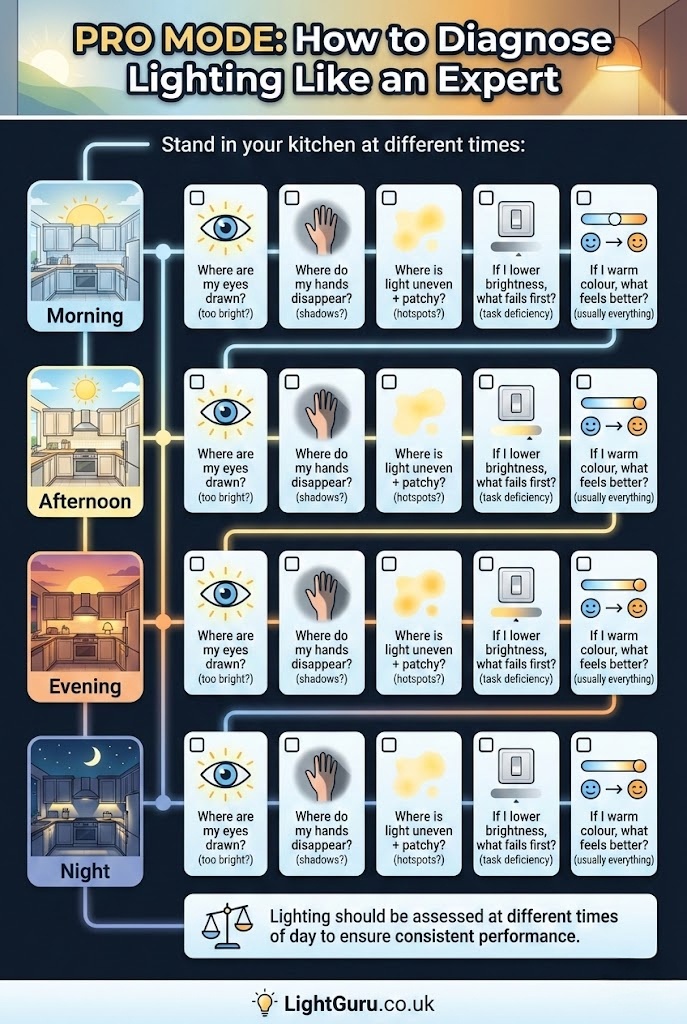
PRO MODE: How to Diagnose Lighting Like an Expert
Stand in your kitchen at different times:
- Morning
- Afternoon
- Evening
- Night
Consider the following checks at different times of day:
- Where are my eyes drawn? (too bright?)
- Where do my hands disappear? (shadows?)
- Where is light uneven + patchy? (hotspots?)
- If I lower brightness, what fails first? (task deficiency)
- If I warm colour, what feels better? (usually everything)
Lighting should be assessed at different times of day to ensure consistent performance.
Fixing Each Zone: Copy + Paste Solutions
For Islands
Problem → Glare from bright bulbs
Fix → Frosted pendants + dimmer
Problem → Hotspot directly underneath
Fix → Lower pendant height to widen pool
Problem → Shadows across seating
Fix → Add wall wash or plinth lighting
For Worktops
Problem → Dark when chopping
Fix → Under-cabinet strip, minimum CRI 90+
Problem → Harsh reflection off tile
Fix → Use diffuser channel + 3000K
Problem → Shadow behind you
Fix → Downlights over counter line
For Splashbacks
Problem → Bright streak on tile
Fix → Wider beam or wash at angle
Problem → No depth or texture
Fix → Grazing light from above = instant drama
For Sinks
Problem → Too bright + reflective
Fix → Warmer Kelvin + indirect fill
Problem → Hard shadow under taps
Fix → Slightly forward-facing beam
Big Mistakes and EASY Fixes
Cool white everywhere
Switch to 3000K base (2700K eve mode)
One ceiling fitting only
Add task + ambient + accent
LED dots visible
Use diffusers + channels
Pendants too high
Lower to 70–90cm above surface
Gloss tiles + sharp beams
Switch to matte or diffuse light
Evening Lighting Settings
In the evening, reducing reliance on ceiling lighting and using lower-level, warmer light sources can help maintain comfortable visibility without excessive brightness.
- Reduce reliance on main downlights
- Under-cab strips on warm dim
- Use low-level plinth lighting
- Use softer pendant lighting where fitted
- Optional lamp in open-plan section
FAQ – People Also Ask
Why does my kitchen feel too bright but still shadowy?
Because brightness ≠ coverage.
You need diffusion + placement, not just lumens.
What’s the #1 fix for shadows?
Under-cabinet LED strips. Every time.
Why are my pendants blinding?
No diffuser + too high. Lower + frost them.
Are hotspots bad?
Not if deliberate. But most aren’t. Blend beams.
Best Kelvin to reduce glare?
2700K–3000K, always softer on eyes.
Conclusion
Glare, shadows, and hotspots are usually signs of uneven light distribution rather than insufficient brightness. By adjusting placement, beam spread, and diffusion, most kitchen lighting issues can be corrected without major changes.
Focusing on balance and coverage helps ensure kitchen lighting remains practical and comfortable throughout the day.
Explore LED lighting principles here:
/guides/led-lighting/