Puck vs strip vs linear under cabinet lighting affects how evenly worktops are lit, how tasks are performed, and how the kitchen functions day to day.
This guide compares the three main types of under-cabinet lighting. For installation advice and placement guidance, see our under-cabinet lighting guide. For broader kitchen lighting principles, see our complete Kitchen Lighting Guide.
Disclosure: This article contains affiliate links. If you purchase through these links, we may earn a small commission at no extra cost to you.
Table of Contents
The Three Options Explained
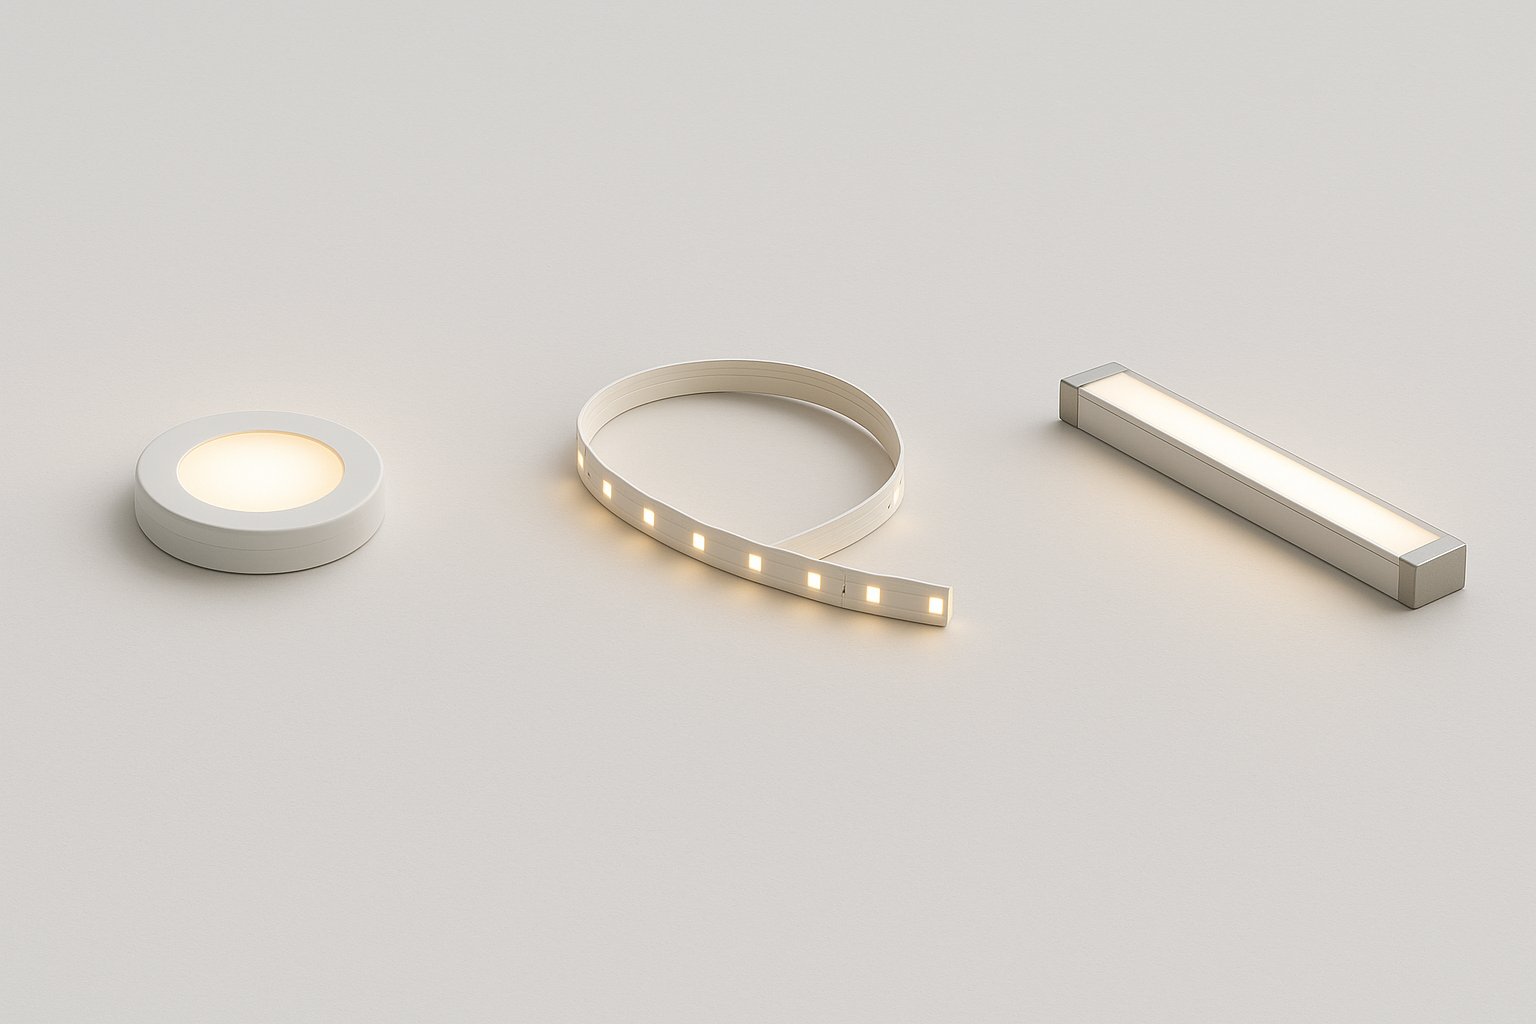
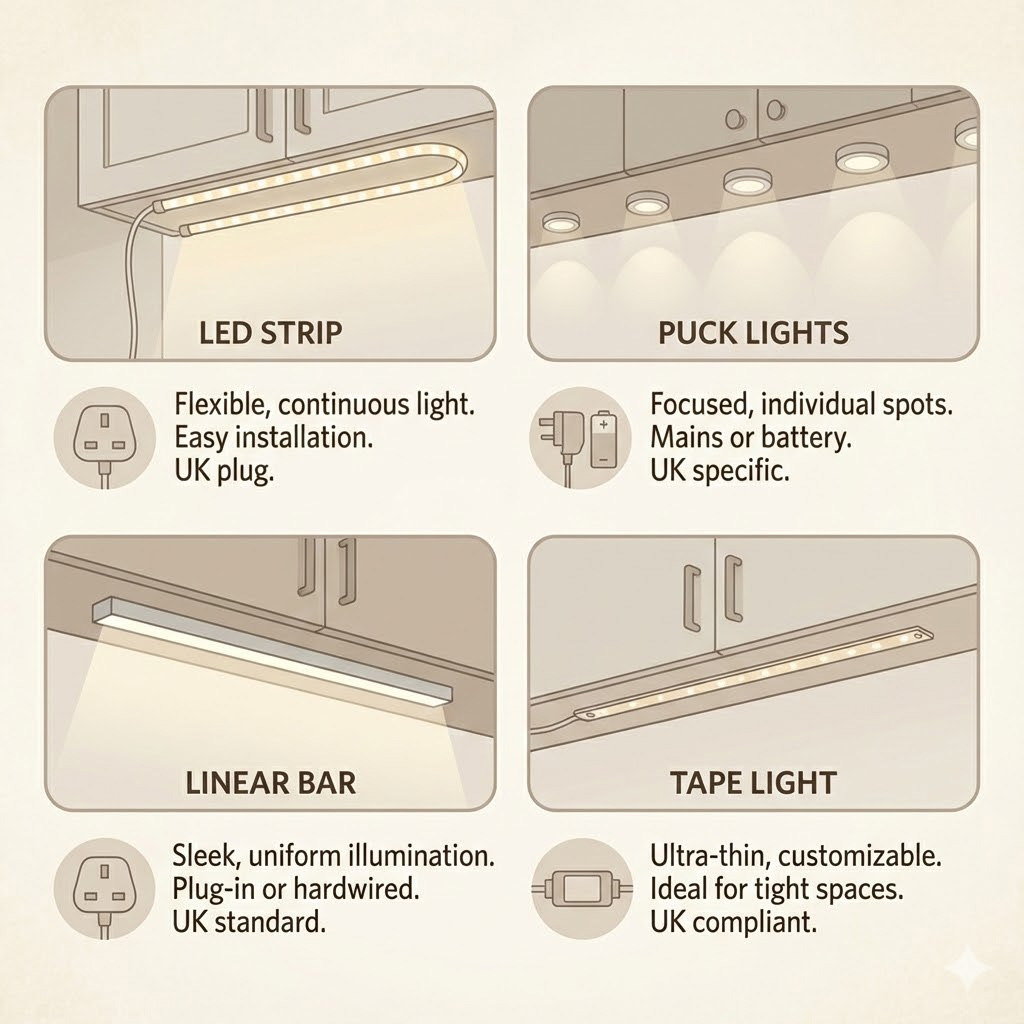
Under-cabinet lighting comes in three main forms: puck lights, LED strips, and linear bars. Each produces light differently, suits different kitchen styles, and involves different installation approaches.
The choice between puck vs strip vs linear under-cabinet lighting affects how evenly your worktops are lit, how the kitchen looks when lights are on, and how practical installation will be. This guide breaks down the differences to help you choose the right option for your layout.
1. Puck Lights
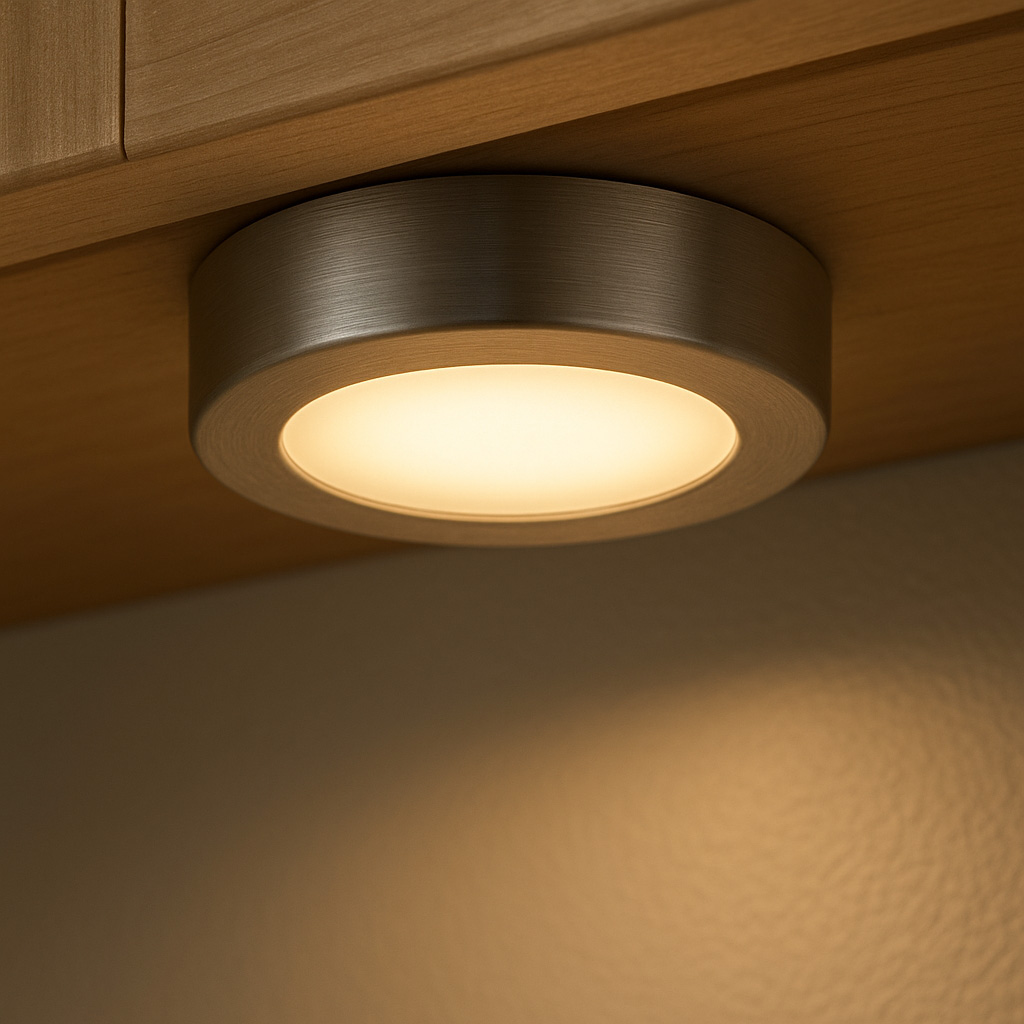
Puck Lights
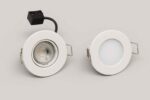
Puck lights are small, circular fixtures—typically 60–80mm in diameter—that mount individually beneath cabinets. Each puck produces a concentrated pool of light rather than continuous illumination.
How They Work
Pucks contain a single LED module or cluster behind a lens. They’re surface-mounted with screws or adhesive, spaced at intervals along the cabinet run. Most connect via low-voltage cable to a shared driver, though battery-powered versions exist for temporary or rental situations.
Where Puck Lights Work Well
Short cabinet runs: A single puck or pair of pucks suits small sections of cabinetry where continuous lighting would be excessive.
Highlighting specific zones: Pucks can spotlight a coffee station, knife block, or frequently used prep area without lighting the entire worktop.
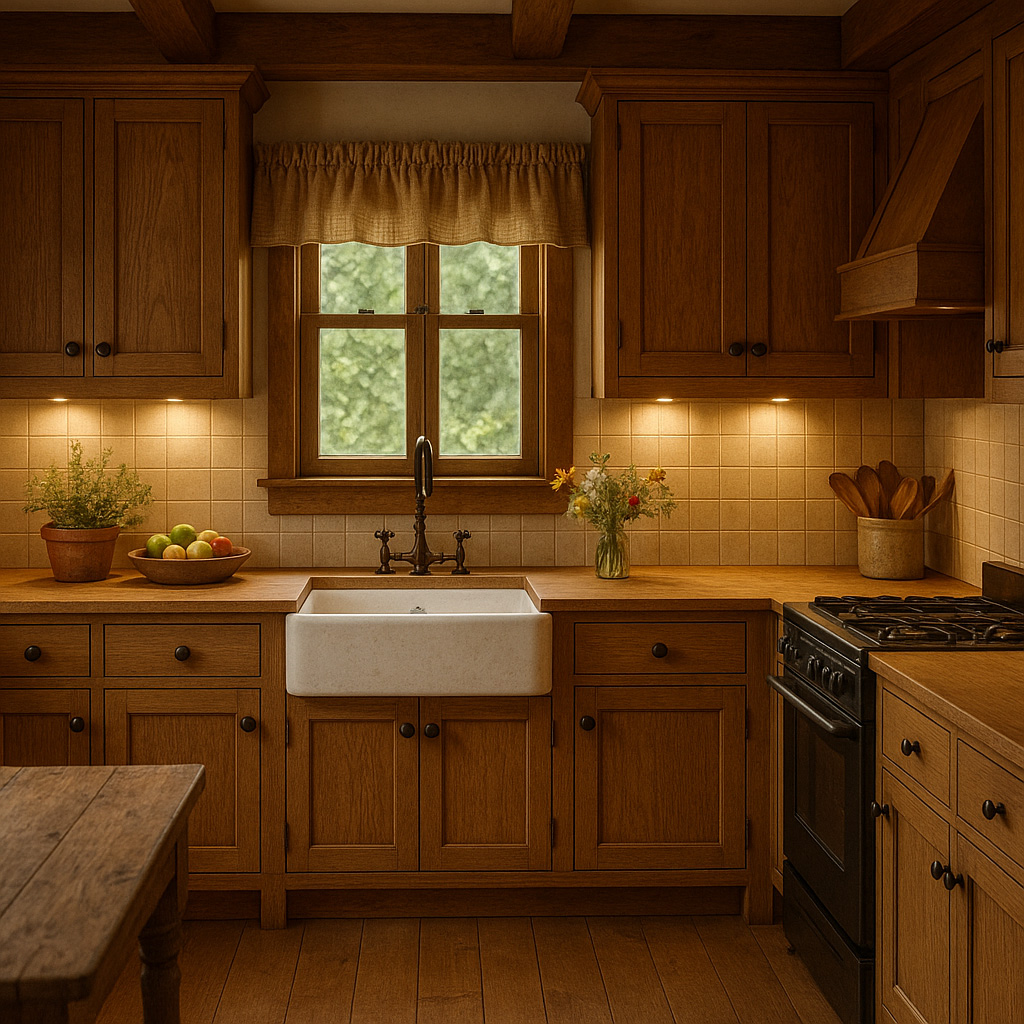
Traditional or period kitchens: The visible, fixture-based approach suits kitchens where a more decorative lighting style is appropriate.
Irregular layouts: Cabinets with corners, gaps, or non-standard depths can be lit with individually positioned pucks where strips would be difficult to run continuously.
Advantages of Puck Lights
Focused, directional light output. Simple installation for small areas. Available in mains-powered and battery-operated versions for flexibility. Lower upfront cost for short runs.
Disadvantages of Puck Lights
Uneven illumination across longer worktops—you get pools of light with darker areas between. Visible hotspots on reflective surfaces. Less effective for continuous food preparation where consistent light matters. Battery versions have limited brightness and require regular replacement.
Typical Specifications
Brightness: 150–300 lumens per puck
Spacing: 300–500mm apart for reasonable coverage
Colour temperature: Usually 2700–3000K
Power: Mains (via driver), plug-in, or batteryions,
see our guide to best under cabinet lights.


LED Strip Lights
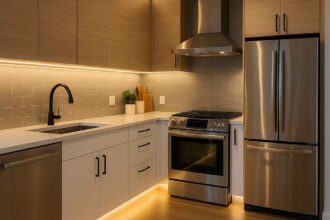
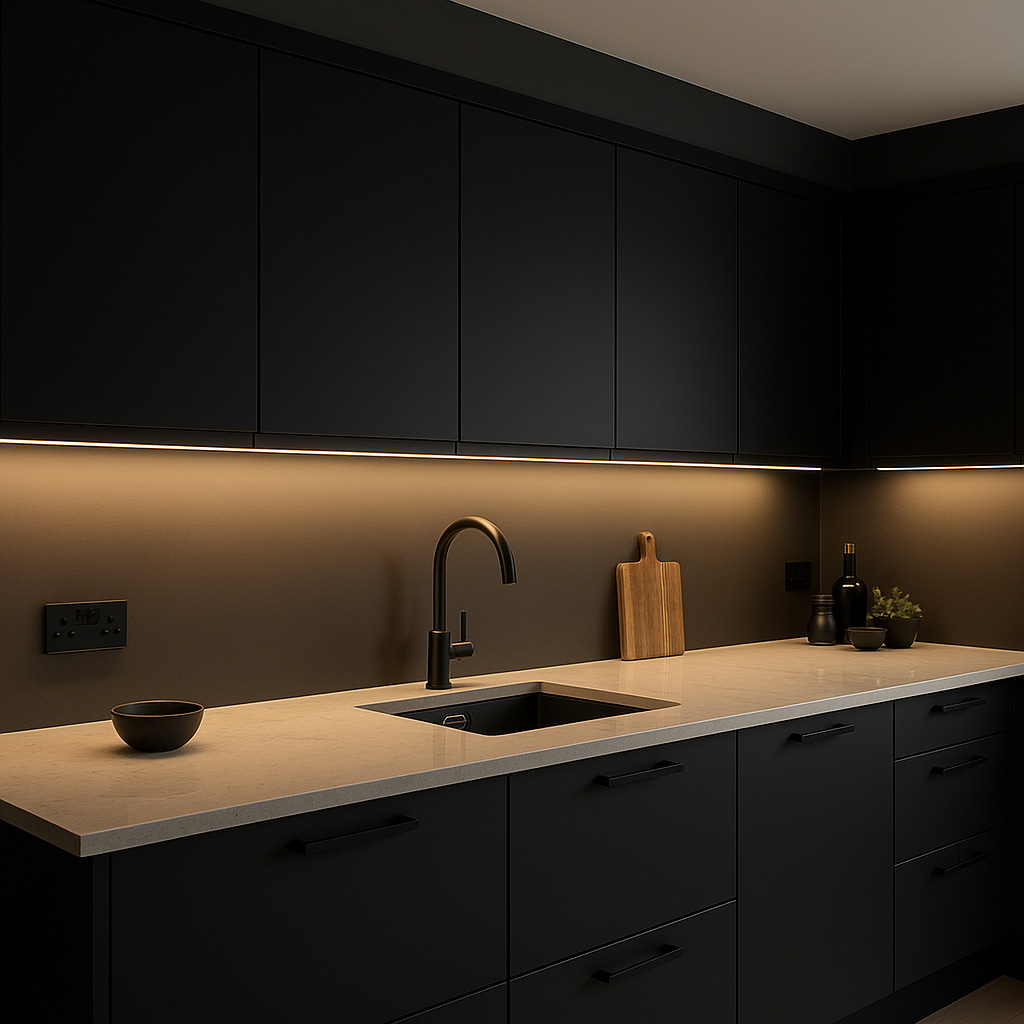
LED strips are flexible circuit boards with surface-mounted LEDs, sold in reels and cut to length. When installed in aluminium channels with diffuser covers, they produce continuous, even illumination along the full cabinet run.
How They Work
Strips consist of small LEDs spaced at regular intervals (typically 60–120 LEDs per metre) on a flexible tape with adhesive backing. They connect to a low-voltage driver that converts mains power to 12V or 24V DC. For a professional finish, strips are housed in aluminium profiles with frosted diffusers that spread the light and hide individual diodes.
For advice on safe LED installations in the UK, see Electrical Safety First
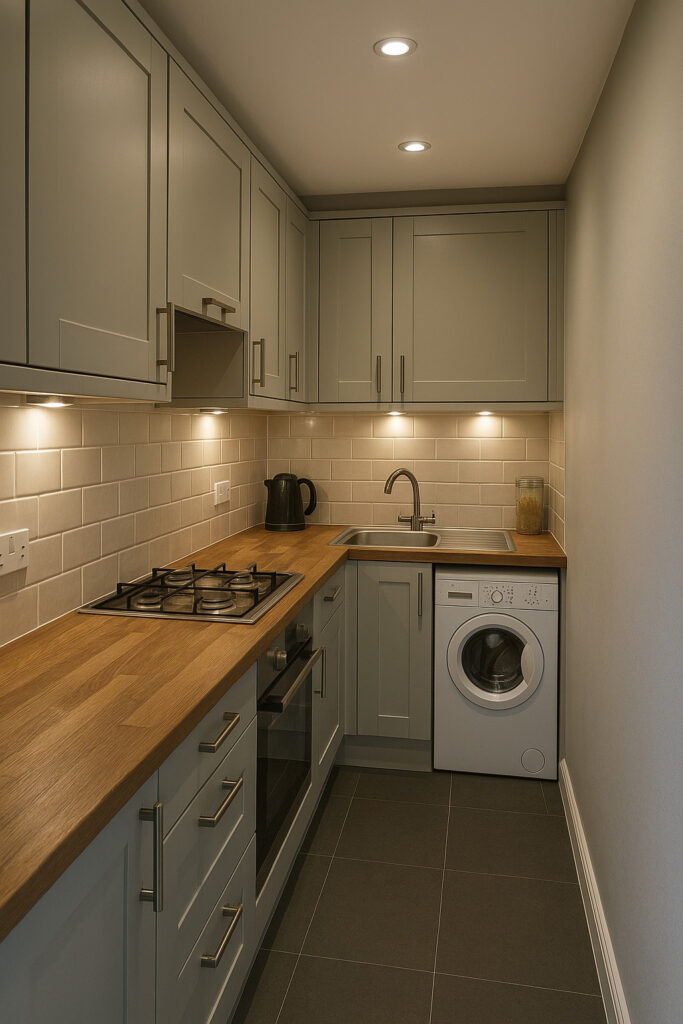
Where LED Strips Work Well
Long worktop runs: Strips excel at providing consistent light across extended cabinet lengths without dark spots.
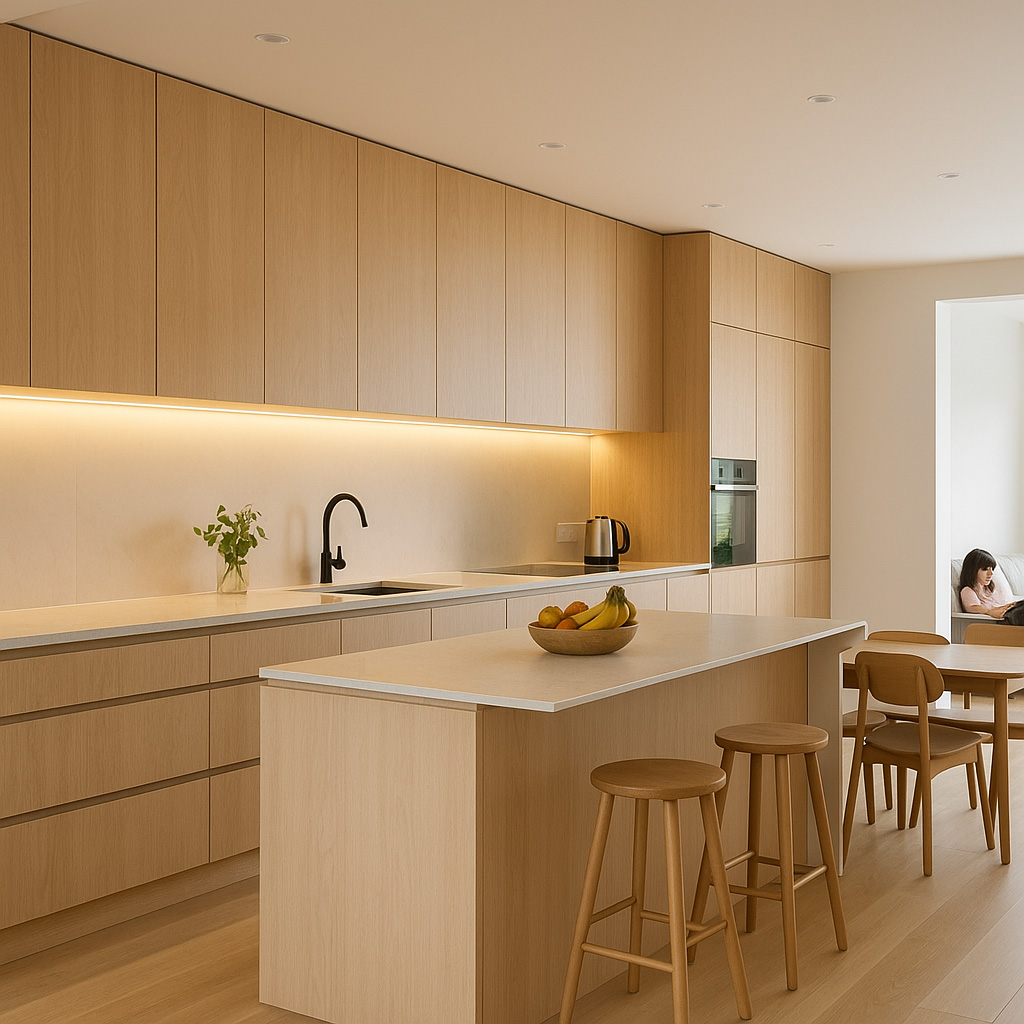
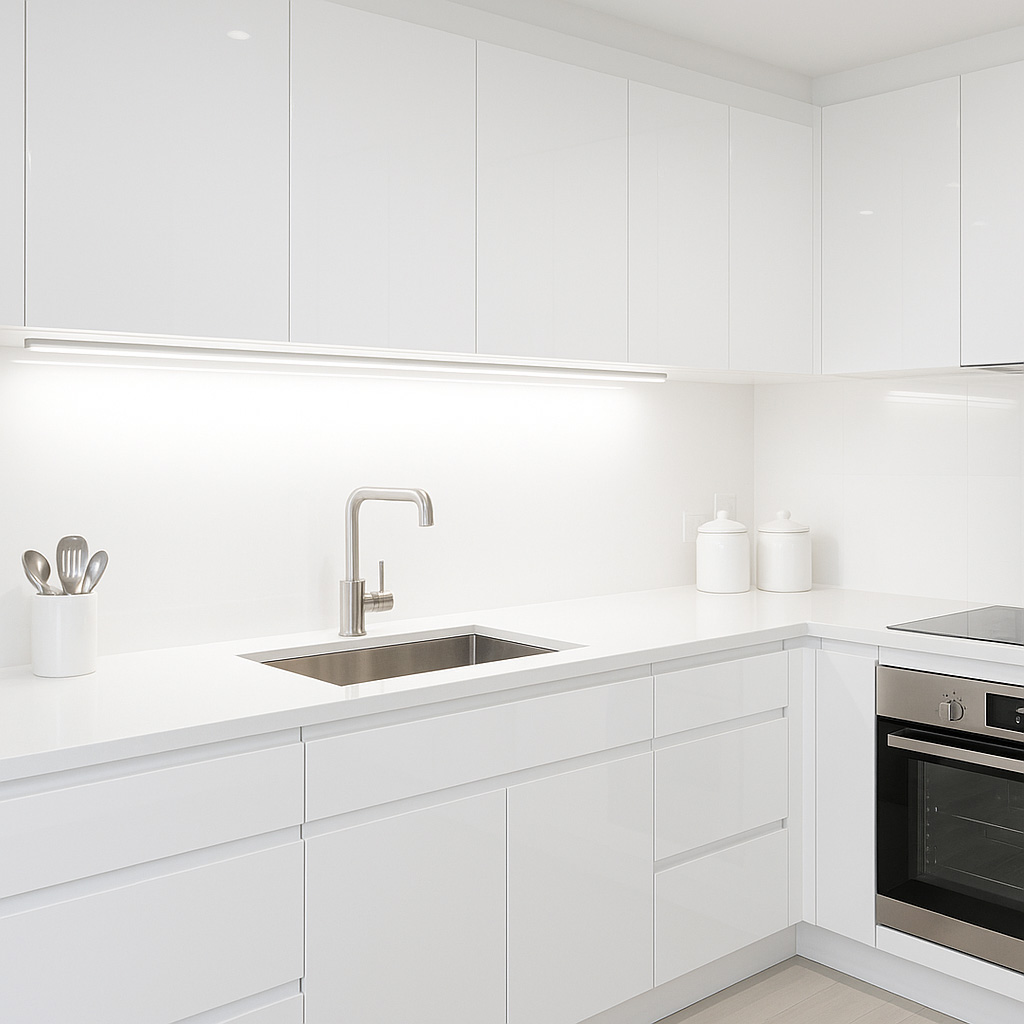
Modern and handleless kitchens: The clean, continuous light line suits contemporary aesthetics where visible fixtures would look out of place.
Open-plan spaces: Even illumination helps the kitchen zone feel cohesive and well-designed.
Multiple applications: The same strip type can be used under cabinets, along plinths, inside display units, and on cabinet tops for a unified lighting scheme.
Advantages of LED Strips
Even light distribution with minimal shadowing. Highly discreet when installed in profiles. Flexible length—cut to fit any cabinet run. Wide range of brightness and colour temperature options. Compatible with dimmers for adjustable output. Lower running costs than pucks for equivalent coverage.
Disadvantages of LED Strips
Installation quality significantly affects the final appearance—poorly fitted strips look cheap. Bare strips without diffusers show visible diode dots. Requires a separate driver and proper cable management. Lower-quality strips may have inconsistent colour or brightness along the run.
Typical Specifications
Brightness: 400–1,000 lumens per metre (task lighting)
Colour temperature: 2700–4000K depending on application
CRI: 90+ recommended for kitchens
Power: 12V or 24V DC via LED driver
Profile: Aluminium channel with diffuser recommended
For detailed strip installation guidance, see our LED strip lighting guide.

Linear Bars
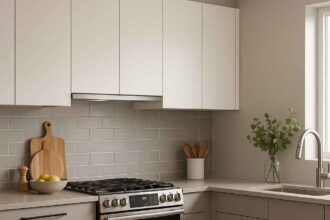
Linear bars are rigid, self-contained LED fixtures in a housing—essentially a complete light fitting rather than flexible tape. They provide strong, uniform light output and are often hardwired into the kitchen circuit.
How They Work
Linear bars contain an LED array, driver electronics (often integrated), and diffuser in a single unit. They mount to the underside of cabinets via clips or screws and connect directly to mains power or a central driver. Most come in fixed lengths (300mm, 500mm, 900mm, etc.) that can be linked together for longer runs.
Where Linear Bars Work Well
Task-focused kitchens: Where food preparation is the priority and strong, even worktop lighting matters most.
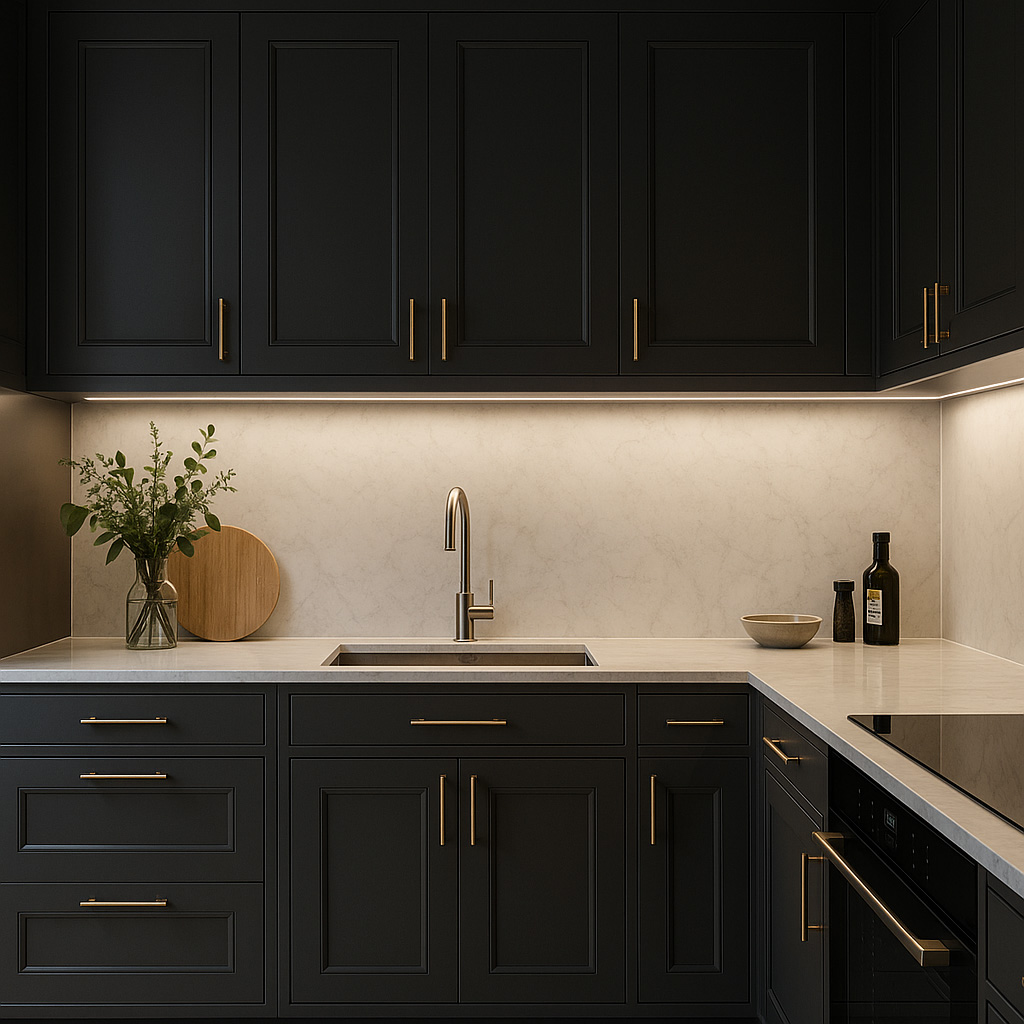
Darker worktops and cabinetry: The higher output of linear bars compensates for surfaces that absorb more light.
Gloss splashbacks: The controlled beam spread of quality linear bars reduces reflections and glare compared to bare strips.
New builds and renovations: Where wiring can be planned in advance and hardwired installation is straightforward.
Advantages of Linear Bars
High, consistent light output with excellent uniformity. Very effective for detailed food preparation. No separate driver needed for integrated models. Long lifespan with stable colour output over time. Professional appearance with no visible LEDs.
Disadvantages of Linear Bars
More visible than strips—the fixture housing is apparent beneath cabinets. Can look utilitarian in softer, traditional kitchen designs. Fixed lengths mean less flexibility than strips (though linkable). Often require professional installation for hardwired setups. Higher cost per metre than strips.
Typical Specifications
Brightness: 500–1,200 lumens per unit (varies by length)
Colour temperature: 3000–4000K typically
Lengths: 300mm, 500mm, 900mm standard; linkable
Power: Integrated driver (mains) or external driver
Beam angle: 90–120° for even spread
Direct Comparison: Puck vs Strip vs Linear
Light Distribution
Puck lights produce concentrated pools of light. Each fixture illuminates a circle on the worktop, with darker areas between. Spacing pucks closer together improves coverage but never achieves true uniformity.
LED strips provide continuous, even illumination along the full run when properly installed with diffusers. No hotspots or dark gaps.
Linear bars deliver uniform light similar to strips, but from a more structured fixture. Beam spread is controlled and consistent.
Best for even coverage: Strips and linear bars
Best for accent/spot lighting: Pucks
Suitability for Task Lighting
Food preparation requires consistent, shadow-free light across the work surface. You need to see clearly across the entire chopping area, not just in spots.
Linear bars: Excellent—high output and uniform spread make them ideal for serious cooking.
LED strips: Very good—properly specified strips (500+ lm/m) provide effective task lighting.
Puck lights: Limited—the pooled light pattern leaves shadowed areas where visibility is reduced.
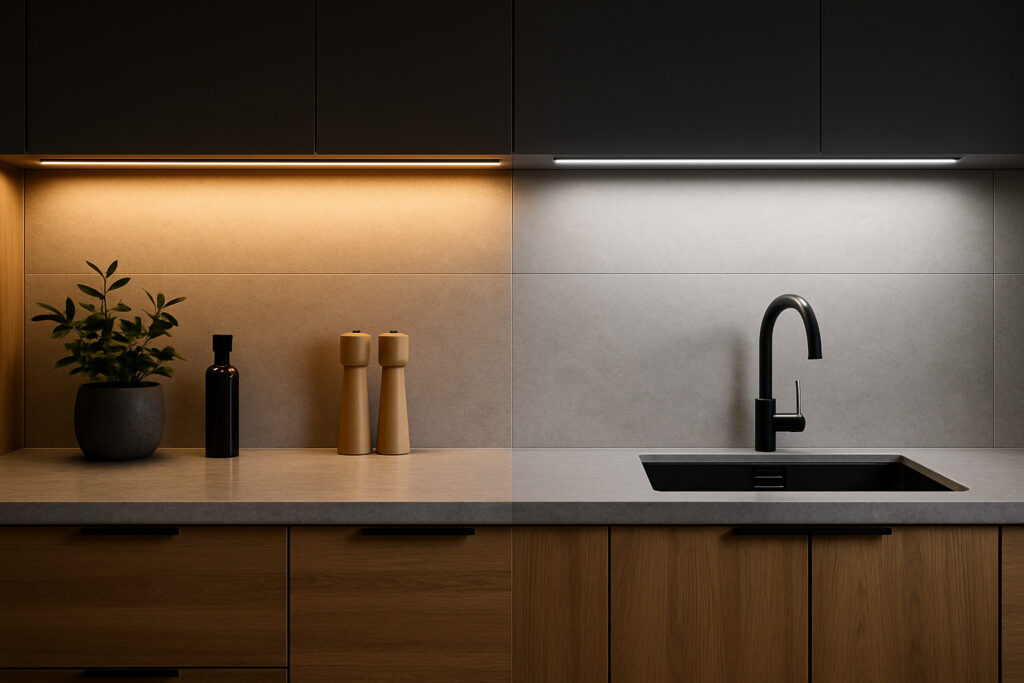
Visual Appearance
Puck lights are visible fixtures. The circular housings are apparent beneath cabinets, which suits traditional kitchens but can look dated in contemporary spaces.
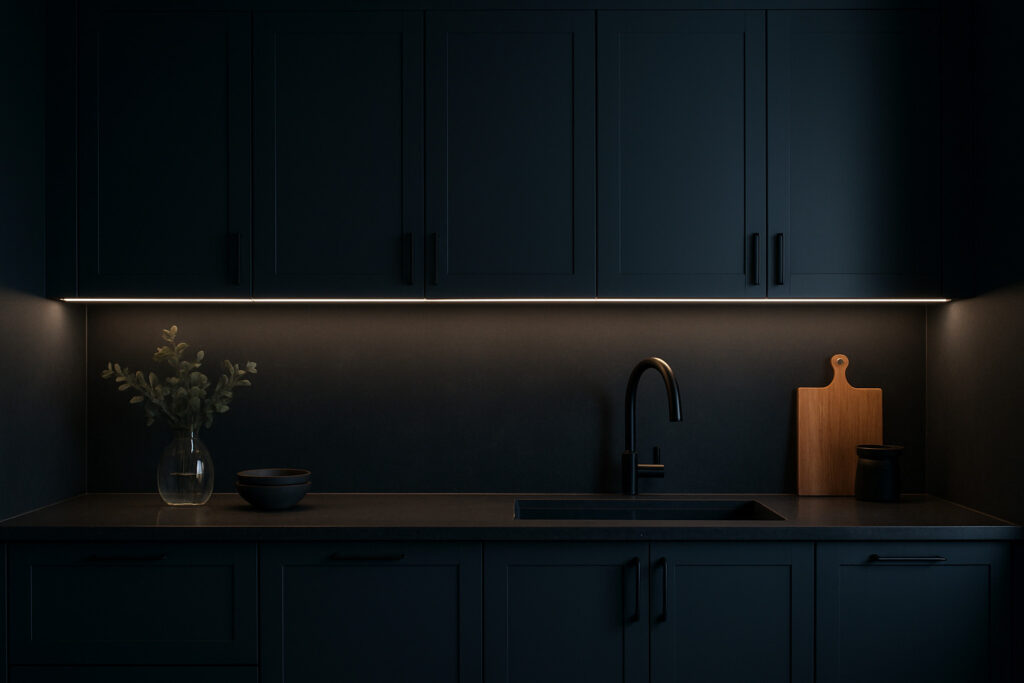
LED strips in profiles are highly discreet. When well-installed, you see a clean line of light with no visible fixture—just a glowing edge beneath the cabinet.
Linear bars sit between the two. The fixture housing is visible but streamlined. They look professional but not invisible.
Installation Complexity
Puck lights: Simplest. Mount with screws or adhesive, connect to driver or use battery power. Suitable for confident DIY.
LED strips: Moderate. Cutting strips to length, fitting profiles, connecting to drivers, and managing cables requires care. Poor installation shows. DIY-possible but demands attention to detail.
Linear bars: Most involved for hardwired setups. Linking multiple bars and connecting to mains requires an electrician for UK compliance. Plug-in versions are simpler but leave visible cables.
Cost Comparison
LED strips are typically the lowest cost per metre of illumination, especially for DIY systems. A quality strip with profile might cost £15–30 per metre installed.
Puck lights have a low per-unit cost, but covering a long run requires multiple fittings, cabling, and a driver. Costs add up for extended layouts.
Linear bars have the highest per-metre cost, particularly for quality hardwired systems. Budget £40–80 per metre for good linear fixtures professionally installed.
Direct Comparison: Puck vs Strip vs Linear
Light Distribution
Puck lights produce concentrated pools of light. Each fixture illuminates a circle on the worktop, with darker areas between. Spacing pucks closer together improves coverage but never achieves true uniformity.
LED strips provide continuous, even illumination along the full run when properly installed with diffusers. No hotspots or dark gaps.
Linear bars deliver uniform light similar to strips, but from a more structured fixture. Beam spread is controlled and consistent.
Best for even coverage: Strips and linear bars
Best for accent/spot lighting: Pucks
Suitability for Task Lighting
Food preparation requires consistent, shadow-free light across the work surface. You need to see clearly across the entire chopping area, not just in spots.
Linear bars: Excellent—high output and uniform spread make them ideal for serious cooking.
LED strips: Very good—properly specified strips (500+ lm/m) provide effective task lighting.
Puck lights: Limited—the pooled light pattern leaves shadowed areas where visibility is reduced.
Visual Appearance
Puck lights are visible fixtures. The circular housings are apparent beneath cabinets, which suits traditional kitchens but can look dated in contemporary spaces.
LED strips in profiles are highly discreet. When well-installed, you see a clean line of light with no visible fixture—just a glowing edge beneath the cabinet.
Linear bars sit between the two. The fixture housing is visible but streamlined. They look professional but not invisible.
Installation Complexity
Puck lights: Simplest. Mount with screws or adhesive, connect to driver or use battery power. Suitable for confident DIY.
LED strips: Moderate. Cutting strips to length, fitting profiles, connecting to drivers, and managing cables requires care. Poor installation shows. DIY-possible but demands attention to detail.
Linear bars: Most involved for hardwired setups. Linking multiple bars and connecting to mains requires an electrician for UK compliance. Plug-in versions are simpler but leave visible cables.
Cost Comparison
LED strips are typically the lowest cost per metre of illumination, especially for DIY systems. A quality strip with profile might cost £15–30 per metre installed.
Puck lights have a low per-unit cost, but covering a long run requires multiple fittings, cabling, and a driver. Costs add up for extended layouts.
Linear bars have the highest per-metre cost, particularly for quality hardwired systems. Budget £40–80 per metre for good linear fixtures professionally installed.
Guidance from NICEIC may also be relevant for hardwired installations.
Which Type Suits Your Kitchen?
Choose Puck Lights If:
- You have short cabinet runs or irregular layouts
- You want to highlight specific zones rather than light entire worktops
- Your kitchen has a traditional or country style where visible fixtures suit
- You need a quick, low-cost solution for a rental property (battery pucks)
- Continuous wiring is difficult or impossible
Choose LED Strips If:
- You have long, continuous cabinet runs
- Even, shadow-free task lighting is important
- You prefer a modern, minimalist aesthetic with no visible fixtures
- You want flexibility to dim or integrate with smart controls
- You’re lighting multiple areas (under-cabinet, plinth, display) and want visual consistency
- Budget is a consideration for longer runs
Choose Linear Bars If:
- Longevity and stable performance matter more than initial cost
- Task lighting for food preparation is the top priority
- You have darker worktops or cabinetry that needs more light output
- A professional, structured appearance suits your kitchen style
- You’re renovating or building new with planned wiring
- You want integrated fixtures with no separate drivers to hide
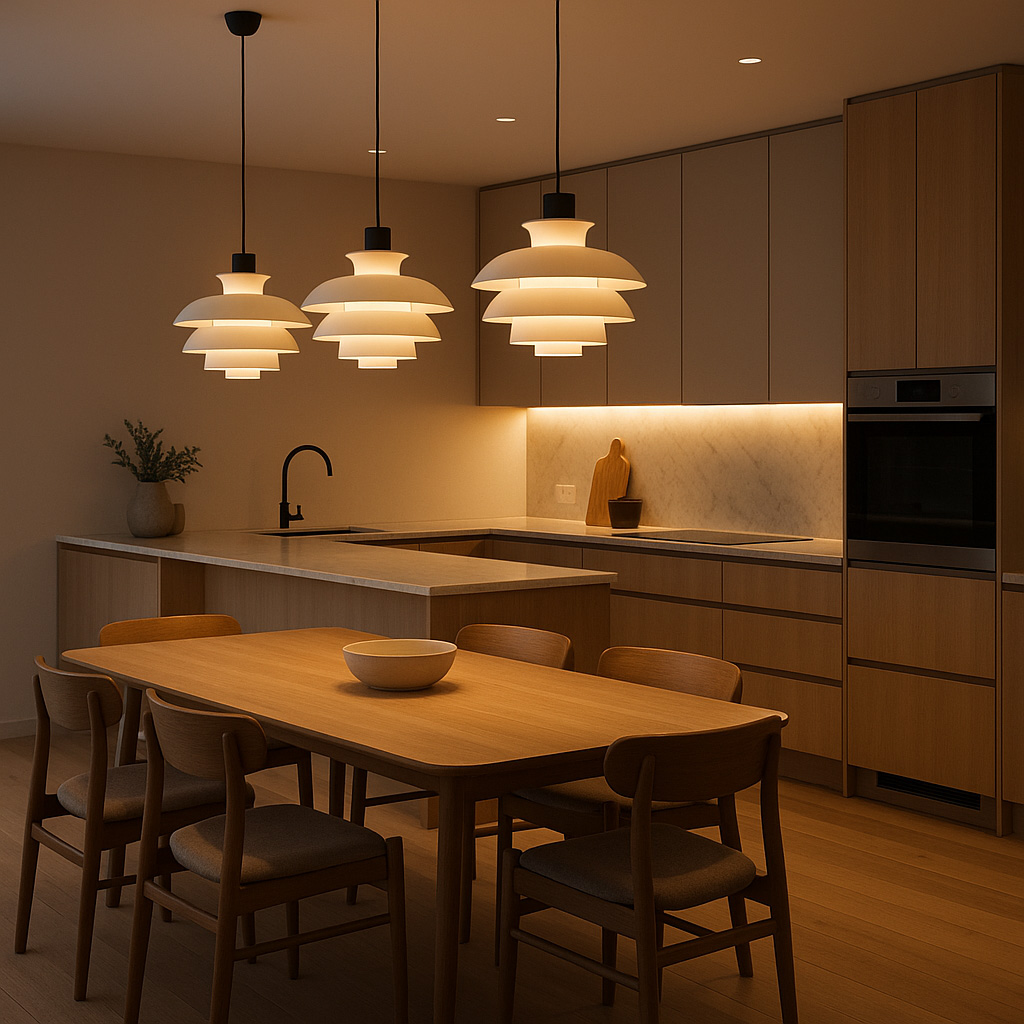
Combining Different Types
Many kitchens use more than one type of under-cabinet lighting. Common combinations:
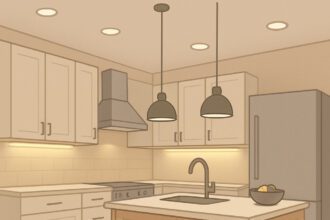
Strips for general coverage + linear bars over main prep zones: The strips provide ambient fill light while linear bars deliver intense task lighting where you do most cooking.
Strips under wall cabinets + pucks inside display units: Continuous task lighting along worktops, with focused accent lighting for glass-fronted cabinets.
Pucks for a breakfast bar area + strips over main kitchen worktops: Different lighting approaches for different functions within the same space.
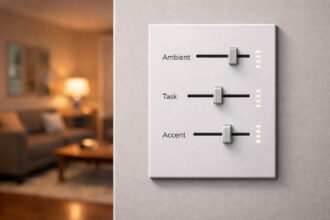
The key is ensuring colour temperature matches across all sources. Mixing 2700K pucks with 4000K strips creates a disconnected appearance.
Installation and Safety Considerations
Colour Temperature
Match your under-cabinet lighting to other sources in the kitchen. For most UK kitchens, 3000K provides a good balance of warmth and task visibility. Use 3500–4000K only if you specifically want crisper, cooler light over prep areas.
See our colour temperature guide for more detail.
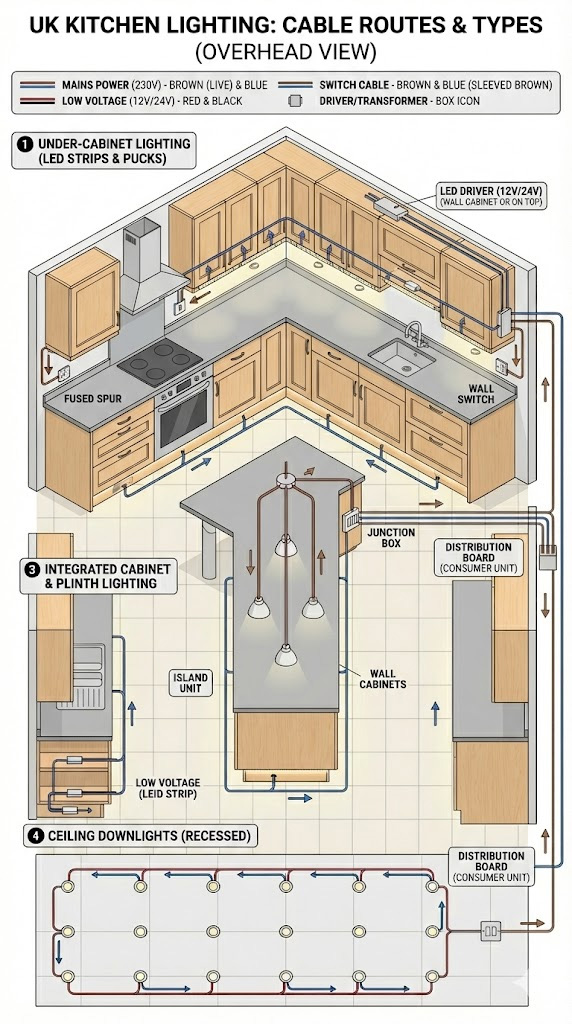
Wiring Approach
Hardwired installations (connected to the lighting circuit) provide the cleanest result with no visible cables. This is the professional standard for new kitchens and renovations. UK regulations require a qualified electrician for hardwired kitchen lighting.
Plug-in systems connect to standard sockets. They’re suitable for renters or retrofits where hardwiring isn’t practical, but cable management becomes important.
Drivers and Transformers
Strips and some puck systems require an external driver to convert mains voltage. Size drivers with 20% headroom above the total wattage of connected fixtures. Mount drivers in accessible locations (inside cabinets, above wall units) with adequate ventilation.
Profiles and Diffusers
For LED strips, aluminium profiles with frosted diffusers are essential for a professional finish. They hide individual diodes, spread light evenly, manage heat, and protect the strip from damage. Don’t skip this component—bare strips look cheap and create glare.
Frequently Asked Questions
Which option is best for renters?
LED strips with adhesive mounting or battery-powered puck lights. Both can be removed without permanent damage when you move. Avoid hardwired installations in rental properties.
Can I combine different types?
Yes—many kitchens mix strips for general coverage with linear bars or pucks for specific zones. Ensure all sources use the same colour temperature.
Which type lasts longest?
Linear bars typically have the longest lifespan due to better heat management and integrated construction. Quality LED strips in proper profiles also last well (50,000+ hours). Cheap strips and battery pucks have shorter lifespans.
Do I need an electrician?
For hardwired installations, yes—UK Part P regulations require qualified installation. For plug-in strips or battery pucks, you can DIY, though results depend on your care and attention.
What brightness do I need for task lighting?
Aim for 400–600 lumens per metre for supplementary task lighting, or 800–1,000 lumens per metre if under-cabinet lights are your primary worktop illumination. For detailed brightness calculations, see our lumens guide.
Are puck lights outdated?
Not necessarily—they suit certain applications, particularly traditional kitchens and accent lighting. For modern kitchens prioritising even task lighting, strips and linear bars are generally more effective.
Quick Specification Summary
| Feature | Puck Lights | LED Strips | Linear Bars |
|---|---|---|---|
| Light pattern | Pools/spots | Continuous | Continuous |
| Task lighting | Limited | Good | Excellent |
| Visibility | Fixture visible | Discreet | Moderate |
| Installation | Simple | Moderate | Complex (hardwired) |
| Cost (per metre) | Medium | Low | High |
| Best for | Accents, short runs | Long runs, modern kitchens | Task-focused kitchens |
Final Thoughts
The choice between puck, strip, and linear under-cabinet lighting depends on your priorities. For even, shadow-free task lighting across long worktop runs, LED strips in quality profiles offer the best combination of performance, aesthetics, and value. For maximum output where food preparation is the focus, linear bars deliver professional-grade illumination. For accent lighting, short runs, or traditional kitchens, puck lights remain a practical option.
Whatever you choose, match colour temperature to your other kitchen lighting, invest in proper installation, and consider dimmers for flexibility across different uses.
For more on kitchen lighting planning, explore our complete Kitchen Lighting Guide.