If you want a kitchen lighting layout that is bright, balanced and shadow-free, this simple 5-step method works in every kitchen. Whether you’re creating a brand-new kitchen lighting plan or updating an older renovation, these rules give you perfect results with minimal guesswork. ✨💡
⭐ Quick Answer (Featured Snippet-Ready)
The simplest kitchen lighting layout uses a 3-layer method: light your worktops first (task), then add even ceiling light (ambient), then add strips or shelf lights for accent.
Place downlights 50–60cm from wall cabinets, space them 1.2× ceiling height, and keep pendants 75–90cm above the island.
For an expanded kitchen lighting plan, go here →
👉 Ultimate Kitchen Lighting Guide
📑 Contents
- The Simple Plan (Why This Layout Always Works)
- Step 1 — Start With Work Zones (Task First)
- Step 2 — Add Ambient Light (Even Coverage)
- Step 3 — Add Accent Light (The Modern Layer)
- Exact Spacing Rules (Downlights, Pendants, Strips)
- Example Layouts (Small, Galley, Island, Open-Plan)
- Lighting Mistakes to Avoid
- Mini Buying Notes
- FAQs
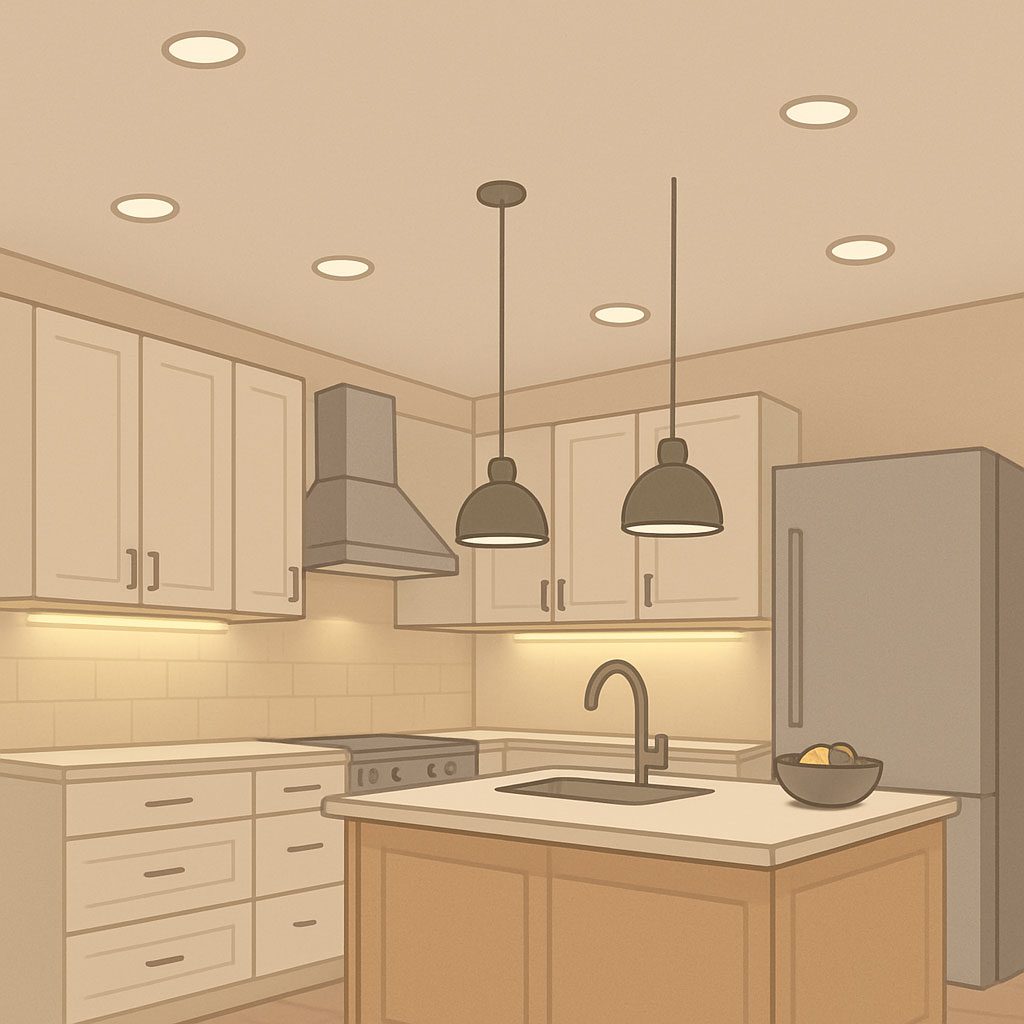
💡 The Simple Plan (Why This Layout Always Works)
Every effective kitchen lighting layout is built around this universal 3-layer method:
1) Task lighting → Prep & cooking first
This prevents shadows and dark corners.
Examples: under-cabinet LEDs, targeted downlights, brighter CCT (3500–4000K).
2) Ambient lighting → Even room light
This replaces the old-fashioned “single ceiling light” idea.
Examples: downlight grid, track lights, large flush mounts.
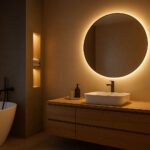
3) Accent lighting → Mood & depth
This adds the modern “premium” feel.
Examples: shelves, plinths, above-cabinet glow.
👉 Want the full theory?
Read: Layered kitchen lighting explained
⭐ At a Glance: The Foolproof 5-Step Layout
Perfect for screenshots & Pinterest.
1️⃣ Light the worktops (task first)
2️⃣ Add an ambient grid (even general light)
3️⃣ Add accent layers (strips, shelves, plinths)
4️⃣ Choose the right CCT (2700–3000K dining, 3500–4000K prep)
5️⃣ Use separate circuits (prep, island, ambient, accent)
🔧 Step 1 – Start With Work Zones (Task First)
This is where almost every good layout begins. If the worktops are bright and shadow-free, your kitchen works.
Here’s how to light each major zone:
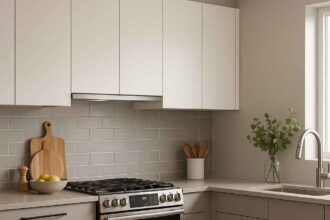
🍳 1. Worktop Runs (Wall Cabinets)
Place downlights so the beam hits the front third of the worktop — NOT the floor.
Ideal placement:
➡️ 50–60cm out from the wall cabinets
➡️ Beam angle: 40°–60°
➡️ CCT: 3500–4000K for clarity
➡️ CRI: 80+ for natural food colours
Mistake to avoid:
❌ Lights too close to the wall = light down the doors, dark worktop.
🔪 2. Sink Area
You want shadow-free illumination right over the bowl.
Use:
- A dedicated downlight
or - A short under-cabinet strip
Placement:
➡️ Centred with the tap, NOT the middle of the sink unit.
🔥 3. Hob / Range Cooker
If you have a hood, it often includes task lights.
If not, add two downlights angled slightly inward.
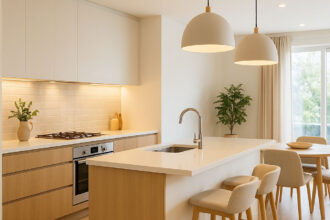
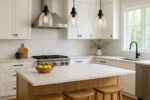
🏝️ 4. Kitchen Island
Think about how you use the island:
- Prep? → brighter task (3500–4000K)
- Dining? → warmer pendants (2700–3000K)
- Both? → mix with dimmers
Supports internal link:
👉 Kitchen island pendant ideas

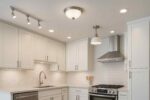
🌤️ Step 2 – Add Ambient Light (Even Coverage Without Glare)
Ambient light fills the rest of the room after the task zones are set.
✔ Best Ambient Options
- Downlight grid (most common)
- Track lighting (best for low ceilings)
- Flush mounts (budget-friendly)
- Surface linear lights (minimalist)
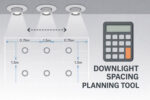
✔ Spacing Rule (the formula)
Use this simple ratio:
Spacing = 1.2 × ceiling height
Examples:
- 2.4m ceiling → space at 2.8m intervals
- 2.7m ceiling → 3.2m spacing
If using track lighting → place tracks parallel to worktops for even wash.
👉 Tool: Room Lumens Calculator
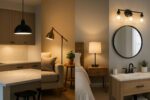
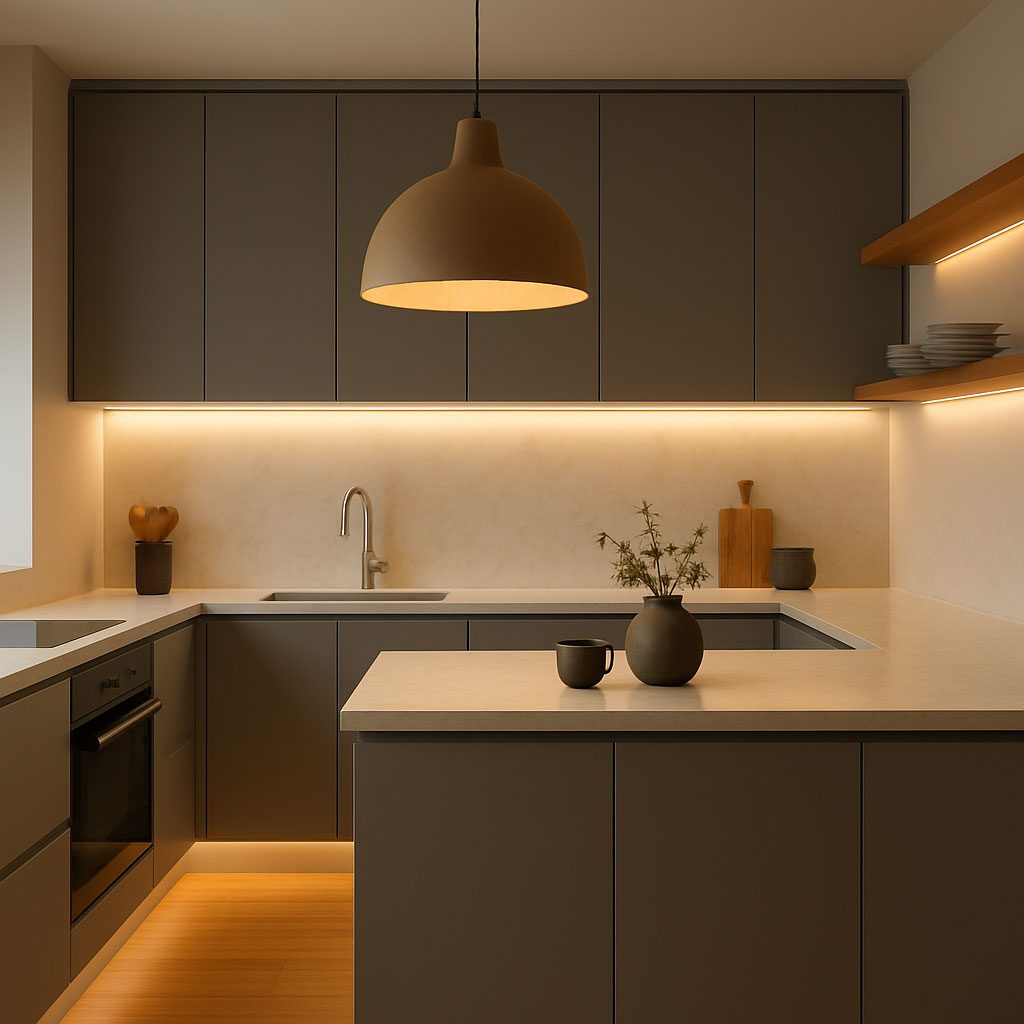
✨ Step 3 – Add Accent Light (The Premium Layer)
Accent lighting gives your kitchen lighting plan depth, warmth and mood.
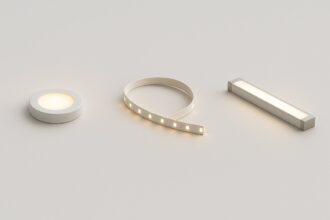
⭐ Best accent lighting in kitchens:
- Under-cabinet strips (shadow-free prep)
- Above-cabinet glow (soft, hotel-like)
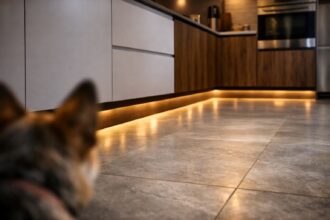
- Plinth / toe-kick lighting (floating effect)
- Shelf lighting (warm, decorative)
👉 Learn more: LED strip lighting guide
Recommended CCT:
- Shelves, plinths, accent areas → 2700–3000K
- Task strips → 3500K–4000K
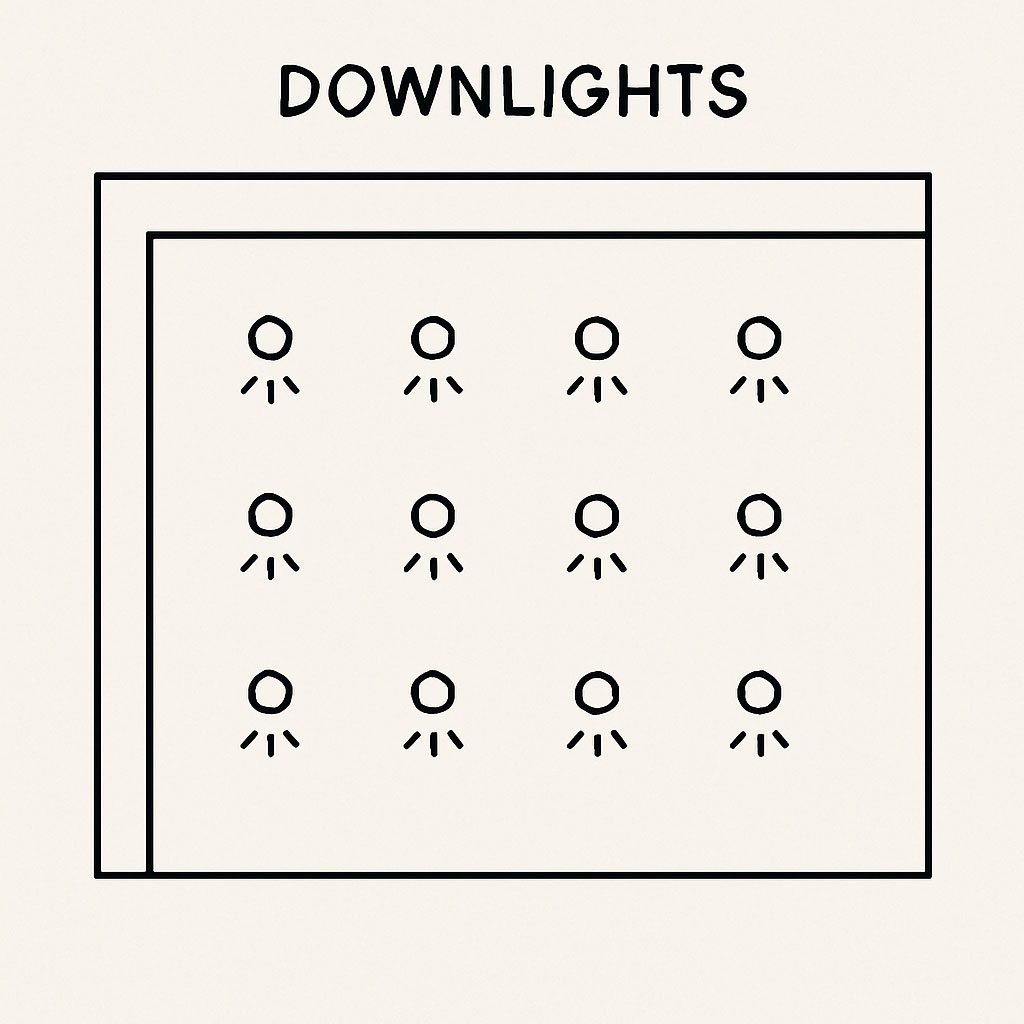
📐 Exact Spacing Rules (Cheat Sheet)
🔘 Downlights
- 50–60cm from wall cabinets
- 1.2× ceiling height spacing
- Avoid placing directly over the centre of the island (shadow on face)
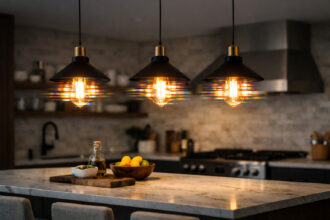
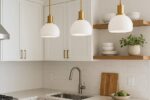
🔘 Pendants
- 75–90cm above countertop
- Groups of 2 or 3: spaced 60–80cm apart
- Use matching dimmable bulbs (CRI 80+)
🔘 Under-cabinet strips
- Install toward the front edge of the cabinet
- Minimum brightness: 300–400 lumens per metre
- Diffused, dotless strips = best finish
This section ensures your kitchen downlight layout looks clean and avoids hotspots.
More on downlights →
👉 Downlight Guide
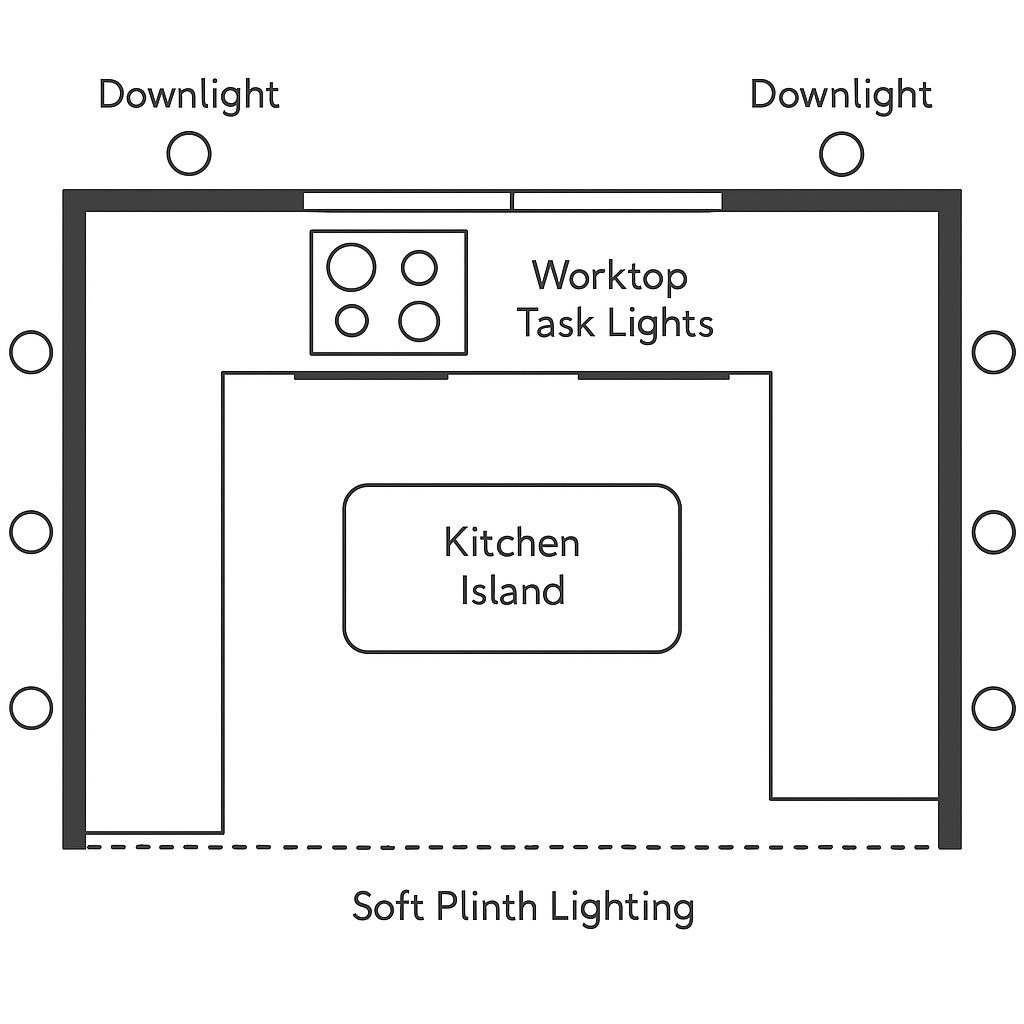
🏡 Example Layouts (Copy These for Your Kitchen)
Perfect if you want ready-made kitchen lighting layouts you can use immediately.
1) Small Kitchen (<10m²)
Perfect for flats and compact remodels.
Lighting Layout:
- 4–5 downlights in a grid
- 1–2 strips under cabinets
- Optional plinth light for depth
Why it works:
Compact spaces rely heavily on vertical illumination — lighting the walls helps the room feel larger.
2) Galley Kitchen
Long, narrow, and common in UK homes.
Lighting Layout:
- Two rows of downlights
- Each row aligned with each worktop run
- Under-cabinet strips for task
- Pendant at far end if open
Supports your cluster:
👉 Galley kitchen lighting guide
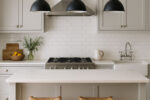
3) Island Kitchen
Most popular modern configuration.
Lighting Layout:
- Task downlights around perimeter
- Pendants above island
- Under-cabinet + shelf accents
- Optional plinth glow
Pro Tip:
Don’t put downlights directly over the island — they cast harsh shadows on faces during dining.
4) Open-Plan Kitchen-Diner
Blend task brightness with dining ambience.
Lighting Layout:
- Brighter task zones (prep/cook)
- Warm, dimmable pendants (dine)
- Ambient strip lighting (living zone)
- Scene presets for “cook → dine → late night”
👉 External reading:
CIBSE Kitchen Lighting Guide (UK Standards)
https://www.cibse.org

⚠️ Lighting Mistakes to Avoid (These Cause 80% of Problems)
❌ 1. Placing downlights in the “middle” of the room
Rooms aren’t lit in the middle — they’re used around the edges.
❌ 2. No task light on the island
Prep zones go dark when pendants aren’t enough.
❌ 3. Using 4000K everywhere
Too cold, too clinical. Save 4000K for task only.
❌ 4. No separate circuits
You need at least 3 circuits: task, ambient, accent.
❌ 5. Using tiles with glossy surfaces
Glossy splashbacks cause glare if downlights aren’t positioned correctly.
👉 Fix common issues:
Kitchen lighting mistakes
🛒 Mini Buyer Notes (What You Should Actually Get)
Downlights
- CRI 80+
- 40°–60° beam
- Fire-rated (UK regs)
- Dimmable if possible
- Choose GU10 for easy replacements
👉 GU10 vs Integrated Downlights
LED Strips
- 300–500 lm/m for task
- 200–300 lm/m for accent
- Diffused channel recommended
- Use reputable brands (Philips / LEDVANCE)
Pendants
- Height 75–90cm
- Space 60–80cm apart
- Choose warm 2700–3000K bulbs
❓ FAQs
1. How do you plan a kitchen lighting layout?
Use the 3-layer method: light worktops first (task), fill the room with an ambient grid, then add accent strips. Place downlights 50–60cm from cabinets and space them using 1.2× ceiling height.
2. How far apart should kitchen downlights be?
Multiply ceiling height × 1.2.
Example: 2.4m ceiling → 2.8m spacing.
3. Should kitchen lights be warm or cool?
- Task / Prep: 3500–4000K
- Dining / Ambience: 2700–3000K
- All-rounders: 3000–3500K
👉 More details: Colour temperature guide
4. How many lights does a kitchen need?
Use a lumen-based calculation.
Typical kitchens need 2,000–4,000 lumens total depending on size.
Calculate yours here →
👉 Room Lumens Calculator
5. How do I avoid shadows on my worktops?
Place downlights toward the front edge of the worktop (50–60cm from wall cabinets) so the beam falls on the working area, not behind you.
📌 Save This Layout Plan for Your Remodel (Pinterest-Friendly)
Pin or bookmark this guide so you can revisit the kitchen lighting layout rules, downlight spacing, and lighting zones during your renovation.

🎉 You’re Done – Your Kitchen Lighting Layout Is Now Sorted
Using this step-by-step kitchen lighting layout ensures your kitchen feels brighter, more balanced, more usable – and far more premium.
Follow the simple kitchen lighting plan above and you’ll avoid the common pitfalls while creating a clean, modern, functional space.
✨ Feel brighter
✨ Look bigger
✨ Be easier to cook in
✨ Look more modern and premium
✨ Avoid all the common mistakes
If you want next steps, try:
👉 Best Kitchen Lights (UK)
👉 Under-Cabinet Lighting: Shadow-Free Setup