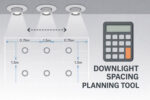
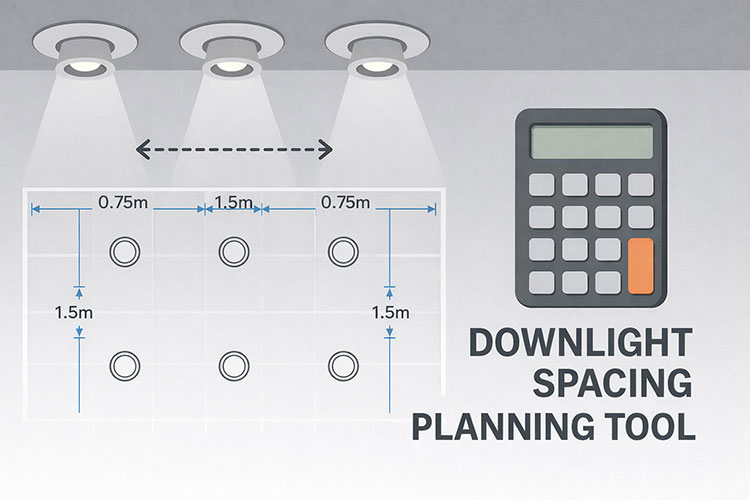
The calculator above takes your room dimensions, ceiling height, and downlight specifications to generate an evenly spaced layout. Enter your values and it calculates the optimal grid pattern, estimates the resulting brightness, shows beam coverage, and produces a downloadable layout you can share with your electrician.
The tool handles the maths automatically. You provide room size and the lumens per fitting; it returns a symmetrical grid with appropriate wall offsets and warns if your layout will be too dim or too bright for the space.
This guide covers downlight spacing calculations and layout planning. For complete kitchen lighting design including layering and fixture selection, see our Kitchen Lighting Guide. For brightness calculations, see our lumens guide.
Disclosure: This article contains affiliate links. If you purchase through these links, we may earn a small commission at no extra cost to you.
Table of Contents
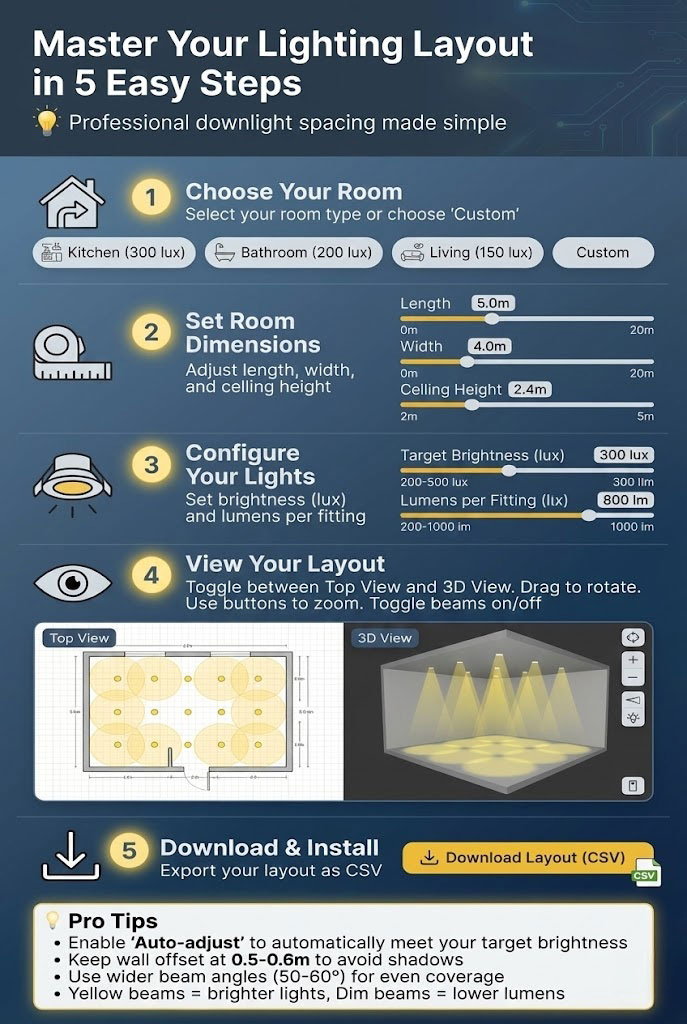
How to Use the Calculator
Step 1: Select Room Type
Choose from the presets (Kitchen, Bathroom, Living Room, Bedroom, Hallway) or select Custom. Each preset automatically sets an appropriate target brightness in lux based on typical UK recommendations for that room type.
Step 2: Enter Room Dimensions
Measure your room wall-to-wall and enter the length and width in metres. For L-shaped rooms, either enter the largest rectangular section or plan two separate zones.
Enter your ceiling height. This affects beam spread calculations—taller ceilings produce wider beam coverage at floor level but may require more fittings to achieve the same brightness.
Step 3: Configure Lighting Settings
Target brightness (lux): The overall light level you want to achieve. The presets set sensible defaults: kitchens at 300 lux, bathrooms at 200 lux, living rooms at 150 lux, and bedrooms at 100 lux. Adjust if you prefer brighter or dimmer lighting.
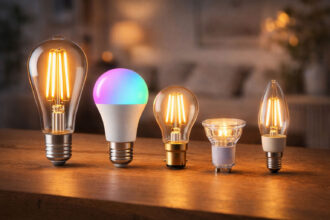
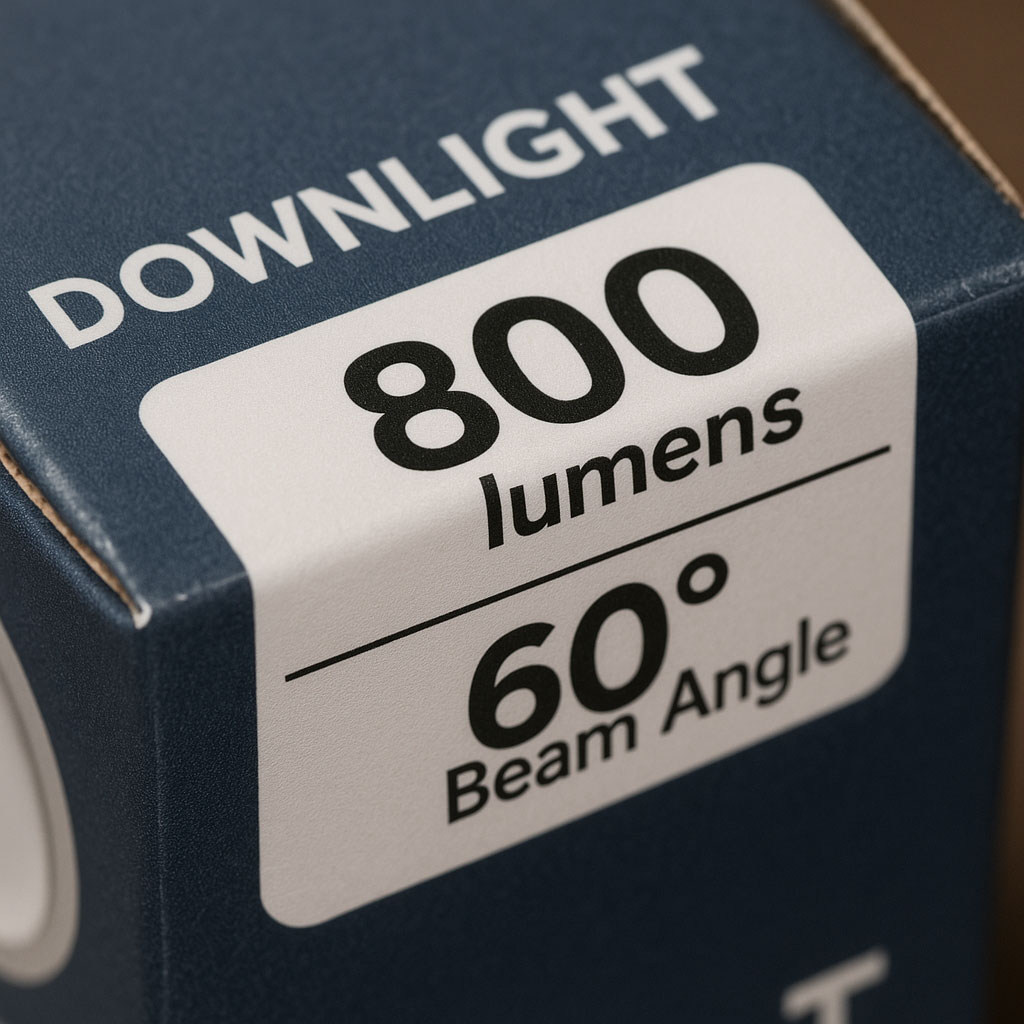
Lumens per fitting: Enter the lumen output of your chosen downlight. This is listed on the product packaging or specification sheet. Typical residential downlights range from 350 to 700 lumens. The calculator uses this to determine how many fittings you need and whether the layout achieves your target brightness.
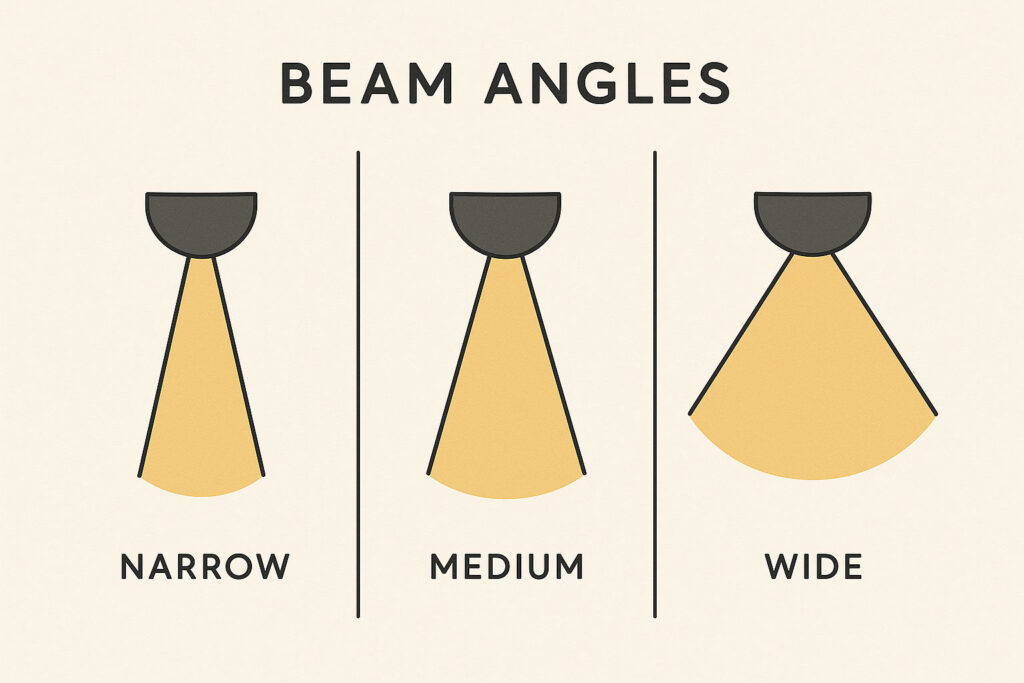
Beam angle: The spread of light from each fitting. Narrower angles (24–36°) create focused pools suitable for accent lighting. Medium angles (40–60°) suit general room lighting. Wide angles (60–90°) produce soft, even coverage with minimal dark spots between fittings.
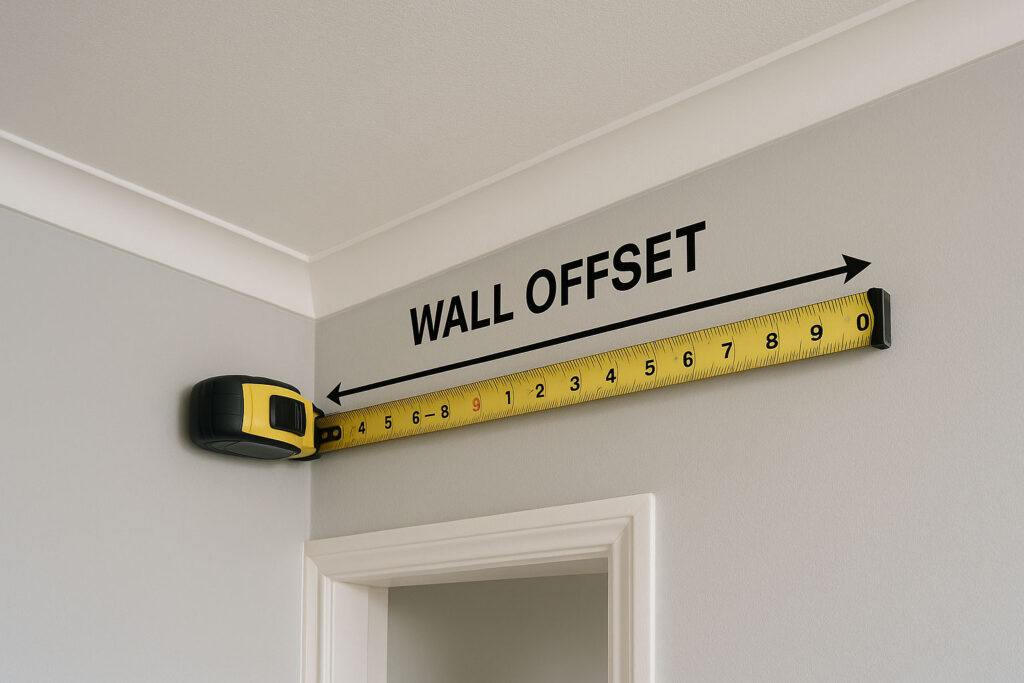
Wall offset: The distance from the first row of downlights to the wall. Setting this at 0.5–0.6m prevents harsh shadows (scalloping) on walls while ensuring perimeter areas receive adequate light.
Step 4: Review the Layout
The calculator displays a top-down view showing downlight positions, beam coverage circles, and the resulting grid pattern. Toggle to 3D view to visualise how the light spreads through the room. The layout summary shows total fittings, grid arrangement, estimated lux, and a brightness assessment.
Step 5: Download and Install
Export your layout as a CSV file containing exact coordinates for each fitting. This gives your electrician precise positioning information for marking out and installation.
Understanding the Key Variables
Ceiling Height and Spacing
The traditional spacing rule is to multiply ceiling height by a factor between 0.5 and 1.0 to get the distance between fittings. For a 2.4m ceiling, this gives spacing between 1.2m and 2.4m depending on how even you want the lighting.
Tighter spacing (factor 0.5) produces more uniform light with overlapping beams—better for task areas like kitchens. Wider spacing (factor 1.0) creates distinct pools of light with darker areas between—sometimes desirable in living rooms for a more relaxed atmosphere.
The calculator’s auto-adjust feature optimises spacing to meet your target brightness based on the lumens you’ve specified.
Beam Angle Effects
Beam angle determines how light spreads from each fitting. At a 2.4m ceiling height:
A 40° beam produces a light pool approximately 1.7m in diameter at floor level. A 60° beam produces a pool approximately 2.8m in diameter. A 90° beam spreads to approximately 4.8m.
Wider beams create smoother, more even room lighting because the coverage from adjacent fittings overlaps more. Narrower beams create more defined pools with darker zones between—this can look dramatic but isn’t ideal for task lighting.
For kitchens and bathrooms where even illumination matters, use 40–60° beam angles. For living rooms where you want some variation and atmosphere, wider or narrower angles can work depending on the effect you’re after.
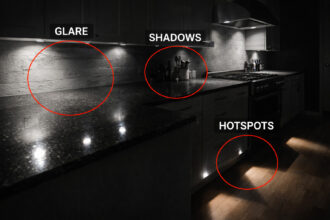
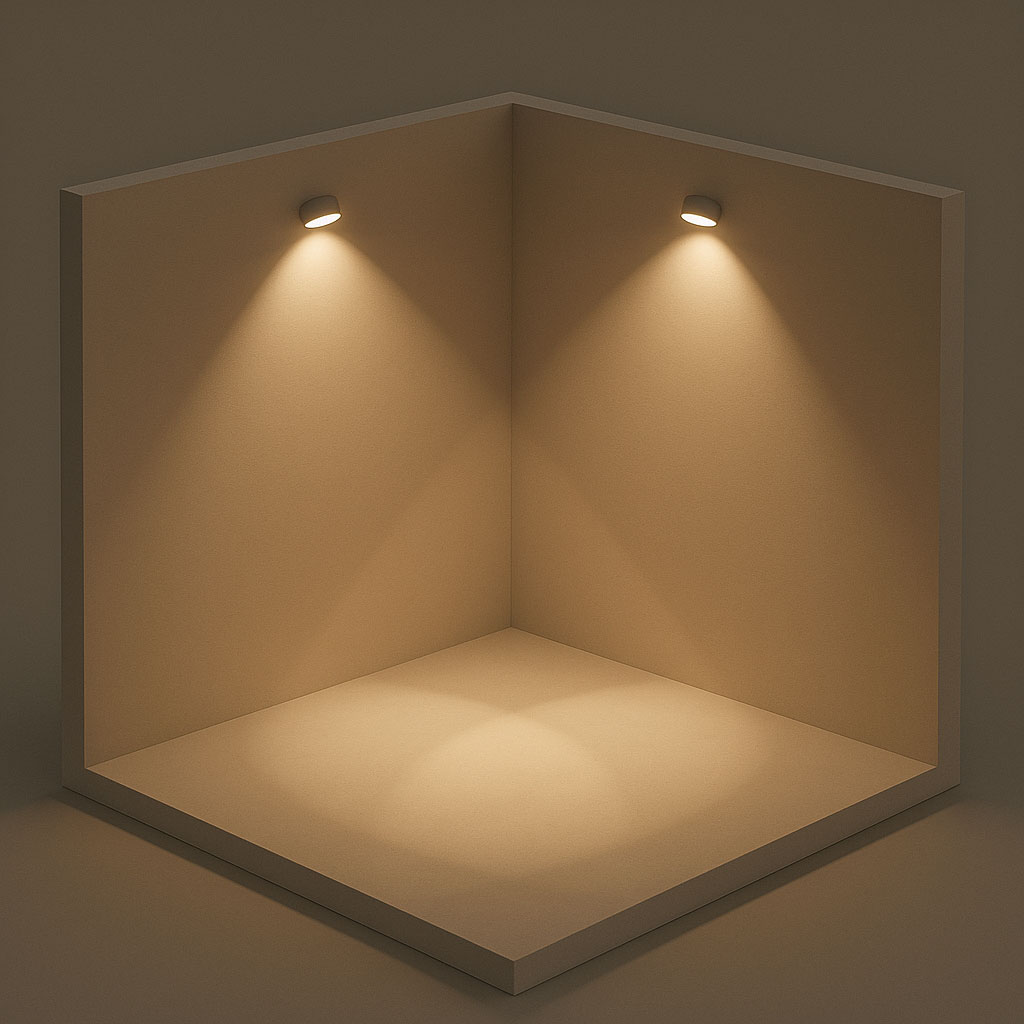
Wall Offset and Scalloping
Placing downlights too close to walls creates scallop shadows—harsh curved shadow patterns where the beam grazes the wall surface. This is particularly noticeable on textured walls and looks unprofessional.
Keep the first row of fittings 0.5–0.6m from walls. This provides enough offset to avoid scalloping while still lighting the perimeter adequately. In rooms with wall cabinets (like kitchens), the offset may need adjusting based on cabinet depth.alls.
This avoids harsh shadows called “scallops.”

How Many Downlights Do You Need?
The calculator provides precise numbers based on your inputs, but here are typical ranges for common room sizes using standard 500–600 lumen downlights:
3m × 3m room: 4–6 downlights
4m × 4m room: 6–9 downlights
5m × 4m room: 8–12 downlights
6m × 4m room: 10–15 downlights
These numbers assume you’re aiming for adequate general lighting. Kitchens typically need more fittings (toward the higher end) because of the 300 lux target. Living rooms and bedrooms can use fewer because the target brightness is lower.
Higher-output downlights (700+ lumens) reduce the number needed. Lower-output fittings (350–400 lumens) require more units to achieve the same brightness.

Downlight Specifications to Consider
When selecting downlights for your layout, check these specifications:
Brightness (Lumens)
For general room lighting, 400–600 lumens per fitting works well. For task-focused areas or rooms with higher ceilings, consider 600–800 lumens. Enter your chosen lumen value in the calculator to see how many fittings you’ll need.
Beam Angle
40–60° suits most residential applications. Specify the same beam angle across all fittings for uniform coverage.
Colour Temperature
3000K is the most versatile choice for kitchens and living areas—warm but not too yellow. 2700K creates a cosier, more relaxed atmosphere. 4000K provides crisper, more clinical light suitable for bathrooms and utility areas.
Match your downlights to other light sources in the room. See our guide on choosing colour temperature for kitchens.
CRI (Colour Rendering Index)
CRI indicates how accurately colours appear under the light. Look for CRI 90+ in kitchens and bathrooms where you need to see colours accurately (food, skin tones, makeup).
IP Rating
For bathrooms, fittings within Zone 1 (directly above baths and showers) must be IP65 rated. Zone 2 (within 600mm of water sources) requires IP44 minimum. Kitchens don’t require special IP ratings for ceiling fittings.
Dimmability
Choose dimmable downlights paired with a compatible LED dimmer switch for flexibility. Dimming allows you to reduce brightness for evening ambience while having full output available when needed.

Room-by-Room Recommendations
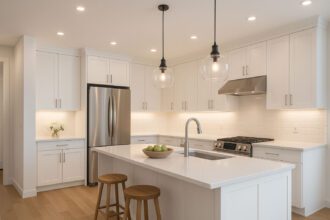
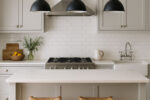
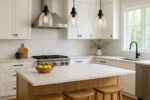
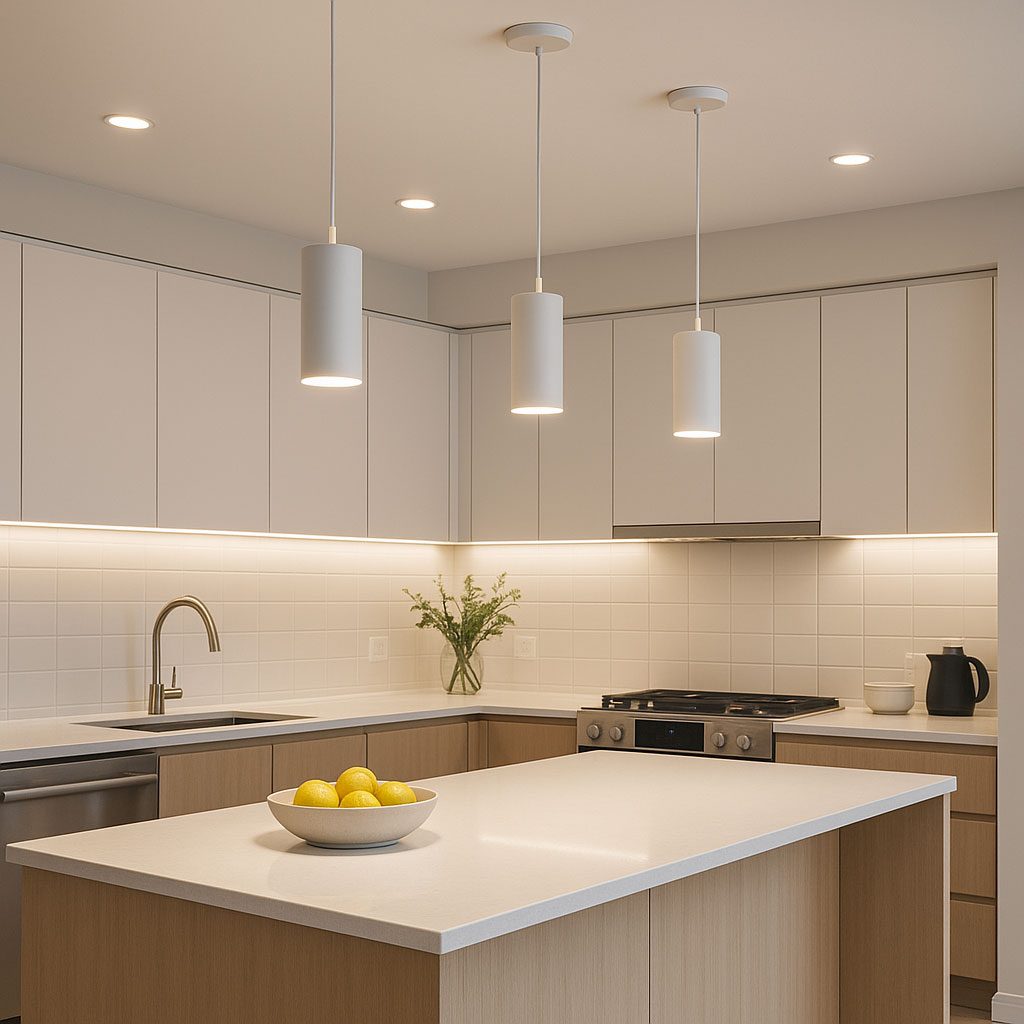
Kitchen
Target: 300 lux
Beam angle: 40–60°
Colour temperature: 3000K (or 3500K for task focus)
Key considerations: Position fittings to light worktops, not create shadows. Add under-cabinet lighting for work surfaces. Consider zoning main workspace separately from dining areas.
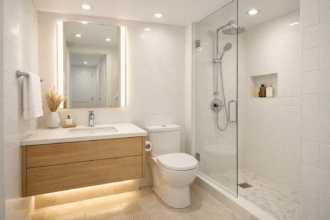
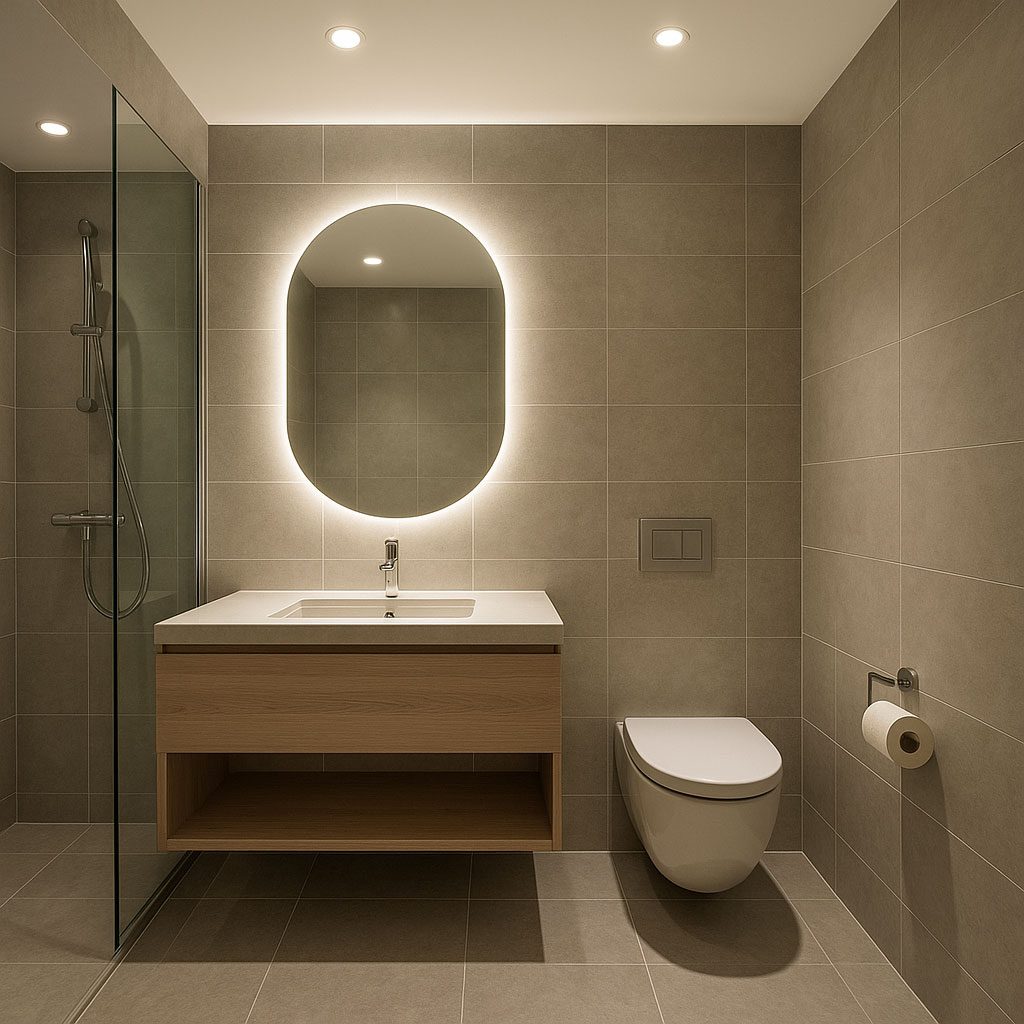
Bathroom
Target: 200 lux
Beam angle: 50–60°
Colour temperature: 3000–4000K
Key considerations: Use IP65-rated bathroom downlights in wet zones. Position fittings to light the face at the mirror from the front, not from directly above. Consider a separate circuit for shower area versus main bathroom.
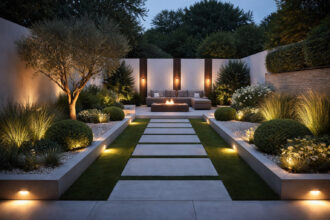
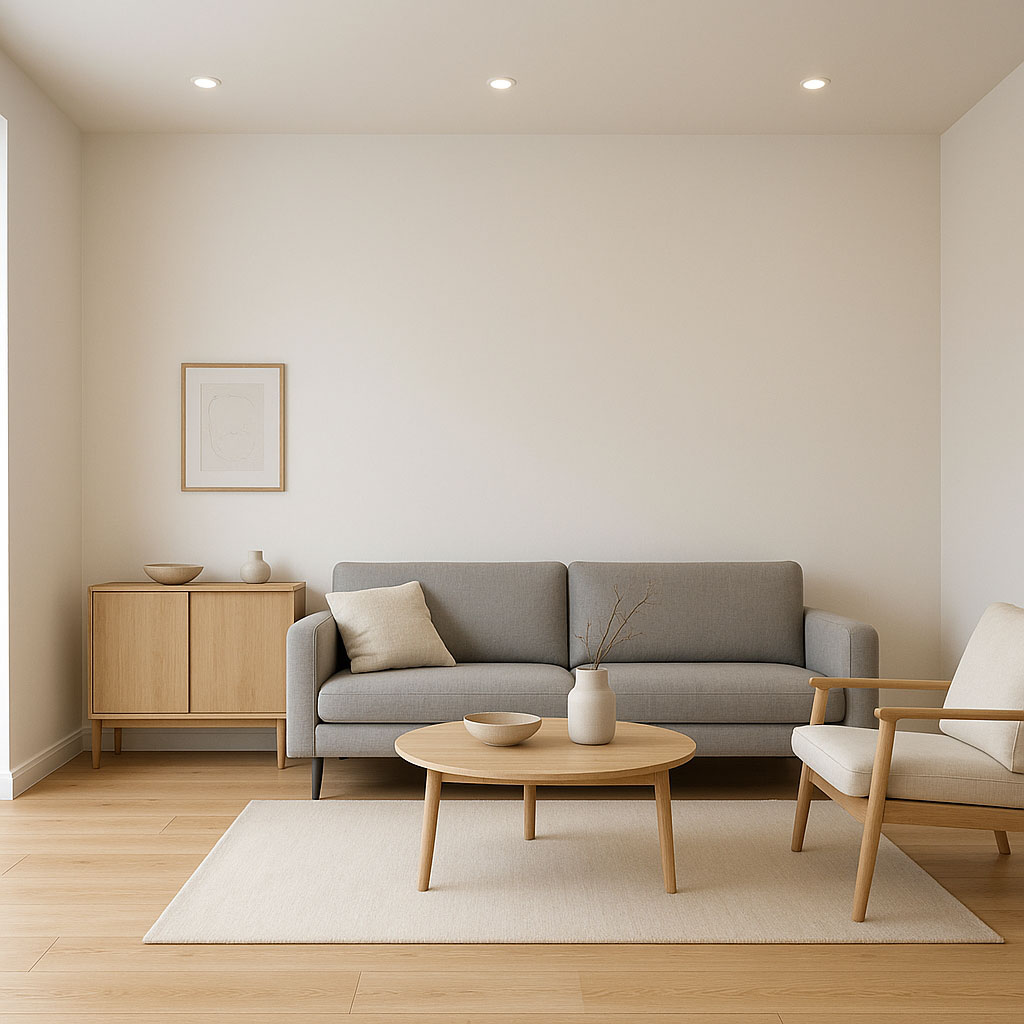
Living Room
Target: 150 lux
Beam angle: 60–90° for soft coverage
Colour temperature: 2700–3000K for warmth
Key considerations: Downlights alone can feel flat in living spaces. Combine with floor lamps, table lamps, or wall lights for layered ambience. Always install on a dimmer.
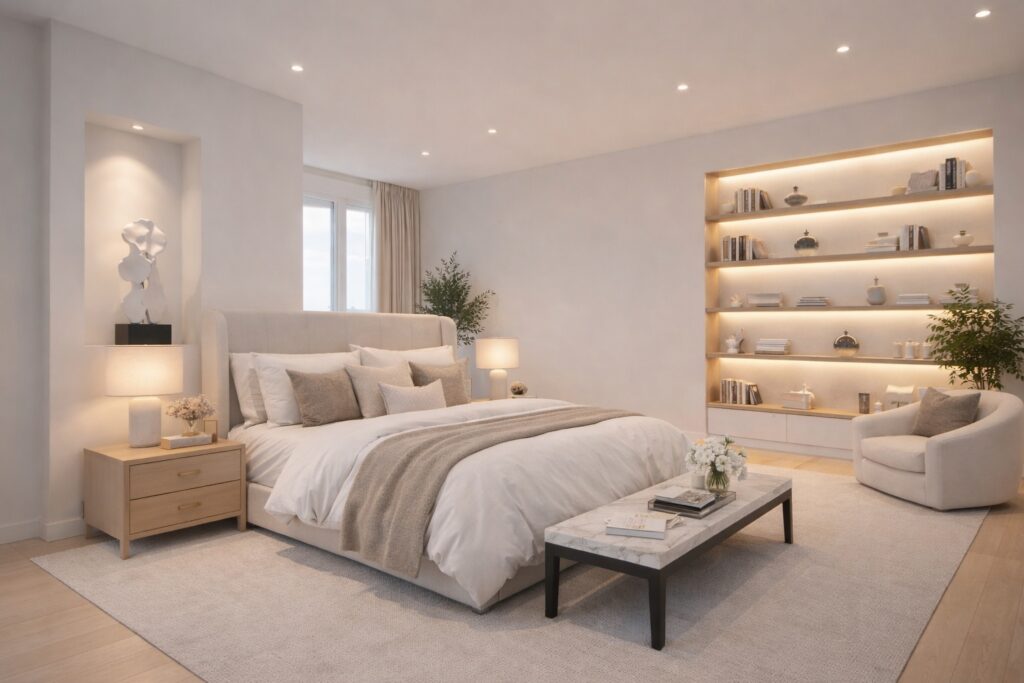
Bedroom
Target: 100 lux
Beam angle: 60° or wider
Colour temperature: 2700K for relaxation
Key considerations: Avoid placing downlights directly above the bed—lying in bed looking up at a bright light is uncomfortable. Position fittings around the perimeter or toward the wardrobe area.
Hallway
Target: 100–150 lux
Beam angle: 60°
Colour temperature: 3000K
Key considerations: Narrow hallways may only need a single row of downlights along the centre. Ensure spacing provides adequate light at floor level for safety.
Installation Essentials
Ceiling Void Depth
Downlights require space above the ceiling for the fitting body. Standard fittings need 70–100mm clearance. Low-profile models suit ceilings with limited void depth—some require as little as 25mm. Check the specification before ordering.

Insulation
If the ceiling has insulation above it (common in top-floor rooms), you need fire-rated downlights designed for IC (insulation contact) installation. Standard fittings require an air gap around them which means cutting back insulation—this creates cold spots and reduces energy efficiency.
Fire-rated, IC-rated fittings allow insulation to be placed directly over them safely. These are more expensive but essential where insulation is present.

Wiring
In the UK, new lighting circuits or modifications to existing circuits in kitchens and bathrooms fall under Part P of the Building Regulations. This work must either be done by a registered electrician or inspected and certified by Building Control.
For straightforward replacements where you’re fitting new downlights into existing ceiling rose positions without modifying the circuit, you can DIY. For new installations with additional fittings and cable runs, use a qualified electrician.n, balanced and professional.
Using the Calculator Output
The downloadable CSV from the calculator contains X and Y coordinates for each fitting position, measured from a corner of the room. Your electrician can use these to:
- Mark positions on the ceiling before any cutting
- Verify spacing is even and symmetrical
- Plan cable routes between fittings
- Ensure holes are cut in the correct locations first time
Print the layout or share the file digitally. Having precise coordinates prevents the common problem of slightly irregular spacing that becomes obvious once the lights are on.
Frequently Asked Questions
Do I need to know my lux level?
No—the calculator uses room presets with appropriate lux targets for each room type. If you want to adjust, the tool shows how your layout affects estimated brightness.
What if my room isn’t rectangular?
Measure the longest dimensions to create a bounding rectangle, then adjust the layout manually for L-shaped or irregular areas. Alternatively, divide the room into zones and calculate each separately.
Can I use the calculator for living rooms and bedrooms?
Yes—select the appropriate room preset or enter custom values. The same spacing principles apply regardless of room function.
Does beam angle really matter?
Significantly. Wrong beam angles either create patchy lighting with dark spots (beams too narrow) or excessive glare on low ceilings (beams too wide). Match beam angle to ceiling height and desired evenness.
How accurate is the lux estimate?
It’s an approximation based on total lumens, room area, and a utilisation factor. Real-world results depend on ceiling height, wall colours, furniture, and other reflective surfaces. The estimate is close enough for planning purposes.
Quick Reference
| Room | Target Lux | Beam Angle | Colour Temp |
|---|---|---|---|
| Kitchen | 300 | 40–60° | 3000K |
| Bathroom | 200 | 50–60° | 3000–4000K |
| Living Room | 150 | 60–90° | 2700–3000K |
| Bedroom | 100 | 60°+ | 2700K |
| Hallway | 100–150 | 60° | 3000K |
Final Thoughts
Downlight spacing affects how your room looks and functions more than most people realise. An even, symmetrical grid at appropriate spacing produces professional-looking results. Random positioning, poor wall offsets, or wrong beam angles create an amateurish appearance that’s impossible to fix without re-cutting holes.
Use the calculator to plan your layout properly before any holes are made. Download the coordinates, share them with your electrician, and verify positions on the ceiling before cutting. The few minutes spent planning saves hours of regret.
For complete kitchen lighting design including pendants, under-cabinet lighting, and layered schemes, see our Kitchen Lighting Guide.