Living room lighting layout is one of the most overlooked parts of home design, yet it has more impact on comfort and atmosphere than almost any other choice.
Most living rooms feel uncomfortable at night for one simple reason: the living room lighting was never laid out, only added. A ceiling light here, a lamp there, and no real plan tying it together.
This article is not about lighting styles or inspiration. It is a practical, layout-first blueprint you can follow to place lights correctly in a living room, step by step. By the end, you should be able to look at your room and know exactly where each light belongs and why.
This guide focuses on one specific aspect of lighting design. For full room planning, layout, and brightness guidance, see our complete Living Room Lighting Guide.
If you are looking for broader inspiration and style ideas, you can also explore our complete living room lighting guide, which covers mood, fittings, and design choices in more detail.
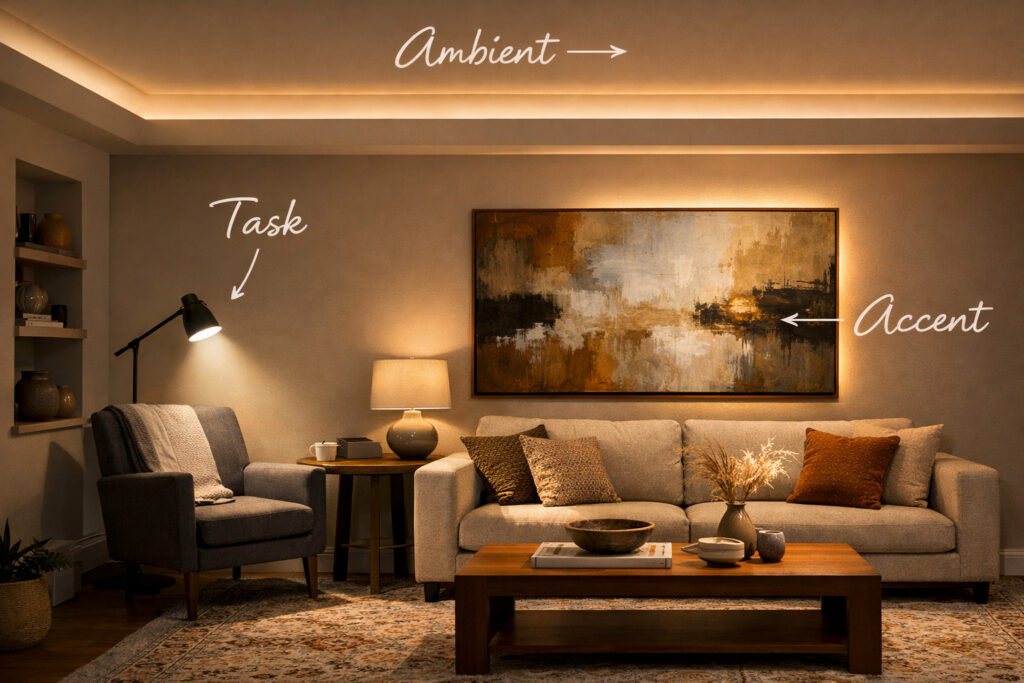
Table of Contents
Step 1: Start with how the room is actually used
Before thinking about fittings, decide how the living room functions. Layout always comes before lighting.
Ask yourself:
- Where do people sit most of the time?
- Is there a TV, and where is it viewed from?
- Is there a reading chair or work corner?
- Do people move through the room to reach other spaces?
Mark these zones mentally or on paper. Every light you add should support one of these uses.

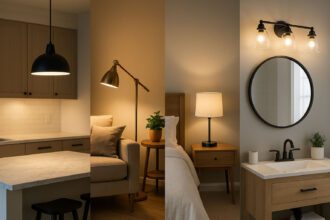
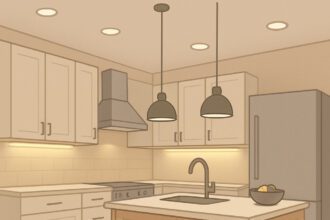
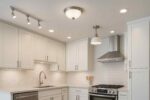
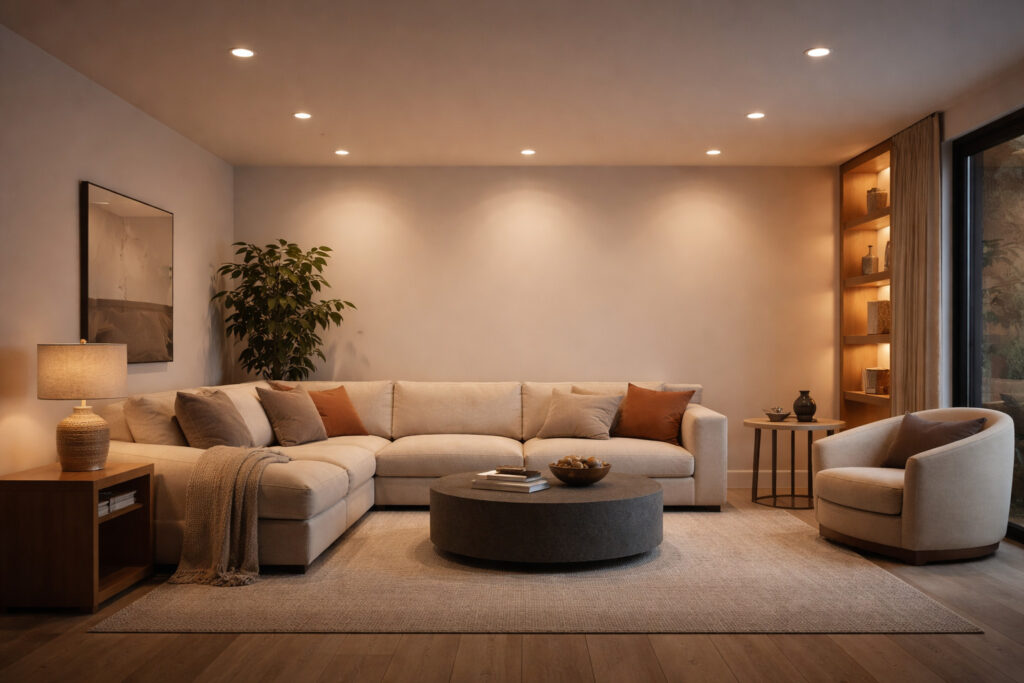
Step 2: Create the ambient lighting layout (base layer)
Ambient lighting provides general visibility and connects the whole room. This layer should feel even and calm, not bright or dramatic.
Placement rules that work
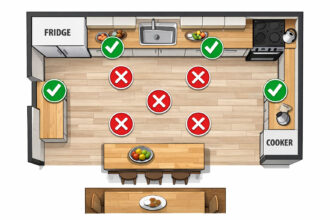
- Space ceiling lights evenly rather than clustering them
- Keep downlights roughly 600–900mm away from walls
- Avoid placing lights directly above seating positions
- Use fewer fittings at lower output rather than many bright ones
Layout examples
- Small living room: one central flush or pendant plus wall and lamp layers
- Medium room: 4–6 downlights spaced evenly or a combination of ceiling and wall lighting
- Large room: ambient lighting split into zones rather than one large grid
Layout mistake to avoid
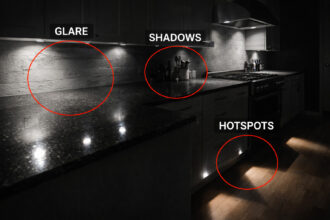
Placing all ceiling lights in a perfect grid often lights furniture instead of people and creates harsh shadows.
Layout goal
Soft, even coverage that allows other layers to do their job.
If you’re unsure how many lumens do I need, this guide breaks it down room by room.
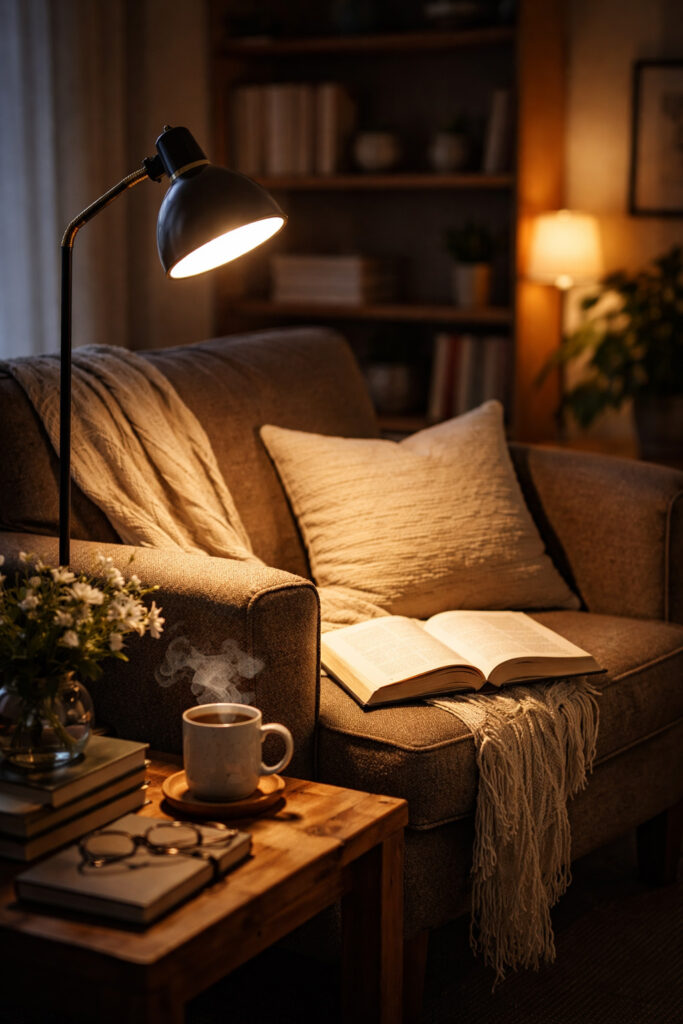
Step 3: Add task lighting exactly where it is needed
Task lighting should be placed after seating is finalised, never before.
Where task lights belong
- Beside sofas and armchairs, slightly behind the shoulder line
- Reading chairs and corners
- Desks or occasional work surfaces
Practical placement tips
- Floor lamps work best 300–500mm behind or beside seating
- Table lamps should sit at seated eye level or slightly below
- Light should come from the side, not directly overhead
Layout mistake to avoid
Trying to read using ceiling lights alone leads to glare and eye strain.
Layout goal
Each activity zone has its own focused light source.

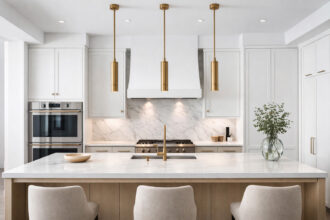
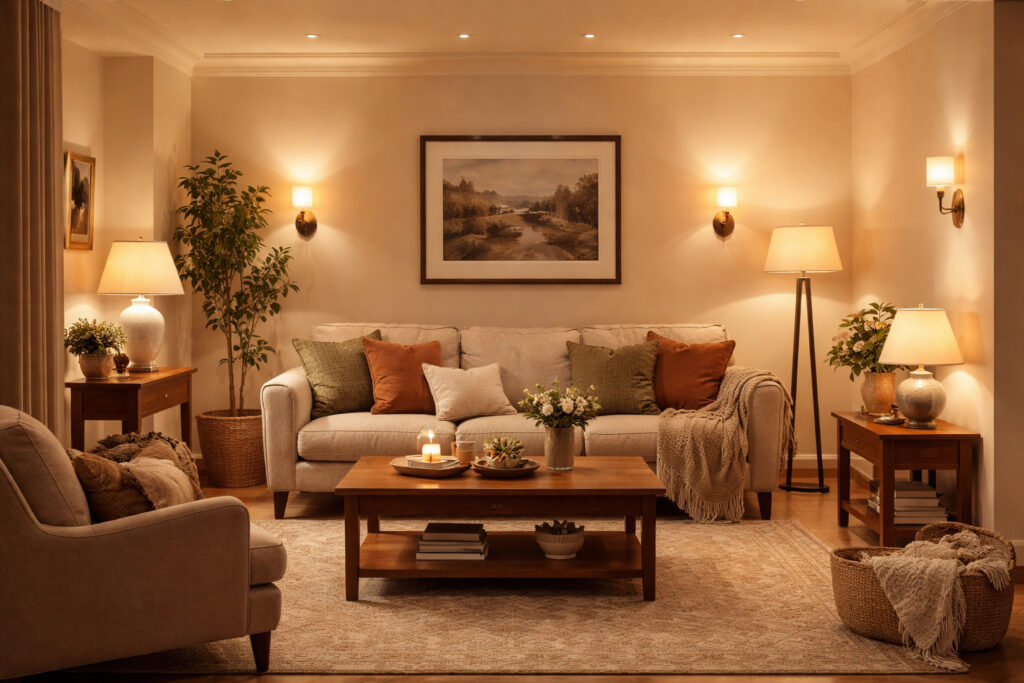
Step 4: Place accent lighting to create depth and balance
Accent lighting is what stops a living room feeling flat at night. This layer should highlight surfaces, not people.
Good accent lighting locations
- Wall lights spaced evenly along long walls
- LED strips inside shelves or alcoves
- Picture lights over artwork
- Uplighting behind sofas or cabinets
Placement rules
- Aim accent lights at walls or objects, not into the room
- Keep brightness lower than ambient lighting
- Spread accent points around the room for balance
Layout mistake to avoid
Using accent lighting on only one wall creates visual imbalance.
Layout goal
Soft pools of light that add contrast and warmth.

Step 5: Adjust the layout for room size and shape
Small living rooms
- Reduce ceiling lighting intensity
- Use more lamps and wall lights
- Light corners to increase perceived space
Open plan living rooms
- Treat each seating area as its own zone
- Separate lighting circuits for each zone
- Use lamps to visually anchor furniture groupings
Dark or north facing rooms
- Increase the number of light sources rather than brightness
- Use warm light tones throughout
- Add accent lighting to vertical surfaces
Step 6: Balance ceiling lights and lamps properly
A good layout never relies on one type of lighting.
A reliable balance for most living rooms:
- One ambient ceiling layer
- Two to four lamps at seating height
- One or more accent features
If the room feels harsh, reduce ceiling light and increase lamp use. If it feels gloomy, add another low level source rather than increasing wattage.
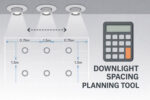
Our free downlight spacing calculator takes room size and usage into account.
Common living room lighting layout mistakes (and fixes)
Too many downlights
Fix: Remove visual emphasis by dimming and adding lamps.
Lights placed directly above seating
Fix: Shift ceiling lights outward and use side lighting instead.
Everything on one switch
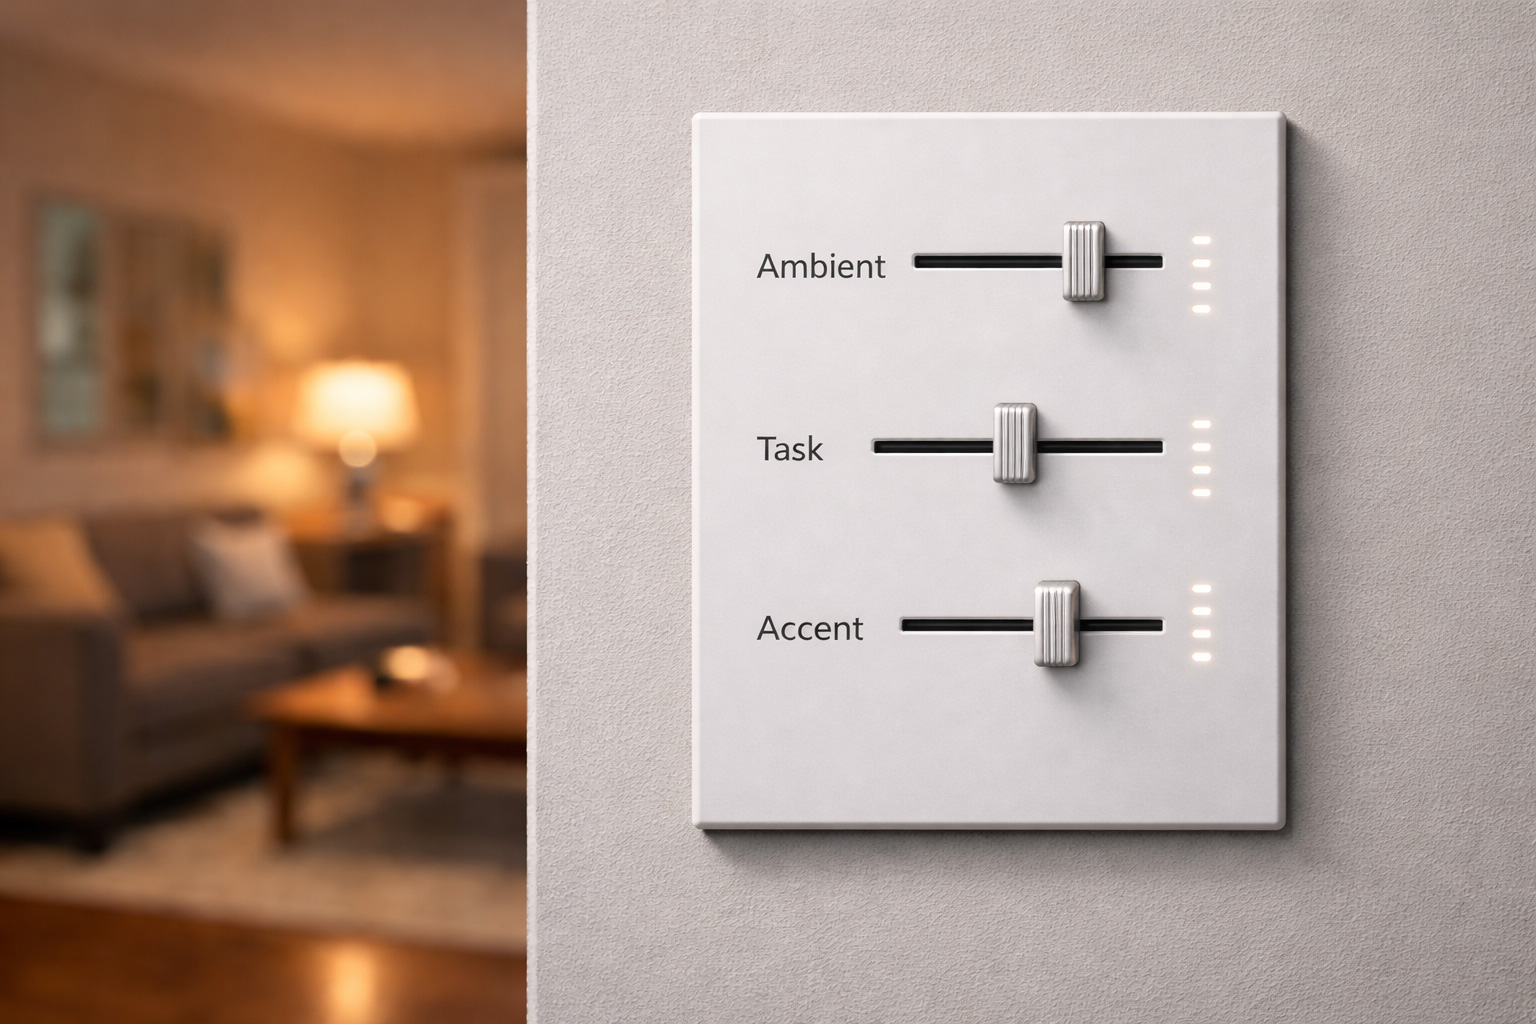
Fix: Separate ambient, task, and accent lighting controls.
Ignoring corners
Fix: Add a lamp or uplight to anchor the space visually.
Cold light tones
Fix: Use warm light for evening comfort.
Switching to a warm colour temperature can instantly make a living room feel calmer and more inviting in the evenings.

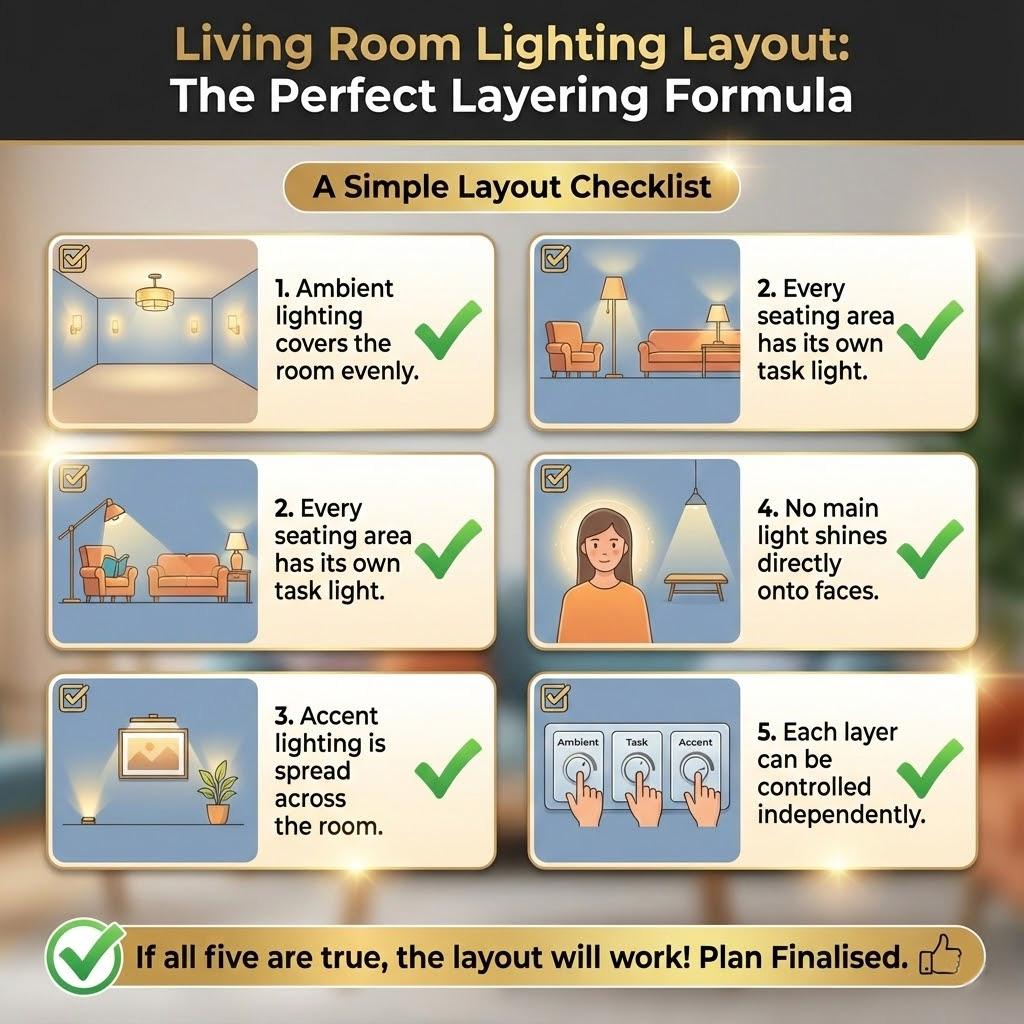
A simple layout checklist
Before finalising your plan, check the following:
- Ambient lighting covers the room evenly
- Every seating area has its own task light
- Accent lighting is spread across the room
- No main light shines directly onto faces
- Each layer can be controlled independently
If all five are true, the layout will work.
Recommend Information
Many of these placement principles align with widely accepted lighting best practice for visual comfort in living spaces.
Chartered Institution of Building Services Engineers
Frequently asked questions
How many lights should a living room have?
There is no fixed number. Most living rooms end up with between six and ten light sources across all layers.
Do you need ceiling lights in a living room?
They are helpful but not essential. Some rooms rely on wall lights and lamps instead.
Can lamps replace downlights completely?
In smaller rooms, yes. In larger spaces, a mix usually works better.
What matters more, brightness or placement?
Placement. Poorly placed bright lights never feel comfortable.
Final thoughts
A well lit living room is not about trends or expensive fittings. It is about placing the right light in the right place. When you plan lighting as a layout problem, not a decoration choice, the room becomes more comfortable, flexible, and welcoming every evening.
Follow the formula, adjust it to your space, and your living room lighting will always feel intentional rather than accidental.