This article may contain affiliate links. If you purchase through these links, we may earn a small commission at no extra cost to you. Learn more
Bathrooms are one of the trickiest rooms to light well. Get it wrong and you end up with harsh shadows across your face, dark corners, or fittings that rust within months. Get it right and your bathroom becomes a space that works brilliantly for the morning rush and feels like a spa retreat in the evening.
This guide covers everything you need to plan bathroom lighting properly. We will walk through the safety regulations you need to know, how to calculate the right brightness, where to position your lights, and how to layer different light sources for both function and atmosphere.
Whether you are renovating a compact ensuite or designing a large family bathroom from scratch, this is your complete reference.
Table of Contents
Why Bathroom Lighting Needs Special Attention
Bathrooms present unique challenges that other rooms do not have.
First, there is water. Electricity and moisture do not mix, which is why UK regulations divide bathrooms into zones with strict rules about what fittings you can install where. Ignore these and you risk failing a building inspection or, worse, creating a genuine safety hazard.
Second, bathrooms serve multiple purposes. You need bright, even light for shaving or applying makeup. You also want softer, relaxing light for a bath at the end of the day. A single ceiling light cannot do both jobs well.
Third, bathrooms tend to be smaller spaces with reflective surfaces like tiles, mirrors and glass. Poor lighting choices get amplified. Shadows become harsher. Glare becomes more obvious.
The good news is that once you understand the basics, planning bathroom lighting becomes straightforward. Let us start with safety.
Bathroom Zones and IP Ratings Explained
UK wiring regulations (BS 7671) divide bathrooms into zones based on proximity to water sources. Each zone has minimum IP (Ingress Protection) rating requirements for any electrical fittings installed there.
What is an IP rating?
IP ratings use two numbers. The first indicates protection against solid objects like dust. The second indicates protection against water. Higher numbers mean better protection.
For example, IP65 means complete dust protection (6) and protection against water jets (5). IP44 means protection against objects over 1mm (4) and protection against splashing water (4).
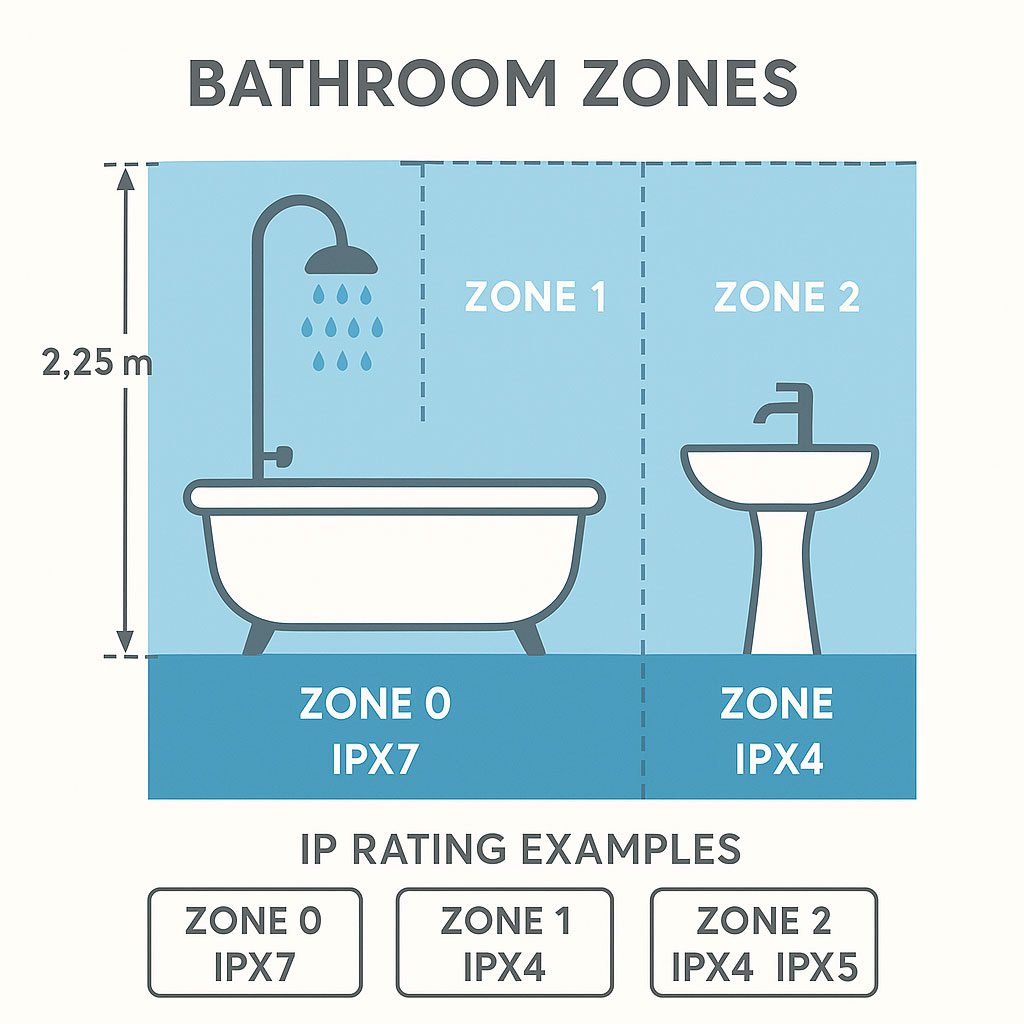
The bathroom zones:
| Zone | Description | Minimum IP Rating | Example Fittings |
|---|---|---|---|
| Zone 0 | Inside the bath or shower basin | IP67 | Fully waterproof, low voltage only |
| Zone 1 | Above bath/shower up to 2.25m from floor | IP45 (IP65 recommended) | Recessed downlights, shower lights |
| Zone 2 | 0.6m around bath/shower, up to 3m high | IP44 | Wall lights, mirror lights |
| Outside Zones | Rest of bathroom | IP20 minimum (IP44 recommended) | Pendants, standard fittings |
Zone 0 is inside the bath or shower basin itself. Any fitting here must be IP67 rated (protected against immersion) and low voltage. In practice, very few fittings are designed for Zone 0 installation.
Zone 1 extends from the finished floor level up to 2.25 metres above, directly over the bath or shower. Fittings here need at least IP45 rating, though IP65 is recommended and increasingly common.
Zone 2 covers the area extending 0.6 metres horizontally from Zone 1, plus the area above Zone 1 up to 3 metres from floor level. Fittings need at least IP44 rating.
Outside zones is everywhere else in the bathroom. Technically you can use standard IP20 fittings here, but IP44 is sensible given the general moisture in bathrooms.
Use our Bathroom Zone IP Rating Calculator to check exactly which zone each light position falls into and what IP rating you need.
Bathroom Zone IP Rating Checker
Find the correct IP rating for your bathroom lighting
Practical advice:
Most bathroom ceiling lights fall into Zone 1 or Zone 2. For simplicity, many people specify IP65 rated downlights throughout the bathroom. This covers all ceiling positions and means you do not need to worry about which zone is which.
For wall lights beside mirrors, IP44 is usually sufficient as these typically fall into Zone 2 or outside zones. Check the specific position against the zone definitions to be certain.
How Much Light Does Your Bathroom Need?
Bathrooms need more light than you might expect, particularly around the mirror where you need to see clearly for grooming tasks.
General brightness guidelines:
As a baseline, aim for around 300 to 500 lumens per square metre for general bathroom lighting. A typical 4 square metre bathroom needs roughly 1,200 to 2,000 lumens of overall ambient light.
However, the mirror area needs significantly more. Task lighting around the vanity should provide 700 to 800 lumens per square metre to ensure shadow free visibility.
Calculating lumens for your bathroom:
Measure your bathroom floor area in square metres. Multiply by 400 lumens for a good starting point. Then add extra lumens specifically for the mirror zone.
For example, a 3m x 2m bathroom (6 square metres) needs approximately 2,400 lumens of ambient light. Add 400 to 600 lumens of dedicated task lighting at the mirror.
Our [Room Lumens Calculator] does this calculation for you and accounts for ceiling height and surface colours.
Why lumen calculations matter:
Many people install bathroom lighting based on fitting count rather than total lumens. They put in four downlights because that seems like enough, without checking the actual lumen output.
A 4W LED downlight might produce 300 lumens. A 7W version might produce 600 lumens. Four of the smaller ones gives you 1,200 lumens total. Four of the larger ones gives you 2,400 lumens. Same number of fittings, completely different result.
Always check the lumen output on the packaging and add up the total for your space.
How Many Downlights Do You Need?
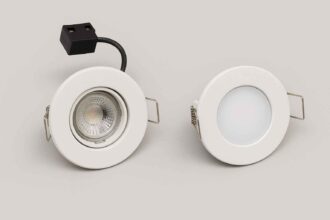
Recessed downlights are the most popular choice for bathroom ceiling lighting. They sit flush with the ceiling, work well in low spaces, and IP65 versions are readily available.
The number you need depends on the beam angle and lumen output of each fitting, plus your bathroom layout.
Spacing basics:
Most bathroom downlights have beam angles between 38 and 60 degrees. A wider beam angle means each light covers more area, so you need fewer fittings.
For even coverage without dark spots or bright patches, position downlights so their light cones overlap slightly. As a rough guide:
- With 38 degree beam angle downlights, space them 0.8 to 1 metre apart.
- With 60 degree beam angle downlights, space them 1 to 1.2 metres apart.
- Keep downlights at least 0.5 metres from walls to avoid harsh shadows and wasted light.
Common bathroom layouts:
- A small ensuite (under 3 square metres) typically needs 2 to 3 downlights.
- A standard bathroom (3 to 6 square metres) typically needs 4 to 6 downlights.
- A large bathroom (over 6 square metres) may need 6 to 9 downlights.
These figures assume 500 to 700 lumen downlights. If using lower output fittings, you will need more of them.
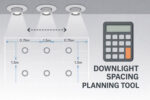
Our [Downlight Spacing Calculator] creates a visual layout plan based on your actual room dimensions and chosen fittings.
Positioning tips:
- Place at least one downlight directly in front of the mirror position. This provides essential face lighting when combined with your task lights.
- Position a downlight over or near the shower area. This zone often gets forgotten and ends up gloomy.
- Avoid placing downlights directly over where you stand at the basin. Light from directly above creates unflattering shadows under the eyes and nose. Offset them slightly or rely on mirror lights for the vanity area.
Layering Light in Your Bathroom
The best bathroom lighting schemes use multiple layers that you can control independently. This lets you switch between bright functional light and softer ambient light depending on what you are doing.
The three layers:
Ambient lighting provides overall illumination. In bathrooms, this is usually ceiling mounted downlights or a central LED panel. This layer handles general visibility and is your primary light source for cleaning, bathing children, or moving around the space safely.
Task lighting focuses on specific activities. In bathrooms, this means lighting around the mirror for shaving, makeup, skincare and other grooming tasks. Good task lighting eliminates shadows on your face and provides clear, accurate colour rendering.
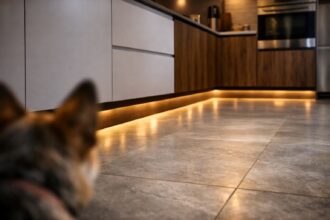
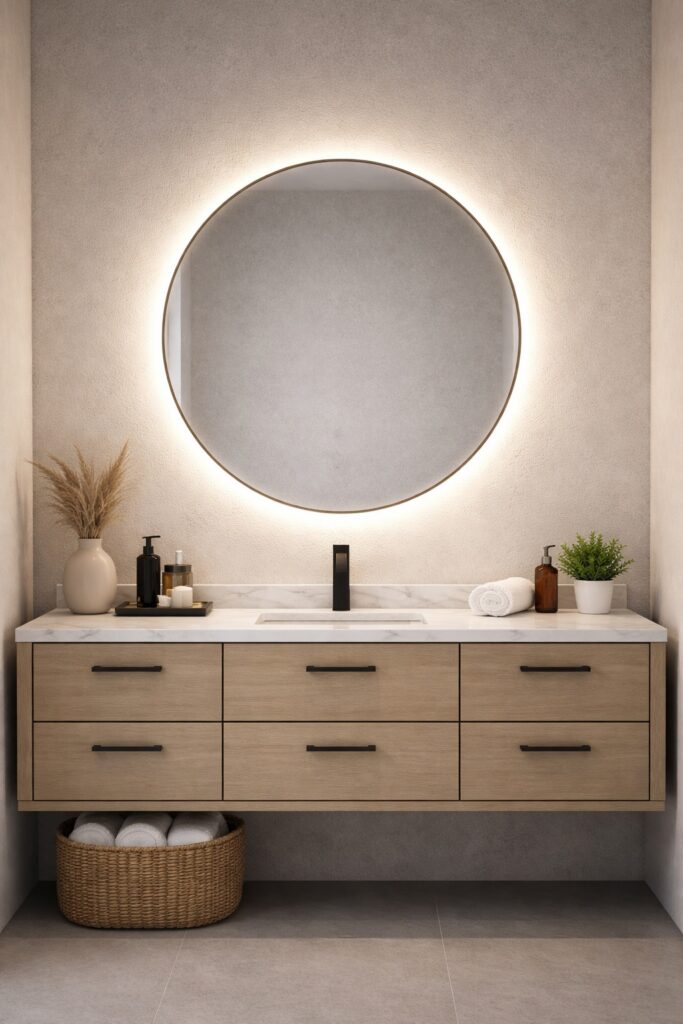
Accent lighting adds atmosphere and visual interest. This might include LED strip lighting under a floating vanity, backlit mirrors, or subtle uplighting. Accent lighting transforms a bathroom from purely functional to genuinely inviting.
Why layering matters:
A single bright ceiling light works fine for practical purposes but feels harsh when you want to relax in the bath. A bathroom lit only by soft accent lights looks beautiful but is useless for shaving.
By separating these functions onto different switches or a dimmer circuit, you get a bathroom that adapts to your needs throughout the day.
Practical layering setup:
Install your ceiling downlights on a dimmer switch. This covers your ambient layer with full brightness available when needed and lower levels for evening bathing.
Add dedicated mirror lights or a backlit mirror for task lighting. Keep these on a separate switch so you can use them independently.
Consider LED strip lighting under floating furniture or behind the mirror for accent lighting. A simple plug in LED strip with inline switch works well and avoids additional wiring.
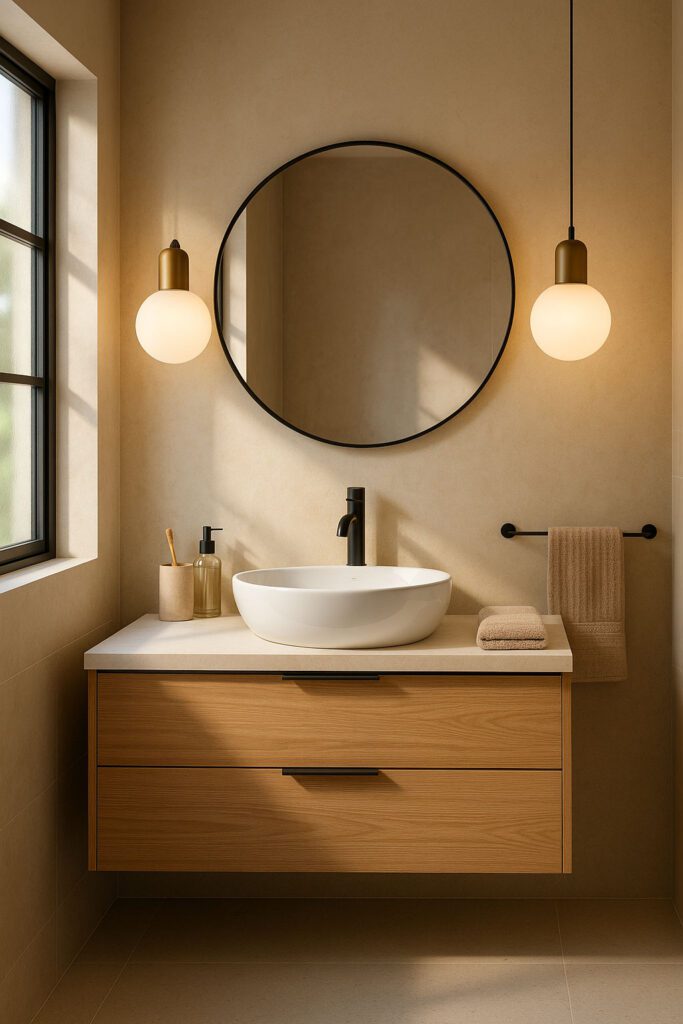
Mirror and Vanity Lighting
Getting the lighting right around your bathroom mirror makes a bigger difference to daily usability than any other single factor.
The shadow problem:
A single light above the mirror creates shadows under your eyebrows, nose and chin. This makes shaving difficult and makeup application inaccurate.
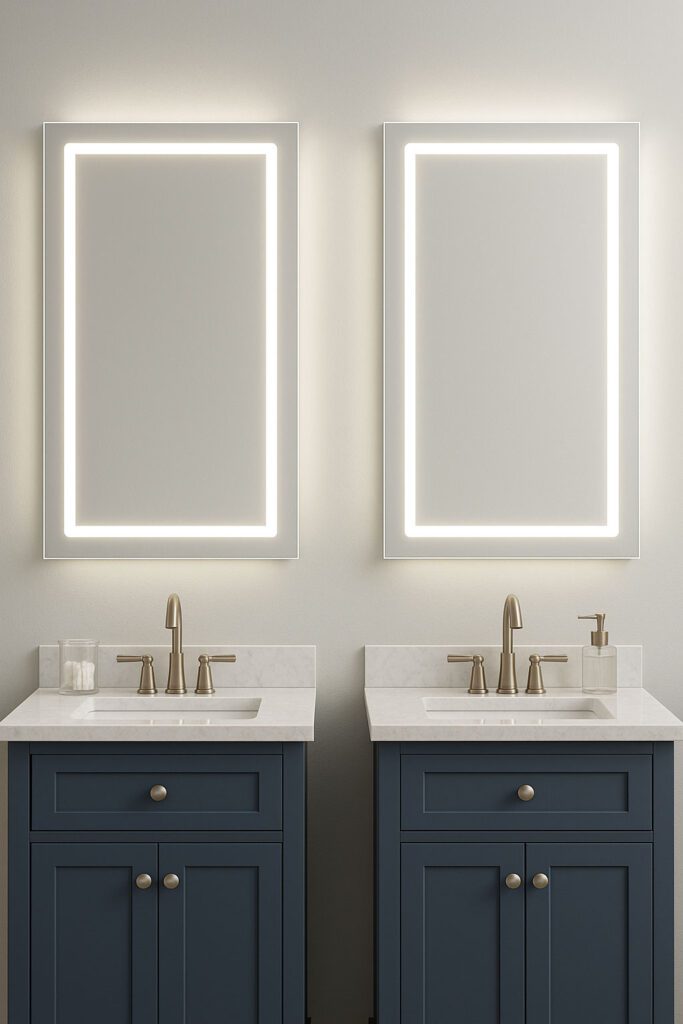
Light from both sides of the mirror eliminates these shadows by filling in from multiple angles. This is why professional makeup rooms always use lights flanking the mirror rather than overhead.
Best approaches for mirror lighting:
Option 1: Wall lights either side of the mirror. Install matching wall lights at roughly eye level, approximately 150cm from the floor. Position them about 10cm outside the mirror edges. This provides excellent shadow free illumination.
Option 2: Vertical strip lights. LED strip lights mounted vertically beside the mirror achieve a similar effect in a more contemporary style. Many modern LED bathroom mirrors have this built in.
Option 3: Backlit mirror. LED mirrors with perimeter backlighting provide soft, even illumination. They work well for general grooming though may lack the punch needed for detailed tasks like makeup application.
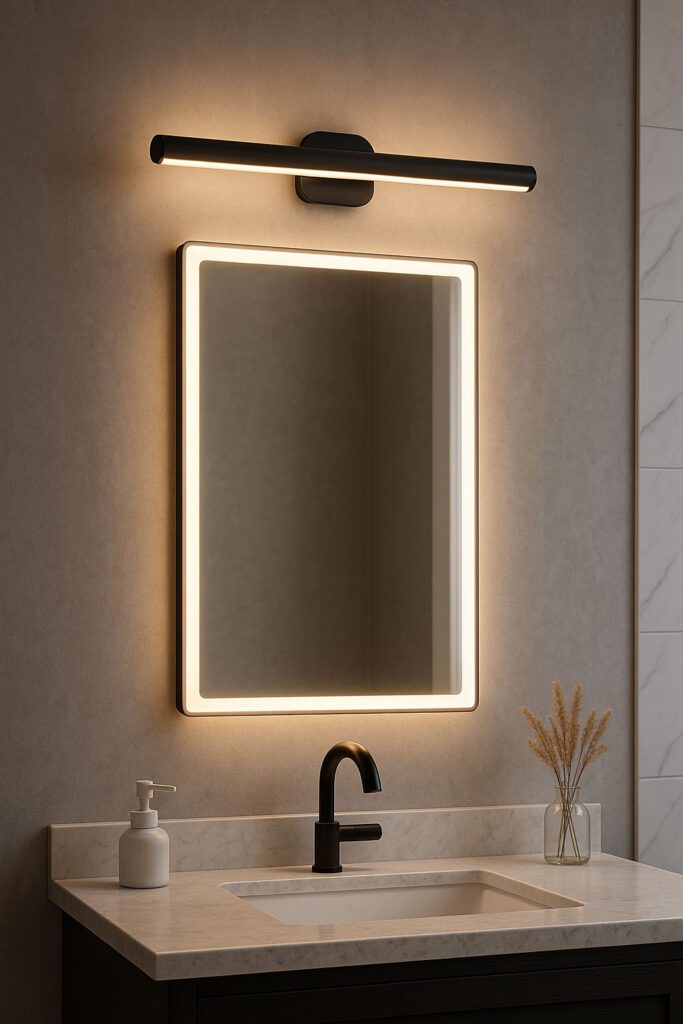
Option 4: Overhead light bar. If side lighting is not possible due to space constraints, a long horizontal light bar above the mirror is better than a single pendant or downlight. The extended light source reduces shadows compared to a point source.
Colour temperature for mirrors:
For accurate skin tones and makeup colours, use 3000K to 4000K light at the mirror. Warmer temperatures (2700K) can look flattering but make it harder to judge makeup shades accurately. Cooler temperatures (5000K and above) render colours accurately but can feel clinical.
4000K neutral white is a good compromise for most people, providing clear visibility without the harshness of daylight bulbs.
Related guide: [How High Should Mirror Lights Be Mounted?]

Colour Temperature: Warm vs Cool for Bathrooms
Colour temperature affects both the functionality and atmosphere of your bathroom. Different temperatures suit different purposes.
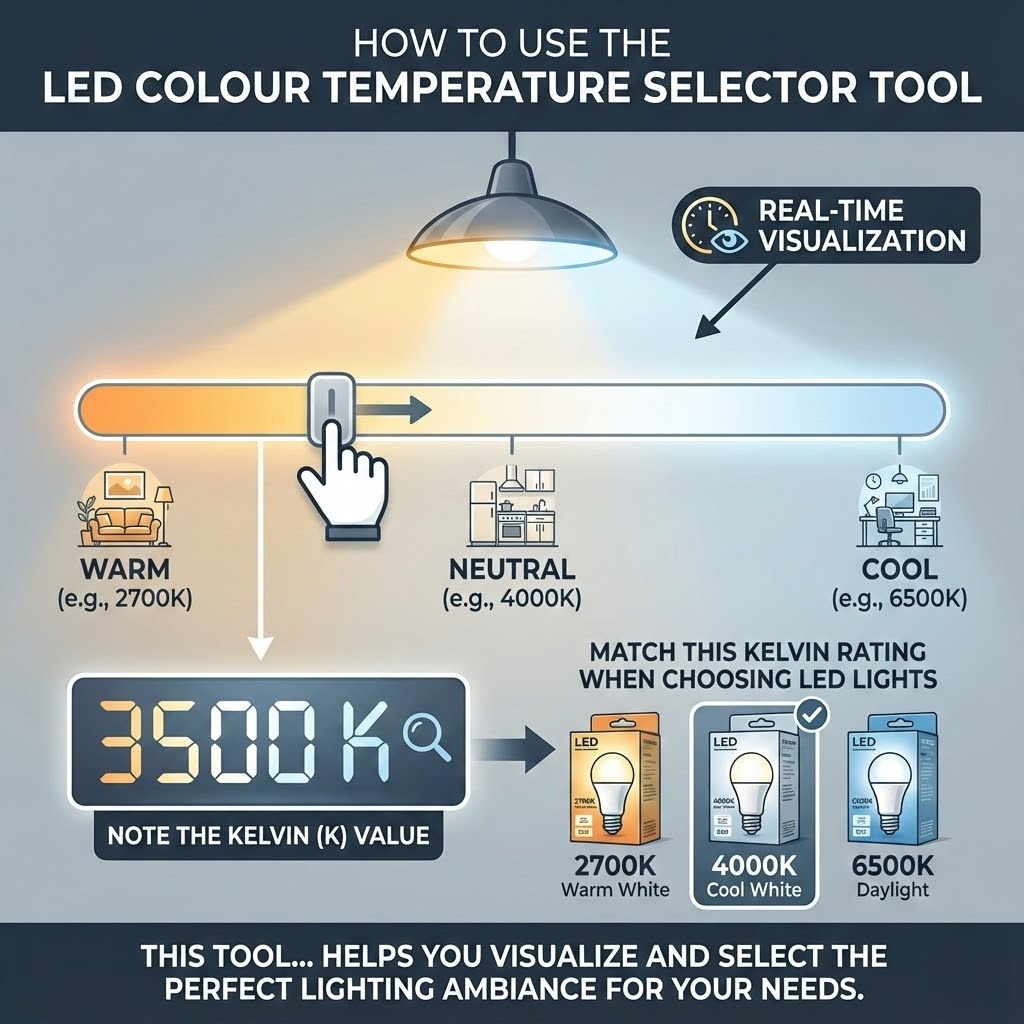
Understanding the scale:
Colour temperature is measured in Kelvin (K). Lower numbers are warmer (more yellow/orange), higher numbers are cooler (more blue/white).
- 2700K: Warm white. Similar to traditional incandescent bulbs. Cosy and relaxing but can make whites appear cream coloured.
- 3000K: Soft warm white. Still warm but slightly crisper. Popular for living spaces and bathrooms where you want comfort without too much yellow.
- 4000K: Neutral white. Clean and clear without being cold. Good for task areas where you need accurate colour rendering.
- 5000K and above: Cool white to daylight. Bright and energising but can feel clinical in home settings.
Recommended temperatures for bathrooms:
- For ambient ceiling lighting, 3000K works well in most bathrooms. It creates a welcoming atmosphere while providing adequate brightness.
- For task lighting at the mirror, 4000K is better. The cleaner light makes grooming tasks easier and renders skin tones more accurately.
- You can use both in the same bathroom. Ceiling downlights at 3000K for ambient light, mirror lights at 4000K for tasks. The slight difference is barely noticeable in practice but gives you the benefits of both.
CCT selectable fittings:
Some LED fittings now offer selectable colour temperature, typically with a switch on the fitting that lets you choose between 3000K, 4000K and 6000K. These are useful if you are unsure which temperature you prefer, or if you want flexibility to change later.
Use our [Colour Temperature Selector Tool] to compare different temperatures side by side.
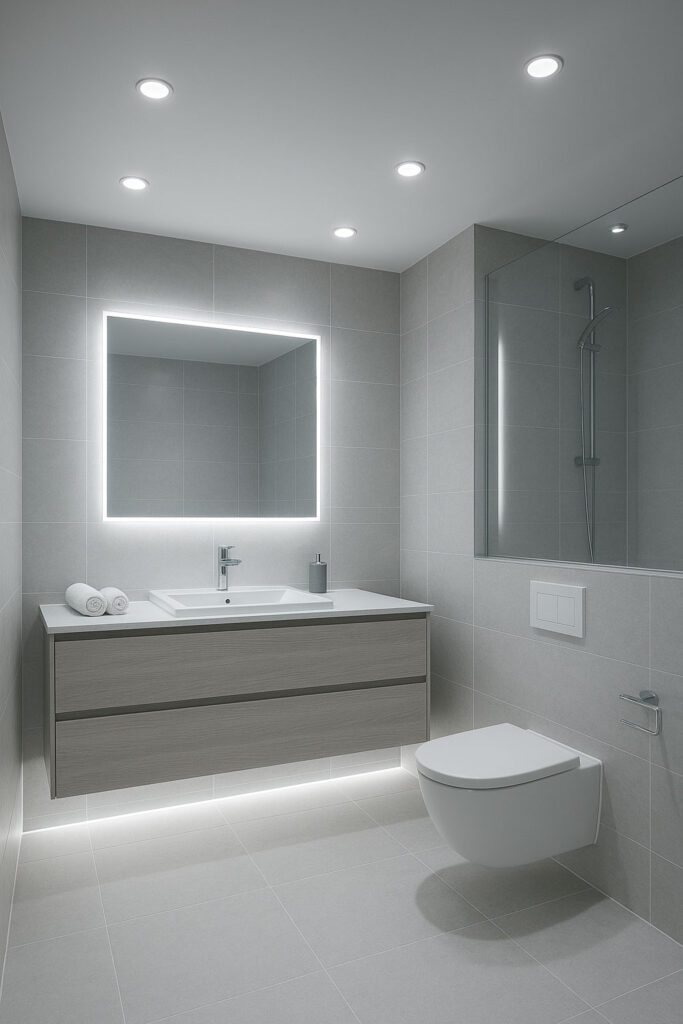
Modern Bathroom Lighting Ideas
Contemporary bathroom design favours clean lines, minimal clutter and integrated lighting that disappears into the architecture.
Key elements of modern bathroom lighting:
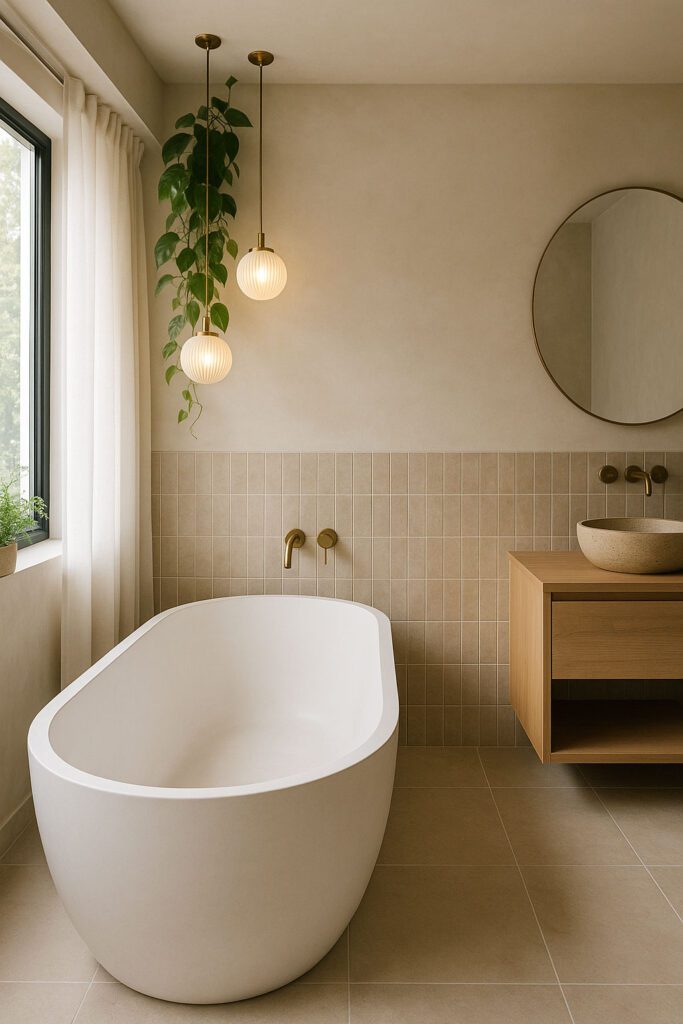
Recessed everything. Downlights sit flush with the ceiling. LED mirrors have lighting built in rather than separate fittings. The goal is a seamless look with no exposed bulbs or decorative fixtures.
Linear LED profiles. Aluminium channels with diffused LED strip create continuous lines of light. Use them under floating vanities, recessed into niches, or as cove lighting where walls meet ceiling.
Backlit mirrors. Large format mirrors with LED backlighting have become a signature feature of modern bathrooms. The floating glow effect adds drama while providing functional illumination.
Monochromatic finishes. Modern schemes tend to stick to one metallic finish throughout. Matt black or brushed nickel are currently popular. Chrome remains a classic choice that works with contemporary designs.
Suggested modern bathroom scheme:
- Ceiling: 4 to 6 IP65 rated downlights in matt white, 3000K, on a dimmer.
- Mirror: Large rectangular LED mirror with perimeter backlighting, 4000K.
- Accent: Warm white LED strip under floating vanity unit.
This combination provides excellent functionality while maintaining the clean aesthetic that defines modern bathroom design.


Classic Bathroom Lighting Ideas
Traditional and period style bathrooms call for lighting that complements rather than contrasts with the overall design. The key is finding fittings with classic styling that still use modern LED technology.
Key elements of classic bathroom lighting:
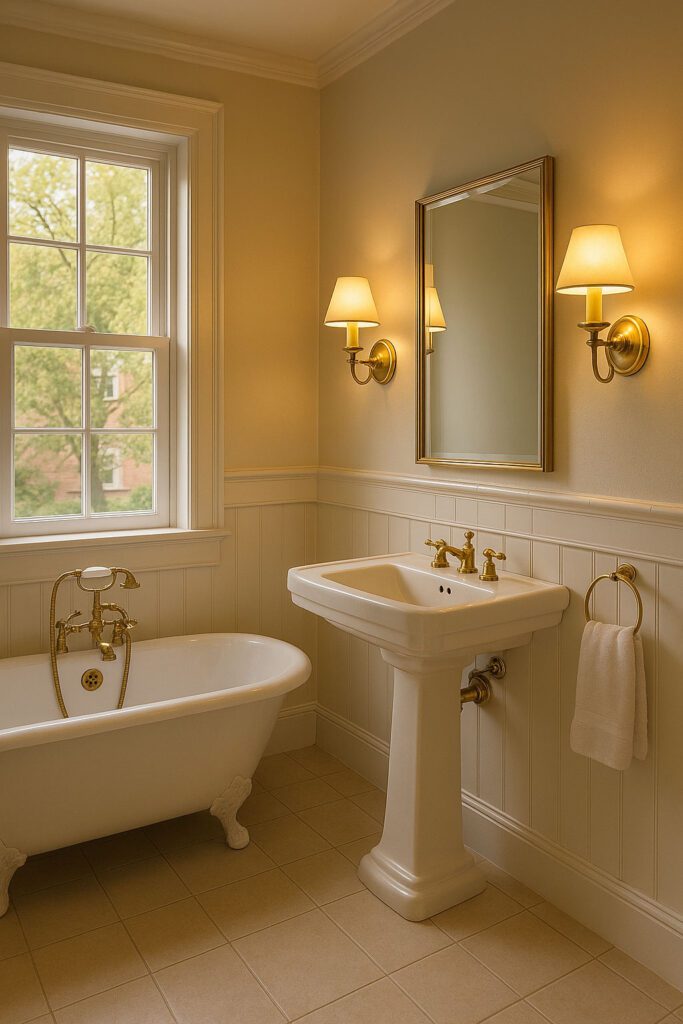
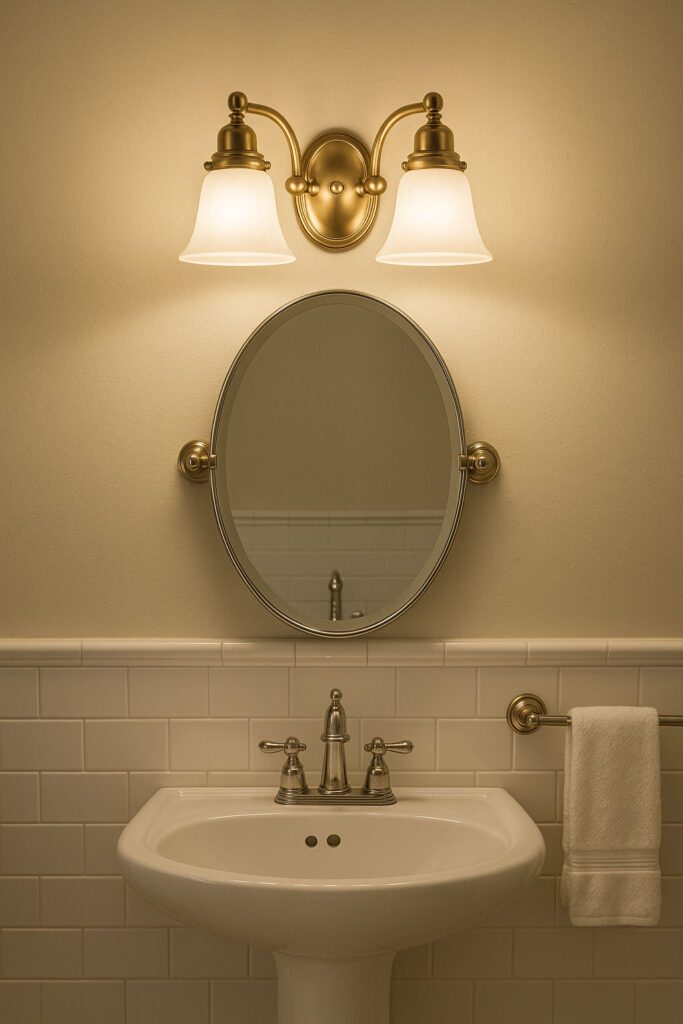
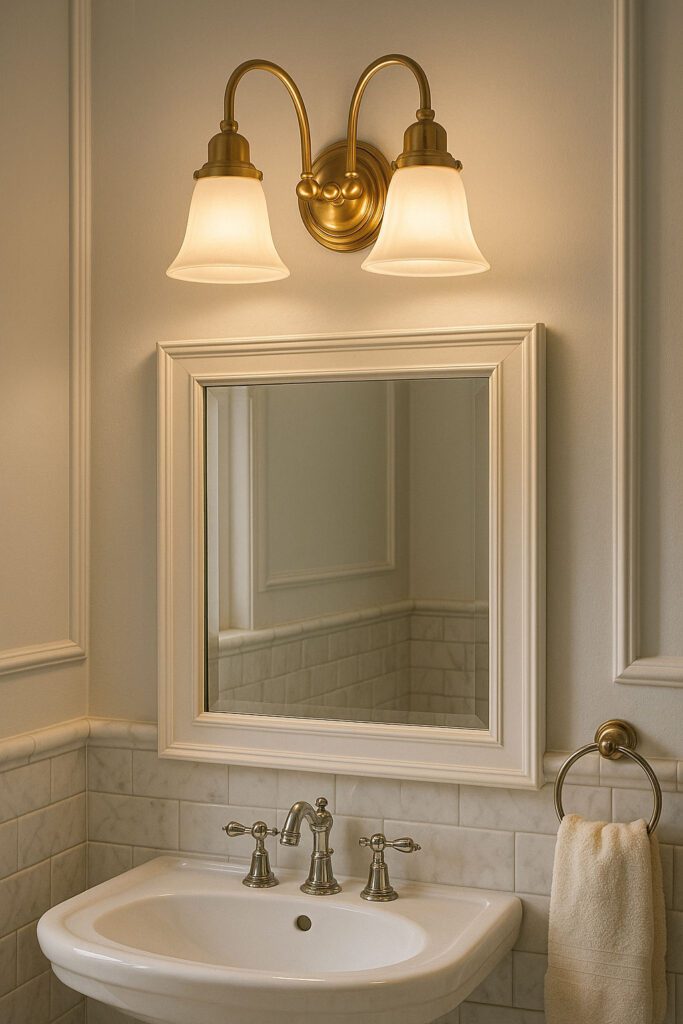
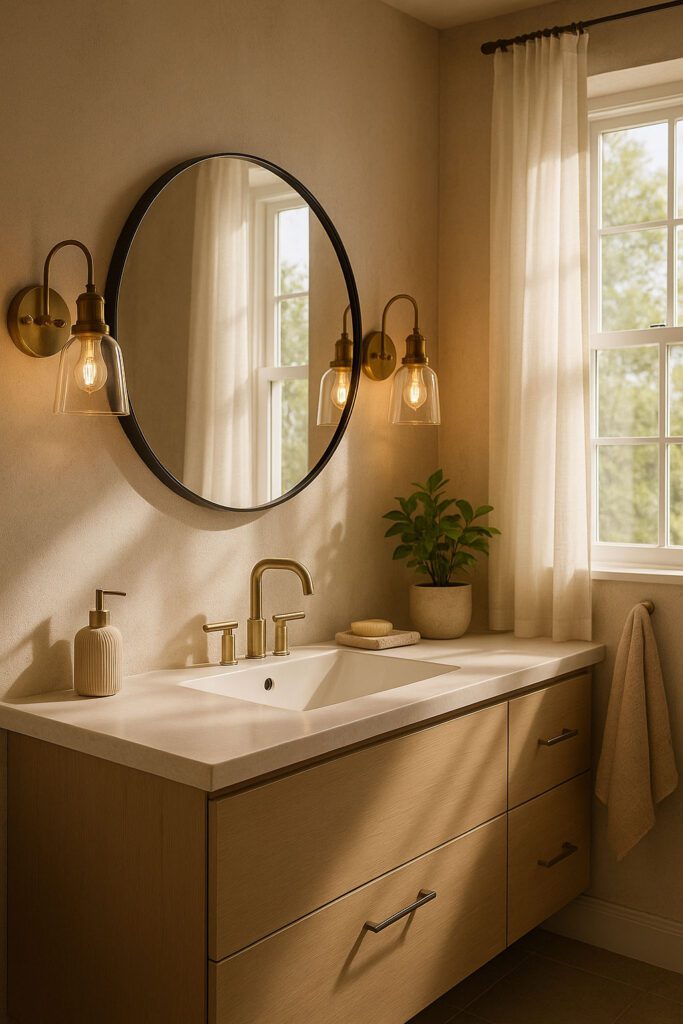
Decorative wall lights. Instead of hidden lighting, traditional bathrooms feature beautiful fittings as part of the design. Look for wall lights with opal glass shades, antique brass or polished nickel finishes, and classic silhouettes.
Visible pendants. Where ceiling height allows, a pendant fitting can work in a traditional bathroom. Globe lights, lantern styles and vintage industrial designs suit period properties. Ensure any pendant is IP rated if positioned in Zone 2 or above.
Warm colour temperatures. Traditional interiors look best with warm 2700K to 3000K lighting that echoes the colour of candlelight and vintage bulbs.
Quality finishes. Antique brass, aged bronze and polished nickel suit period properties better than chrome. These warmer metallic tones complement traditional sanitaryware and fittings.
Suggested classic bathroom scheme:
- Ceiling: A central period style flush mount or IP rated pendant, supplemented by discreet downlights around the perimeter.
- Mirror: Matching pair of wall lights with glass shades, mounted either side of the mirror at eye level.
- Accent: Consider picture lights above artwork or subtle niche lighting in alcoves.
The result should feel layered and considered, with the lighting fixtures themselves contributing to the room’s character.

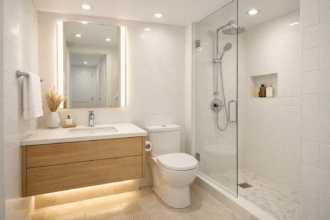
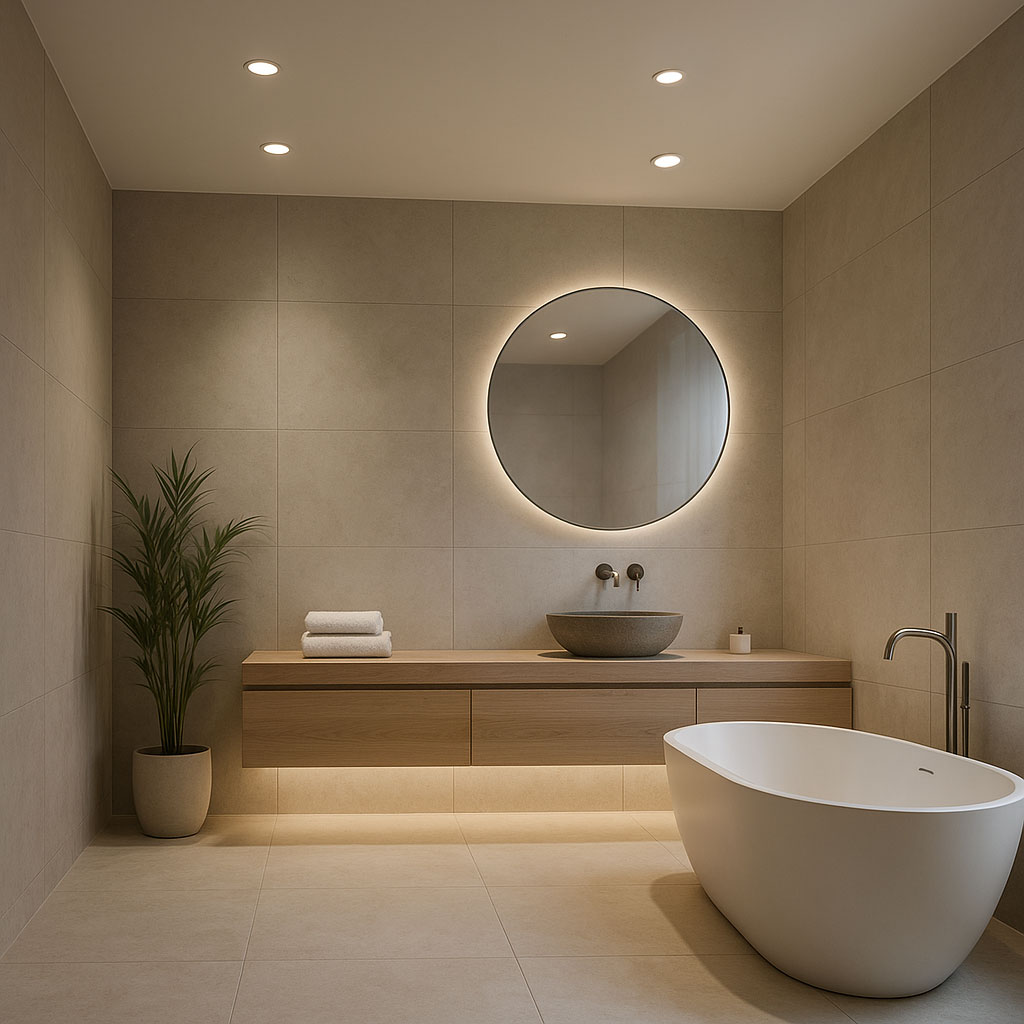
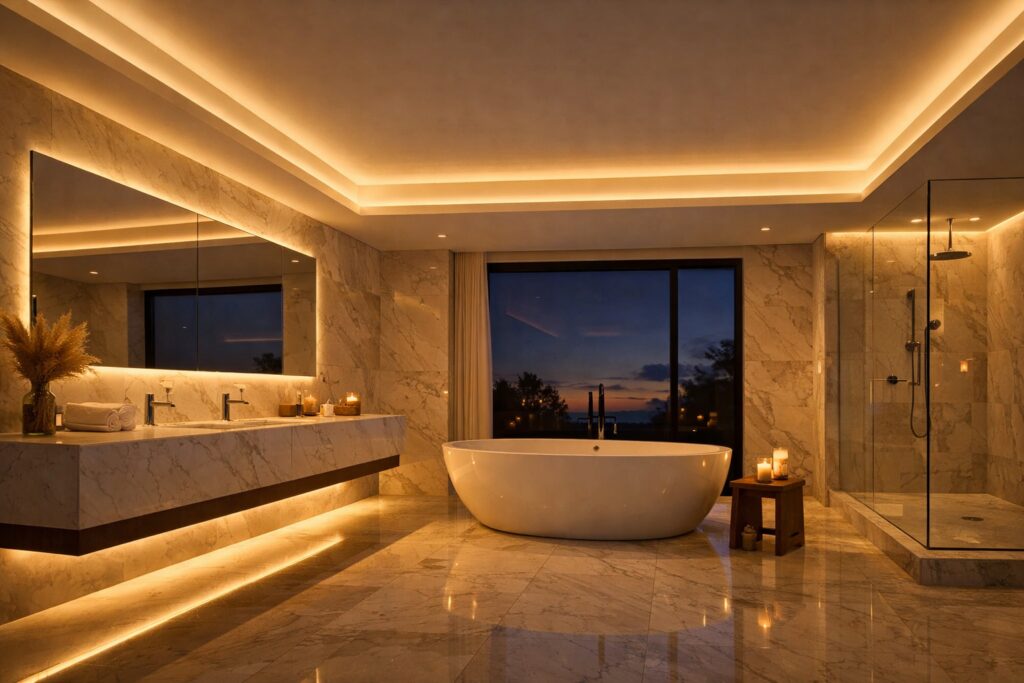
Spa Inspired Bathroom Lighting Ideas
Creating a spa like atmosphere is about more than just lighting. But the right lighting scheme makes an enormous difference to how relaxing the space feels.
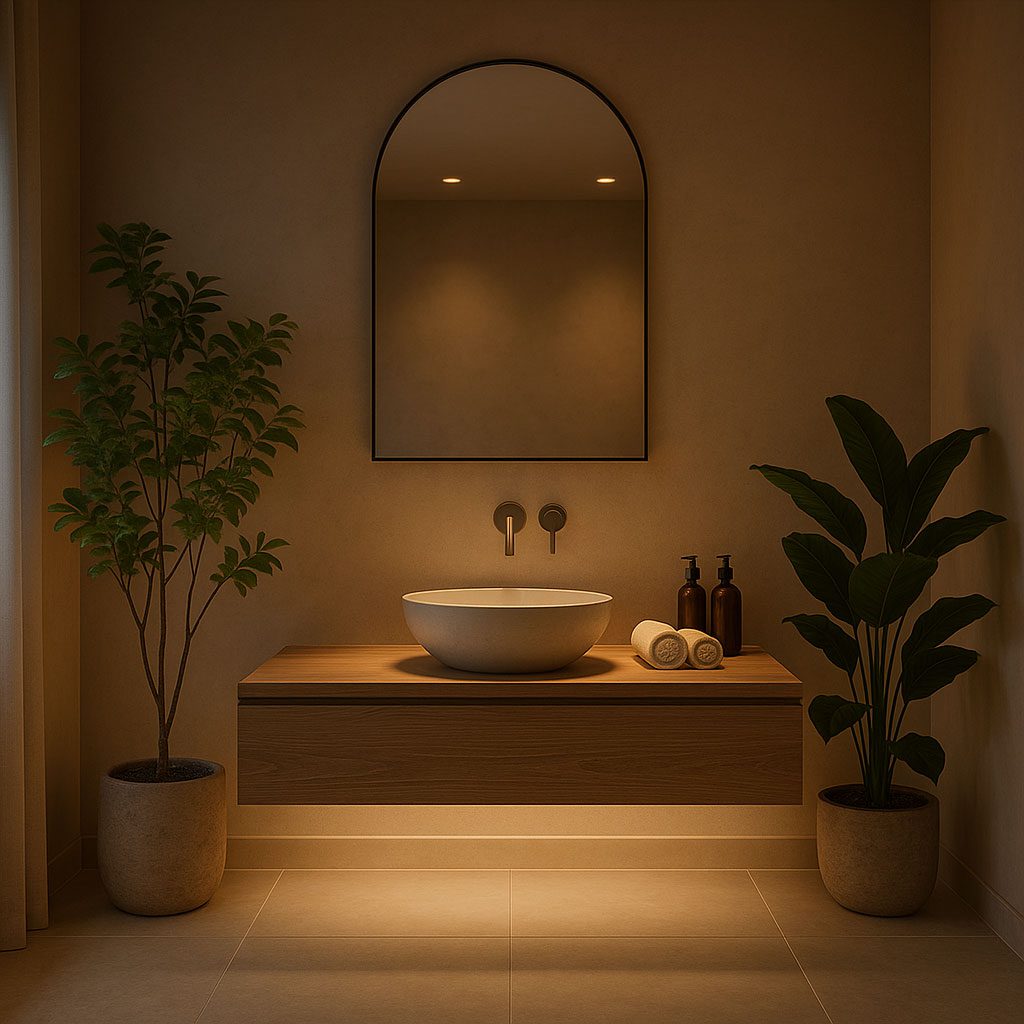
Key elements of spa bathroom lighting:
Dimmable everything. The ability to drop light levels is essential for a spa atmosphere. Install dimmers on all circuits or choose fittings with integrated dimming.
Concealed sources. Spa lighting should feel soft and diffuse, not directional. Achieve this by hiding light sources behind mirrors, under cabinets, in coves, and within niches rather than relying on visible fittings.
Very warm temperatures. For ultimate relaxation, go warmer than you might for a standard bathroom. 2700K approaches candlelight and creates a genuinely calming atmosphere.
Layered accent lighting. Multiple soft light sources at low levels create depth and interest without brightness. Think LED strips lights under the bath surround, behind freestanding baths, within shower niches, and around the mirror perimeter.
Suggested spa bathroom scheme:
- Ceiling: Recessed downlights on a dimmer, turned down low for bathing.
- Mirror: Backlit mirror providing soft perimeter glow.
- Bath area: Concealed LED strip around bath surround or under freestanding bath.
- Shower: Waterproof niche with integrated LED strip (IP65 minimum).
- Feature: Floating vanity with LED strip underneath creating a hovering effect.
All elements should be controllable independently, letting you create different scenes from bright morning functionality to dim evening relaxation.

Small Bathroom Lighting Tips
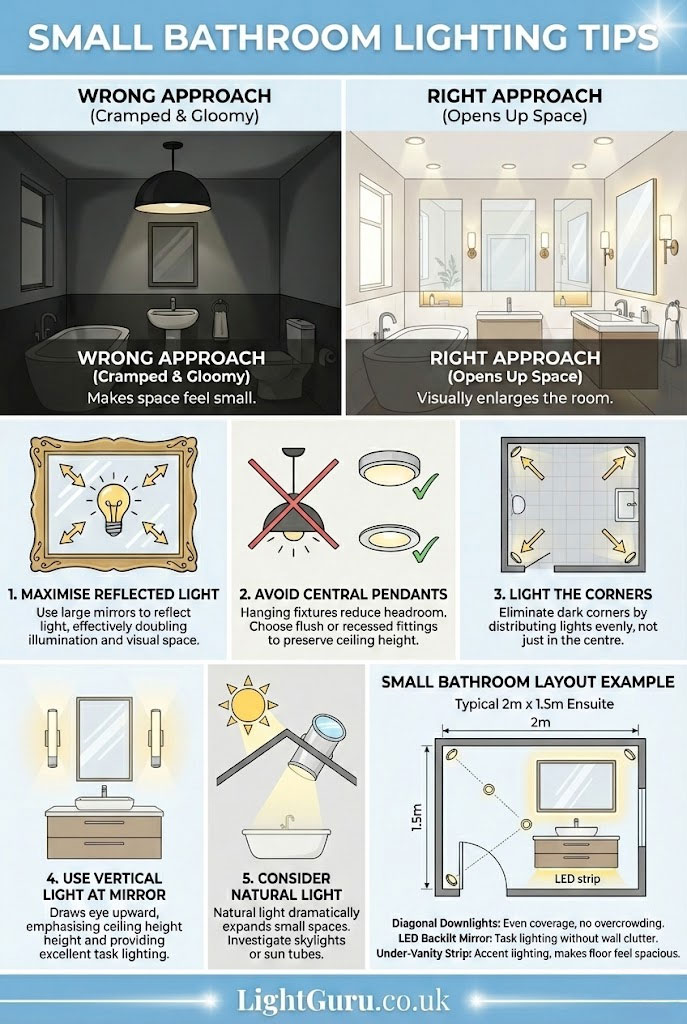
Compact bathrooms need careful lighting planning. The wrong approach makes them feel cramped and gloomy. The right approach opens up the space visually.
Strategies for small bathrooms:
Maximise reflected light. Use mirrors generously, not just above the basin. A large mirror reflects light back into the space, effectively doubling the impact of your fittings.
Avoid central pendants. Hanging fixtures reduce visual headroom and can feel oppressive in small spaces. Flush mount or recessed fittings preserve ceiling height.
Light the corners. Dark corners make rooms feel smaller. Ensure your downlight layout reaches into all corners of the room rather than clustering lights in the centre.
Use vertical light at the mirror. Wall lights or vertical strips beside the mirror draw the eye upward and emphasise ceiling height.
Consider a skylight or sun tube. Natural light makes small bathrooms feel dramatically larger. If your bathroom is on the top floor or has roof access, this is worth investigating.
Small bathroom layout example:
For a typical 2m x 1.5m ensuite:
Position 3 downlights in a diagonal line from door corner to opposite corner. This provides even coverage without overcrowding.
Install an LED backlit mirror to provide task lighting without additional wall fittings.
Add LED strip under the vanity for accent lighting and to make the floor area feel more spacious.
External Link: NICEIC – Bathrooms and Electrics: What You Need to Know
Frequently Asked Questions
What is the best lighting for a small bathroom?
Recessed downlights combined with mirror lighting work best in small bathrooms. They preserve ceiling height and provide even illumination. Add a large mirror to reflect light and make the space feel bigger. Avoid hanging pendants which can make small bathrooms feel cramped.
Can I install pendant lights in my bathroom?
Yes, but only in Zone 2 or outside zones, and only with appropriately IP rated fittings. Pendant lights must not be positioned where someone in the bath or shower could touch them. In practice, this usually means they need to be well away from the bath area and at sufficient height. Check with a qualified electrician if unsure.
What colour temperature is best for bathroom lighting?
For general ambient lighting, 3000K warm white creates a comfortable atmosphere. For task lighting at the mirror, 4000K neutral white provides clearer visibility for grooming. You can combine both temperatures in the same bathroom for optimal results.
Are LED lights safe in bathrooms?
Yes. LEDs are actually safer than halogen alternatives because they run much cooler and use lower voltages. The key safety factor is IP rating, not bulb type. Ensure any LED fitting has the correct IP rating for its zone position.
How do I avoid shadows when lighting a bathroom mirror?
Light from the sides rather than from above. Install wall lights either side of the mirror at roughly eye level, or choose a mirror with integrated vertical strip lighting. If side lighting is not possible, use a long horizontal light bar above the mirror rather than a single point source.
Do I need a qualified electrician for bathroom lighting?
For any new circuits or modifications to existing circuits in bathrooms, yes. Part P of the building regulations requires that bathroom electrical work is either carried out by a registered competent person or inspected and certified by Building Control. This is a legal requirement, not just best practice.
Planning Your Bathroom Lighting: Next Steps
Good bathroom lighting comes down to three things: meeting safety requirements, providing enough lumens where you need them, and layering different light sources for flexibility.
Start by mapping out your bathroom zones using our [Bathroom Zone IP Rating Calculator]. This tells you exactly what IP ratings you need for each fitting position.
Next, calculate the total lumens needed using our [Room Lumens Calculator], then plan your downlight positions with our [Downlight Spacing Calculator].
Finally, think about the three layers: ambient lighting for general visibility, task lighting for the mirror, and accent lighting for atmosphere. Put them on separate controls and you have a bathroom that adapts to everything from the morning rush to a relaxing evening soak.
Related guides to explore:
- [Bathroom Lighting Zones and IP Ratings Explained]
- [How Many Downlights Do You Need in a Bathroom?]
- [Bathroom Downlight Spacing Guide]
- [Bathroom Mirror Lighting Guide]
- [LED Strip Lighting in Bathrooms]
This guide is part of LightGuru’s complete bathroom lighting series. For room by room lighting advice across your whole home, see our [Complete Guide to Choosing the Right Lighting for Every Room].